Are you dismayed when you visit your garden to find that something has been nibbling on it? It’s a heartbreaking moment, especially if you aren’t sure who or what is responsible.
In this write-up, we’ll take a look at some of the most common culprits when it comes to eating beetroot leaves.
Hopefully, this will help you figure out what’s been nibbling on your plants!
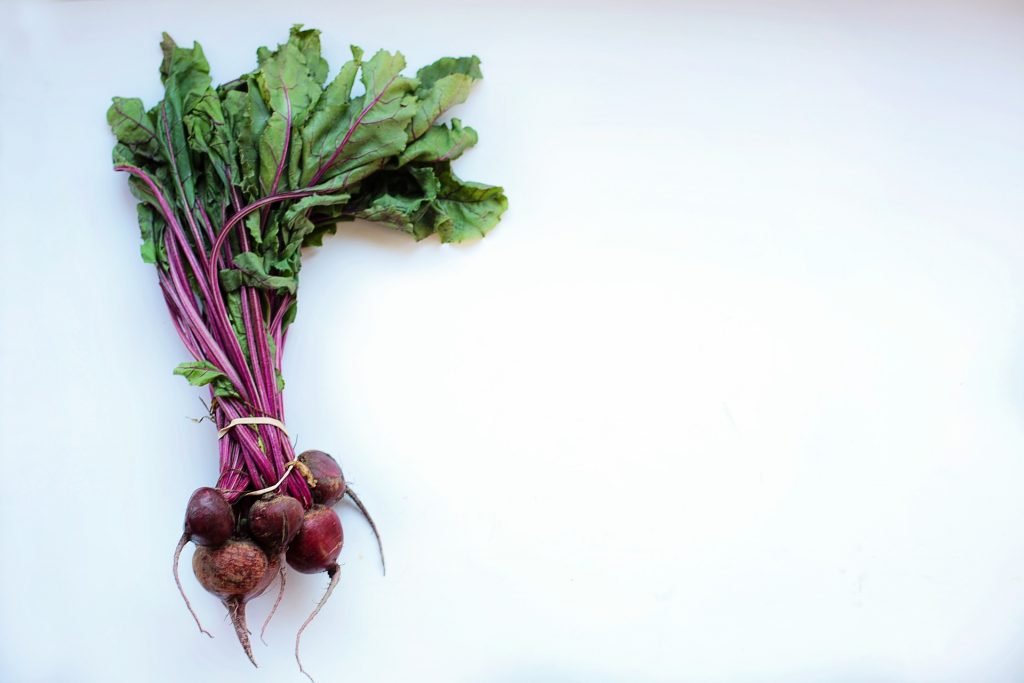
Know: What is eating your beetroot plant leaves?
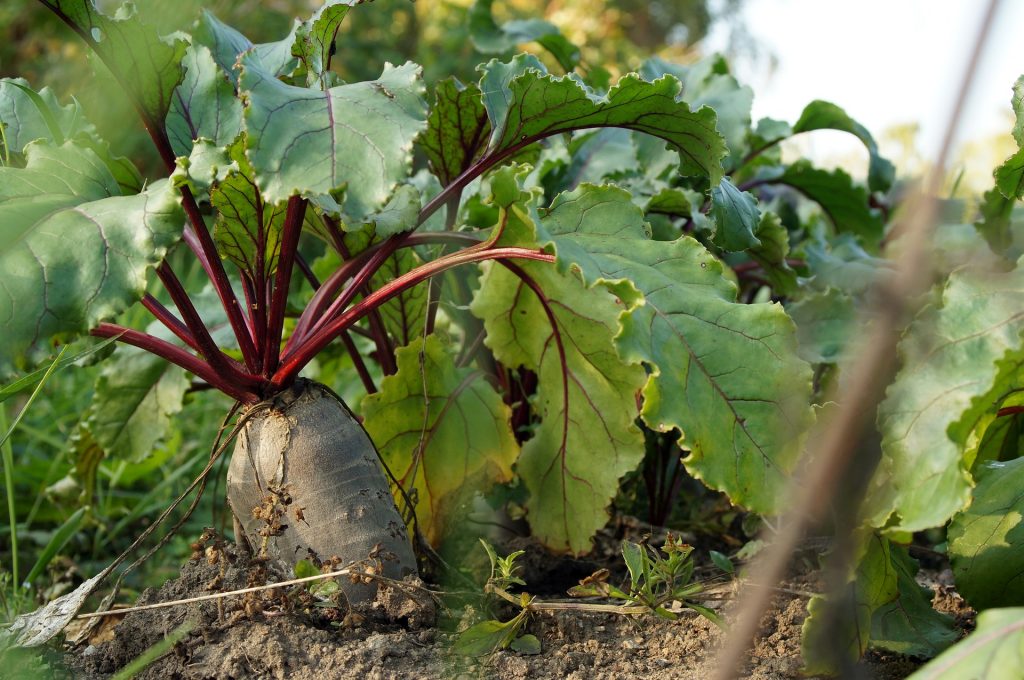
Inspect your beetroot plants for signs of damage such as holes in the leaves or chewed edges.
Checking your beetroot plants regularly can be a great way to make sure they stay healthy.
Keep an eye out for signs of destruction, like holes in foliage or gnawed edges, as these could be telltale indications that your plants are being swarmed by pesky critters.
To prevent further detriment, it is imperative to take prompt action if any damage is identified in order to protect the remains of the harvest.
In certain cases, this might require diligently removing pests from the foliage or applying insecticides and fungicides specific to vegetables.
With regular examinations and maintenance, your beetroot plants can remain in their prime for many years to come. Not only are these inspections crucial for ensuring the longevity of your crop, but also its overall productivity!
Check this: Why Are My Beets Growing above Ground?
Aphids, caterpillars, or beetles may be eating your beetroot leaves
Don’t forget to inspect your garden for insects if you want it to remain vibrant and flourishing.
Aphids, caterpillars, and beetles can all cause issues if left unchecked.
For the optimal health of your beetroot plant, be sure to perform a detailed examination bi-weekly – this way you can instantly eradicate any pests that may be damaging them
Taking these steps will ensure that your hard work pays off and your garden can stay in tip-top shape.
Leafhopper can eat beetroot leaves
If not addressed promptly, Leafhoppers can wreak havoc on your garden. These minuscule plant-eating bugs are easily overlooked, but the damage they cause is immense.
Leafhoppers typically feed on the underside of beetroot leaves and can leave them looking wilted or discolored.
In order to effectively eliminate leafhoppers, you must use a pesticide specifically formulated for vegetables.This will help to reduce the population and keep your plants healthy.
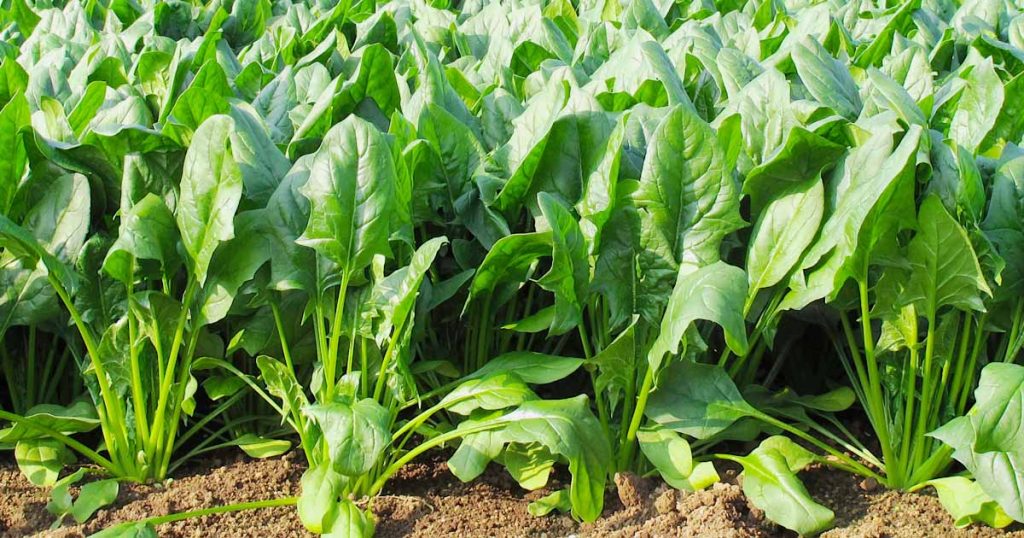
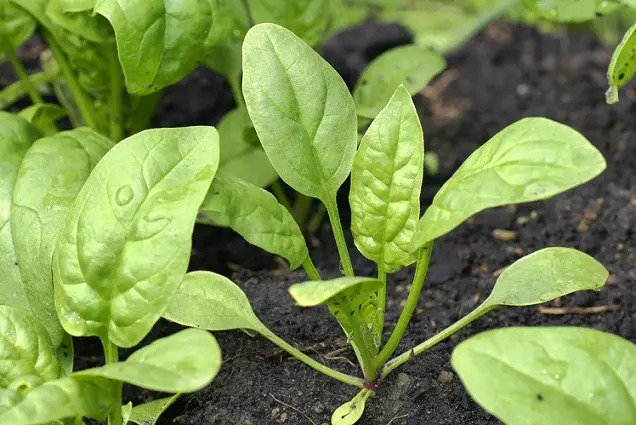
Also Read: How Much Sunlight Does Spinach Need?
Slugs and Snails can feed on beetroot leaves
Trying to eliminate these slimy intruders can be a daunting task, as they prefer the shade and stay out of sight during daylight hours.
If you find that these critters are munching on your plants, try using a slug bait or manually picking up the pests and removing them from your garden.
Beet armyworm can eat beetroot leaves
Beet armyworms are small caterpillars that feed on the beetroot leaves.
It’s essential to be be cautious and watchful for beet armyworms, as they may cause considerable harm your beetroot plant in a short period of time.
If you find evidence of them eating your beetroot leaves, you’ll want to take immediate action and apply an insecticide.
With quick and effective treatment, you can reduce the population of beet armyworms and save your plants from further harm.
Powdery mildew or leaf spot
To ensure your beetroot plant remain healthy and thriving, it is essential to routinely monitor them for any potential beetroot diseases.
Look out for common problems such as powdery mildew, which looks like white spots that can turn yellow as it spreads, or leaf spot, which often shows up in small spots with dark borders around them.
If you notice either of these symptoms on your plants, it’s important to take steps immediately to trim or cut the affected leaves and try a fungicide.
Paying attention now will save you a lot of time and frustration later when it comes to safeguarding your plants.
Check this out: How Much Water Does Spinach Need to Grow?
Take action to control the pests or diseases if you find them.
If you find your garden is being overrun by pests or diseases, it’s important that you take swift action.
Even leaving them to pass over time will likely make them worse and further damage your plants.
Luckily, there are plenty of ways to control these unwelcome invaders – products like insecticides are great for keeping them at bay; however, if they consider a more organic approach using techniques like crop rotation or adding natural predators like ladybugs can work too!
You should also consider checking the health of your soil and watering practices, sometimes the condition of either can lead to infections that shouldn’t be tolerated.
Taking action to stay on top of pests and diseases in your garden is essential for its longevity and beauty.
Monitor your plants regularly to prevent further damage.
Taking care of your plants requires regular maintenance and attention. Doing so will help prevent costly repairs and further damage to your plants.
Monitoring your plants for signs of disease, like wilting, discoloration, or insects, allows you to take action before the problem worsens. If you are struggling to identify what might be ailing your plant, consult an expert for help.
Not only can they provide advice on how to get a troubled plant back on its feet, but they can often help you determine why it happened in the first place.
Taking the time to monitor and check in with your plants pays dividends – not just preventing further damage now, but setting up healthy habits for years down the road.
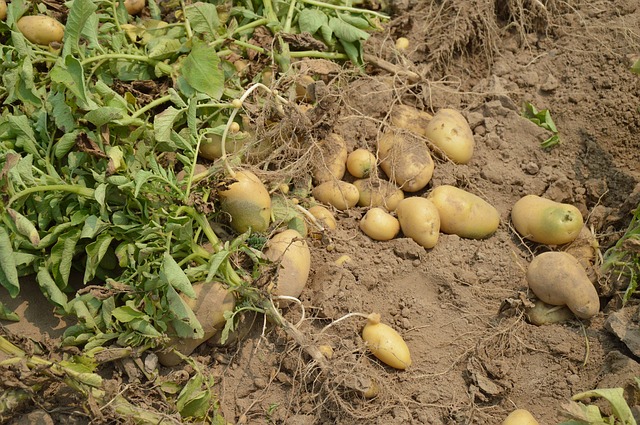
Also React: Why Are My Potato Plant Leaves Curling?
How Do You Protect beetroot Leaves from Pests?
One of the most effective ways to protect your beetroot plants from pests is by regularly inspecting them for signs of damage.
Look out for common garden pests like slugs, snails, and aphids which can cause a lot of destruction in a short amount of time. If you find any signs that these critters are present, take steps immediately to get rid of them.
You may need to use a chemical insecticide or consider introducing natural predators like ladybugs into your garden.
Regular inspections, insecticide treatments, and manual removal are all great ways to make sure your crops stay safe.
Additionally, you can protect your beets from pests by using crop rotation and making sure the soil is healthy and well fertilized.
Conclusion
To sum up, if you want to keep your beetroot plants healthy, you should inspect them regularly for signs of damage, pests, or disease.
Take action immediately if you find any problems so that they don’t have a chance to spread and cause even more damage.
With a little bit of care, you can enjoy a bountiful harvest of delicious beetroots!