Farming has been the backbone of human civilization for millennia, evolving from rudimentary digging sticks to the mechanized, chemical-intensive systems we see today. Yet, as the world faces mounting challenges—climate change, population growth, water scarcity, and shrinking arable land—traditional agriculture is being pushed to its limits. Enter hydroponics: a soil-less, water-based method of growing plants that’s gaining traction as a potential game-changer. But is hydroponics truly the future of farming, or just a niche innovation overhyped by tech enthusiasts? In this blog, we’ll dive into what hydroponics is, how it works, its benefits and drawbacks, and whether it has the potential to reshape how we feed the world.
What Is Hydroponics?
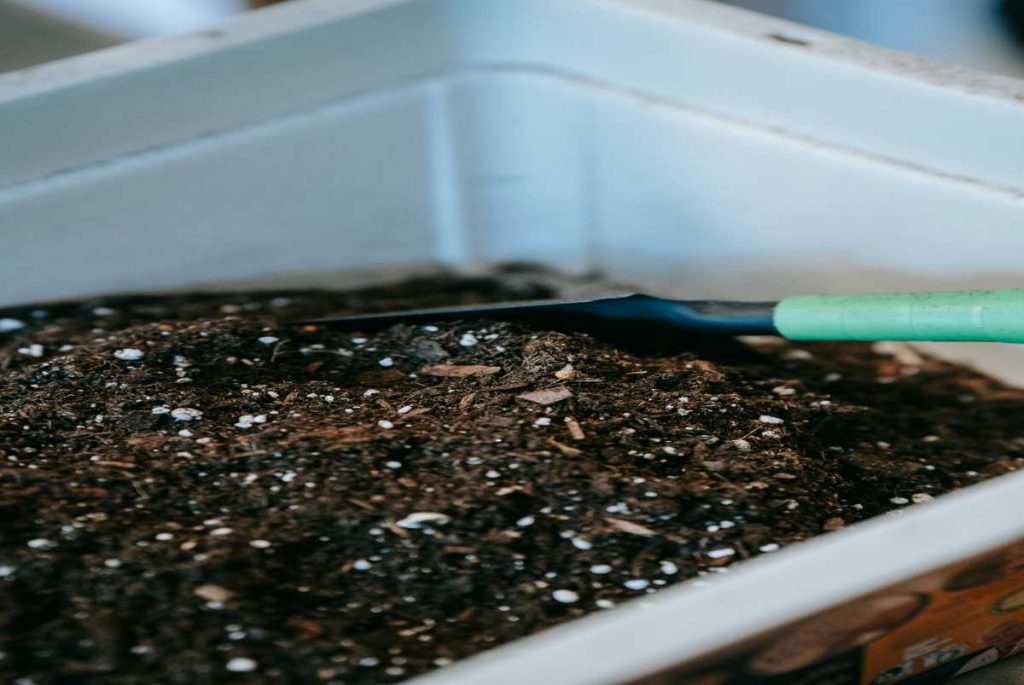
At its core, hydroponics is a method of growing plants without soil. Instead, plant roots are suspended in a nutrient-rich water solution or supported by an inert medium like coconut coir, perlite, or clay pellets. The word “hydroponics” comes from the Greek hydro (water) and ponos (labor), literally meaning “water working.” The idea is simple: deliver everything a plant needs—water, nutrients, and oxygen—directly to its roots, bypassing the soil entirely.
Hydroponics isn’t new. The Hanging Gardens of Babylon, one of the Seven Wonders of the Ancient World, are often cited as an early example (though their existence is debated). In the 17th century, scientists like Sir Francis Bacon experimented with soil-less cultivation. By the 20th century, hydroponics had evolved into a scientific discipline, with NASA even using it to grow food in space. Today, it’s being adopted by urban farmers, commercial growers, and hobbyists alike.
There are several types of hydroponic systems, each with its own quirks:
- Nutrient Film Technique (NFT): Plants grow in shallow channels with a constant flow of nutrient water.
- Deep Water Culture (DWC): Roots dangle in oxygenated water, like a plant spa.
- Ebb and Flow: Roots are periodically flooded with nutrients, then drained.
- Aeroponics: Roots hang in the air and are misted with nutrient solution.
- Wick System: A passive setup where nutrients are drawn up through a wick.
Each system has its strengths, but they all share one goal: precision control over a plant’s environment.
Why Hydroponics Is Gaining Attention
To understand why hydroponics is being hailed as a potential future of farming, we need to look at the problems plaguing traditional agriculture. The United Nations predicts the global population will hit 9.7 billion by 2050, requiring a 70% increase in food production. Meanwhile, 30% of the world’s arable land has been lost to degradation in the last 40 years, and freshwater resources are dwindling. Add in unpredictable weather from climate change, and it’s clear: we need a new way to grow food.
Hydroponics offers compelling solutions:
- Water Efficiency: Traditional farming guzzles water—agriculture accounts for 70% of global freshwater use. Hydroponics, by contrast, uses up to 90% less water. The closed-loop systems recycle water, losing only what the plants absorb or what evaporates.
- Space Savings: No soil means no sprawling fields. Hydroponic setups can stack vertically, making them ideal for urban areas or regions with little arable land. A single square foot of hydroponic space can produce as much as 10 times the yield of soil-based farming.
- Year-Round Growth: Controlled environments—think greenhouses or indoor farms—let hydroponics ignore seasons and weather. Tomatoes in December? No problem.
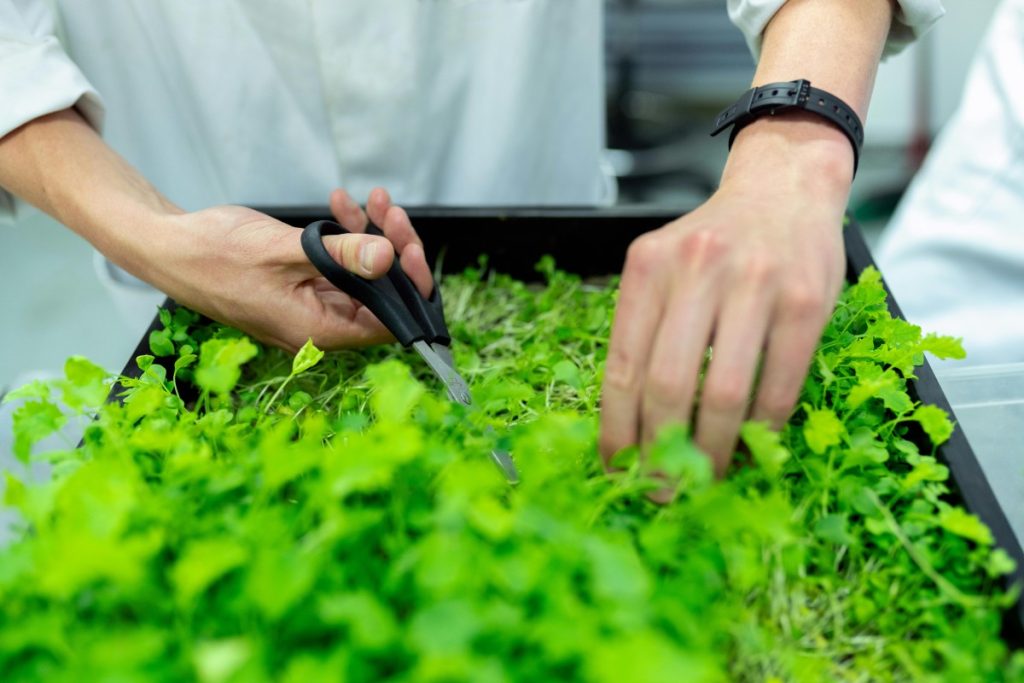
- Fewer Chemicals: Soil often harbors pests and diseases, necessitating pesticides and herbicides. Hydroponics reduces these threats, cutting chemical use and offering cleaner produce.
- Precision Nutrition: Farmers can tweak nutrient levels like a DJ mixing a track, ensuring plants get exactly what they need, when they need it. This boosts growth rates and yields.
These advantages sound futuristic, and they’ve already sparked real-world adoption. In Japan, vertical hydroponic farms produce lettuce in skyscrapers. In the Netherlands, a global leader in agriculture, hydroponics helps maximize output on limited land. Even in arid regions like the Middle East, hydroponic farms are sprouting up, defying the desert.
The Tech Behind the Trend
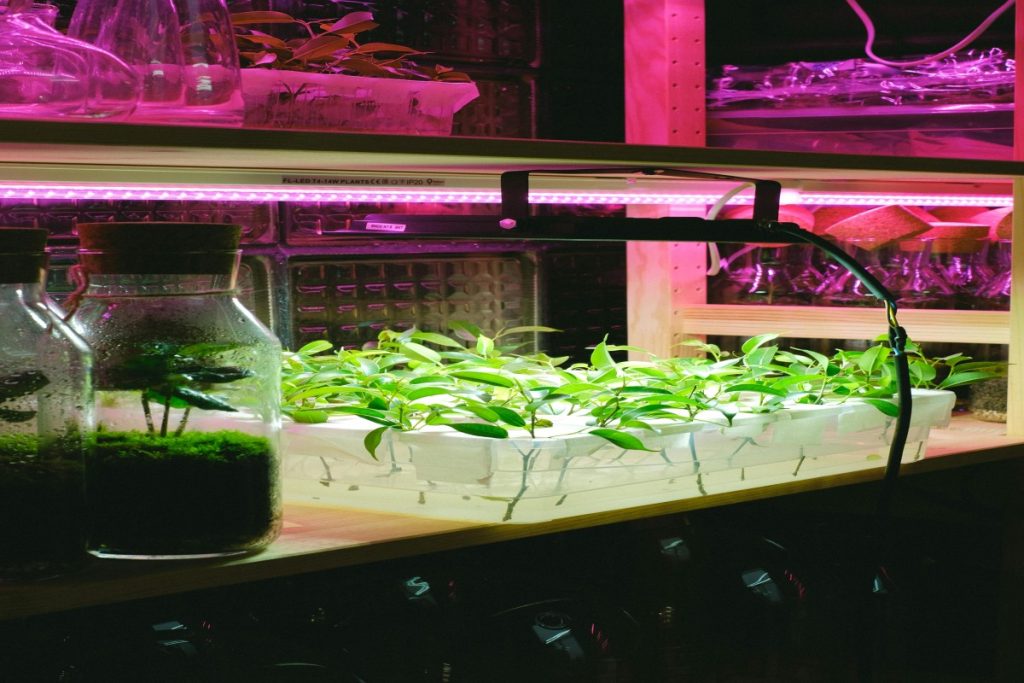
Hydroponics isn’t just about water and plants—it’s a tech-driven revolution. Modern systems lean heavily on automation, sensors, and data. pH meters and electrical conductivity (EC) sensors monitor nutrient levels in real time. LED grow lights mimic sunlight with pinpoint accuracy, tailored to specific crops. Artificial intelligence can predict plant needs, adjusting water or nutrients before deficiencies even appear. Some setups integrate with smartphone apps, letting farmers manage their crops remotely.
This tech edge makes hydroponics scalable and adaptable. A small countertop unit can grow herbs in your kitchen, while a massive warehouse can churn out tons of kale for a city. Companies like AeroFarms and Plenty are pushing the boundaries, building “plant factories” that combine hydroponics with robotics and renewable energy. It’s farming meets Silicon Valley.
The Economic Angle
Hydroponics also has an economic case. While startup costs are high—think pumps, lights, and infrastructure—the long-term payoff can be substantial. Higher yields per square foot mean more revenue from less space. Reduced water and chemical costs cut expenses. And because hydroponic farms can be located near cities, transportation costs drop, and produce stays fresher on shelves.
For small-scale farmers or entrepreneurs, hydroponics opens new markets. Urban consumers are willing to pay a premium for local, pesticide-free greens. Restaurants and grocery chains are jumping on the trend, sourcing from hydroponic suppliers to meet demand for sustainable food. In developing countries, where land and water are scarce, hydroponics could empower communities to grow their own food, boosting food security and local economies.
The Challenges Holding Hydroponics Back
If hydroponics is so great, why isn’t it everywhere? The answer lies in its limitations—some practical, some systemic.
- High Initial Costs: Setting up a hydroponic system isn’t cheap. A basic home setup might cost a few hundred dollars, but a commercial operation can run into the millions. Lights, pumps, and climate control systems add up fast, and that’s before you factor in training or maintenance.
- Energy Dependence: Indoor hydroponics relies on electricity for lighting, water circulation, and climate control. In a world pushing for sustainability, this carbon footprint raises eyebrows. Solar power can offset this, but it’s another upfront expense.
- Technical Expertise: Soil farming has quirks, but hydroponics is a science. A small mistake—like a pH imbalance or pump failure—can wipe out a crop. Farmers need training, and not everyone has access to it.
- Crop Limitations: Hydroponics excels with leafy greens, herbs, and some fruits like tomatoes and strawberries. But staple crops like wheat, rice, or corn? Not so much. These require vast fields and complex root systems that hydroponics struggles to replicate economically.
- Scalability Questions: While hydroponics works wonders in controlled settings, scaling it to feed billions is uncharted territory. Can it match the sheer volume of traditional farming, or will it remain a supplement?
These hurdles mean hydroponics isn’t a silver bullet—at least not yet. Critics argue it’s better suited to high-value crops in specific contexts than as a wholesale replacement for soil-based agriculture.
Hydroponics vs. Traditional Farming: A Fair Fight?
To weigh hydroponics’ future, let’s pit it against traditional farming head-to-head.
- Efficiency: Hydroponics wins on water and space use, hands down. Traditional farming, though, has the edge in energy efficiency—sunlight and rain are free.
- Scale: Traditional farming feeds the world today, producing billions of tons of grain, meat, and dairy. Hydroponics is a fraction of that, focused on specialty crops.
- Resilience: Soil-based systems can weather power outages or equipment failures. Hydroponics, with its tech reliance, is more vulnerable to disruptions.
- Sustainability: Hydroponics cuts water waste and chemical runoff, but its energy use is a trade-off. Traditional farming’s soil erosion and pesticide issues are well-documented downsides.
It’s not a clear knockout. Hydroponics shines in controlled, resource-scarce environments, while traditional farming holds the fort for mass production. The future might not be one or the other—it could be both, working in tandem.
Real-World Success Stories
Hydroponics is already proving its worth in diverse settings:
- Urban Farming: In New York City, companies like Gotham Greens use rooftop hydroponic greenhouses to supply local supermarkets with fresh basil and arugula.
- Desert Agriculture: In the UAE, the Emirates Hydroponics Farm grows cucumbers and peppers in the desert, using 90% less water than traditional methods.
- Disaster Relief: After hurricanes or earthquakes, portable hydroponic units have delivered fresh food to communities cut off from supply chains.
- Space Exploration: NASA’s experiments with hydroponics on the International Space Station hint at its potential for Mars missions.
These examples show hydroponics isn’t just theoretical—it’s practical and adaptable. But they’re still small-scale compared to the global food system.
The Environmental Debate
Sustainability is a big selling point for hydroponics, but the picture is nuanced. Yes, it slashes water use and land degradation, critical as climate change intensifies droughts and desertification. Yet, the energy question looms large. A 2021 study found that hydroponic lettuce grown indoors had a higher carbon footprint than field-grown lettuce due to lighting and heating. Pairing hydroponics with renewables could tip the scales, but that’s not yet the norm.
On the flip side, traditional farming’s environmental toll—deforestation, soil depletion, and fertilizer runoff—isn’t sustainable long-term either. Hydroponics might not be perfect, but it’s a step toward a less wasteful system.
The Social and Cultural Angle
Farming isn’t just about food—it’s about people, culture, and tradition. Traditional agriculture employs millions worldwide, often in rural communities where it’s a way of life. Hydroponics, with its urban, tech-heavy bent, could disrupt that. Will it create jobs or displace them? Will it widen the gap between high-tech cities and struggling rural areas?
There’s also the question of access. Hydroponics could democratize food production, letting anyone with a system grow their own greens. But if it stays expensive and complex, it might remain a luxury for the wealthy or well-connected. The future depends on making it affordable and inclusive.
So, Is Hydroponics the Future?
After all this, the answer isn’t a simple yes or no—it’s a maybe. Hydroponics has the potential to revolutionize farming, especially in water-scarce, land-poor, or urbanized regions. Its efficiency, precision, and adaptability make it a powerful tool for a world in crisis. But it’s not ready to dethrone traditional agriculture entirely. The economics, energy demands, and crop limitations mean it’s more likely to complement soil-based farming than replace it outright.
Picture this: a hybrid future where sprawling wheat fields coexist with towering hydroponic farms in cities. Traditional farmers feed the masses with staples, while hydroponic systems churn out fresh greens and specialty crops closer to home. Technology keeps advancing—cheaper solar panels, smarter automation, better crop varieties—and hydroponics grows from a niche to a norm.
For now, hydroponics is a glimpse of what’s possible: a cleaner, leaner way to grow food in a world that desperately needs it. Whether it becomes the future depends on how we tackle its challenges and scale its promise. One thing’s certain: as the planet changes, so must our farms. Hydroponics might just be the seed of that transformation.