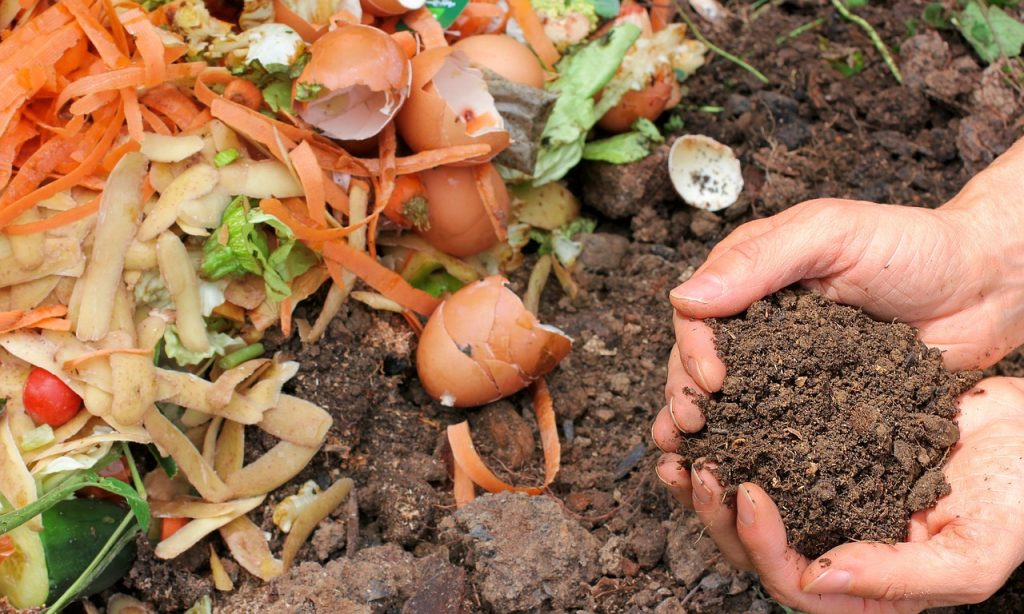
Soil degradation is a significant global issue, affecting agricultural productivity and environmental health. Fortunately, composting offers a sustainable solution to restore and revive depleted soils. By recycling organic waste into nutrient-rich compost, these methods replenish soil fertility, enhance structure, and support microbial life. Here are five composting methods you can use to breathe life back into degraded soils.
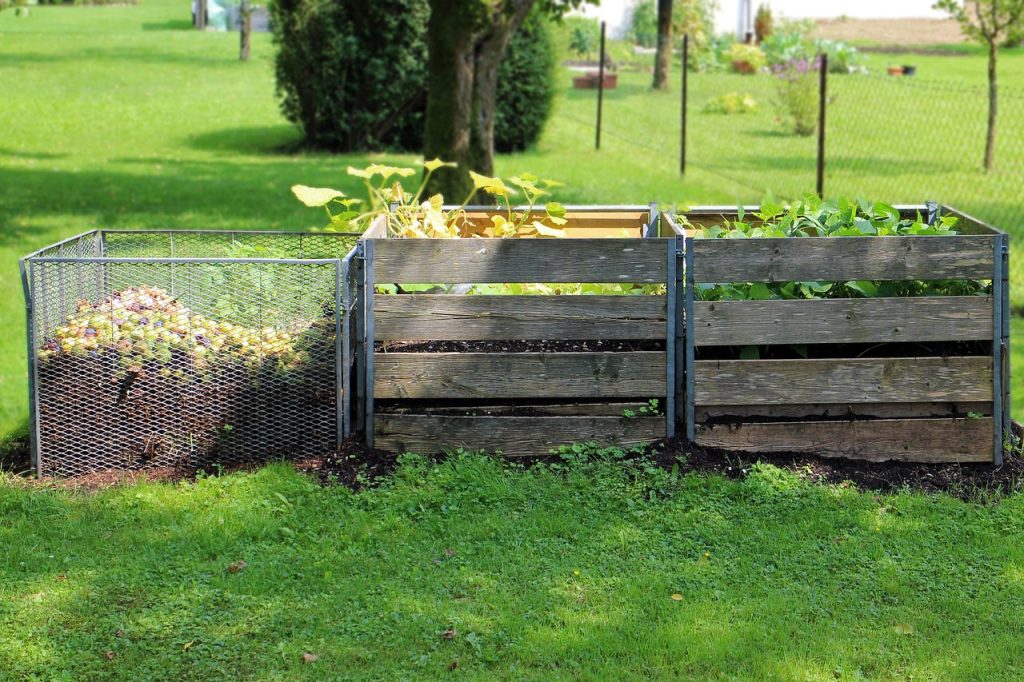
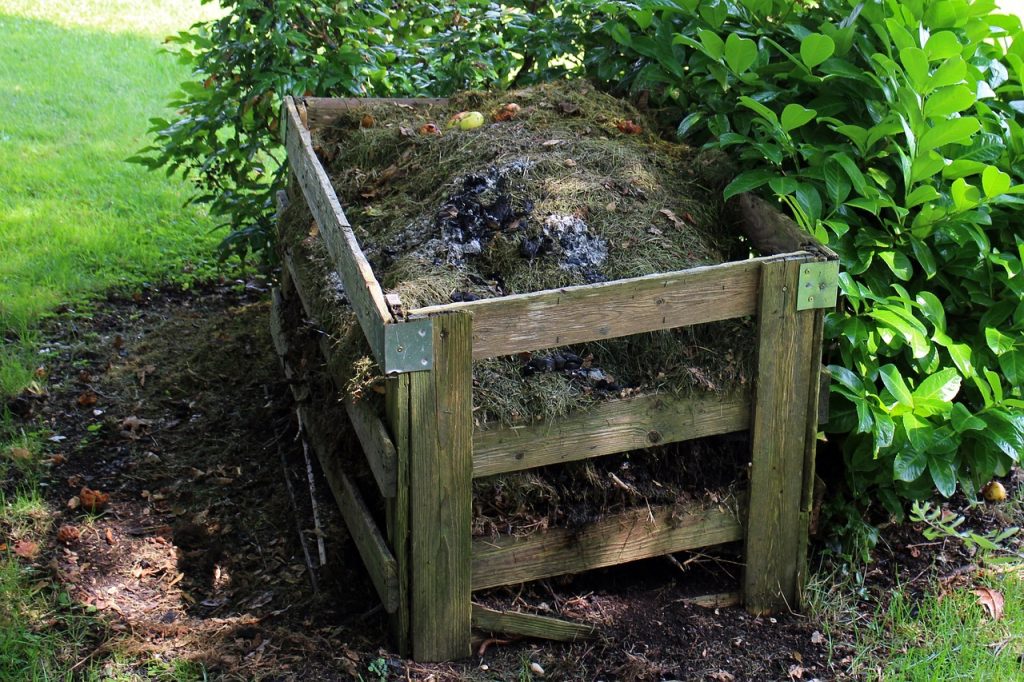
1. Traditional Heap Composting
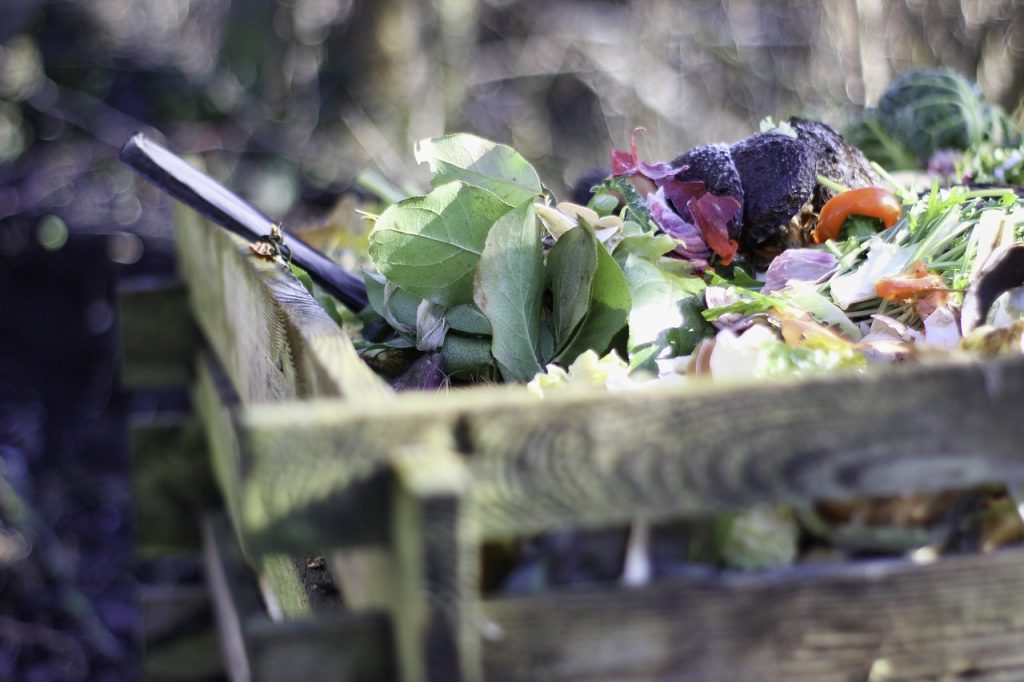
Heap composting is one of the simplest and most widely used methods to revitalize soils. This involves creating a pile of organic waste that decomposes over time.
How It Works:
- Organic materials such as food scraps, garden waste, and manure are layered in an open pile.
- The pile is turned periodically to ensure proper aeration and uniform decomposition.
Why It Works for Degraded Soils:
- Adds essential nutrients like nitrogen, phosphorus, and potassium to the soil.
- Improves soil texture and water retention, making it more fertile and resistant to erosion.
Best Practices:
- Use a mix of greens (nitrogen-rich) and browns (carbon-rich) in a 2:1 ratio.
- Keep the pile moist but not soggy for efficient decomposition.
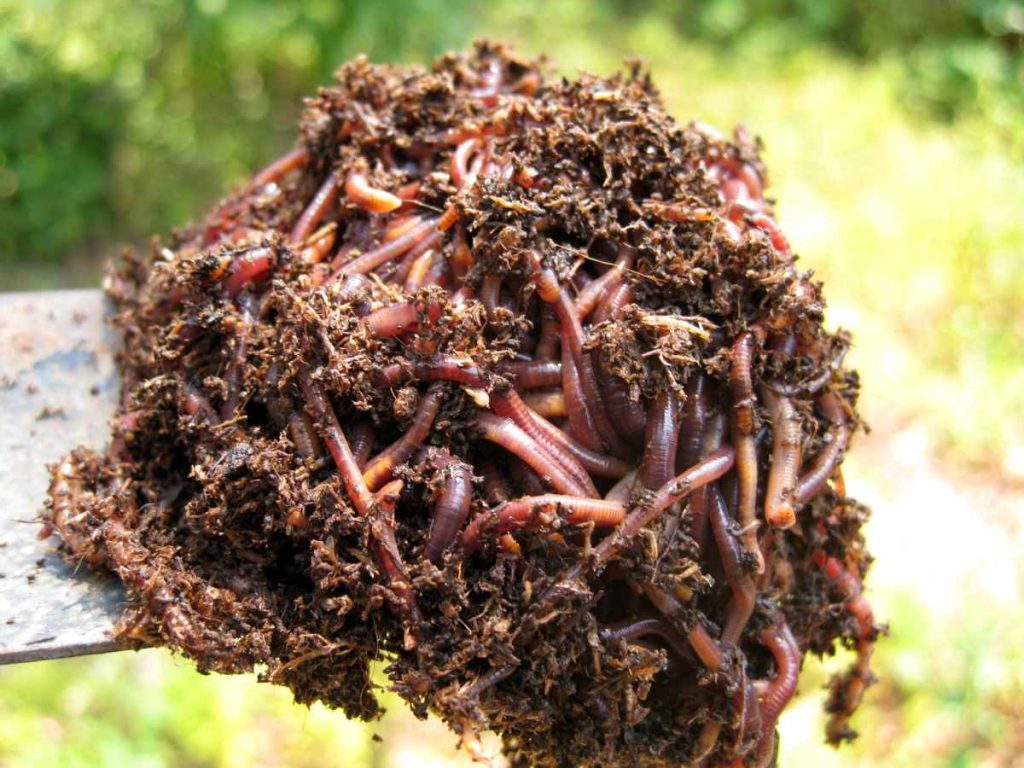
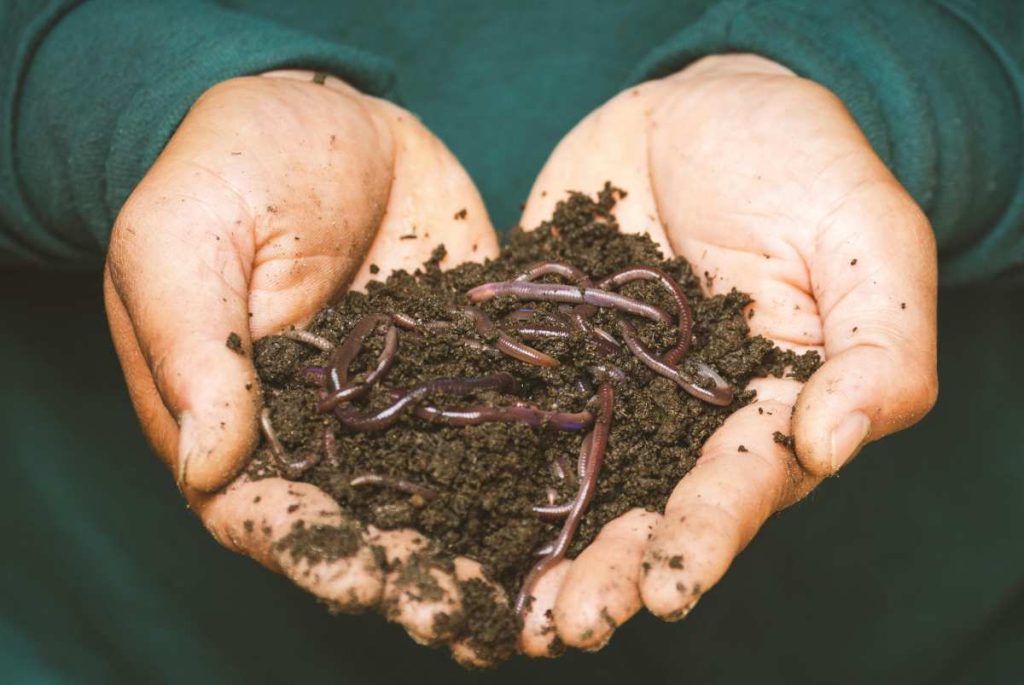
2. Vermicomposting
Vermicomposting uses earthworms to convert organic waste into high-quality compost called worm castings, which are packed with nutrients and beneficial microbes.
How It Works:
- Organic materials are placed in a bin or shallow pit along with earthworms, such as red wigglers (Eisenia fetida).
- The worms consume and process the waste, producing nutrient-rich worm castings.
Why It Works for Degraded Soils:
- Worm castings enrich soil with micronutrients and beneficial bacteria.
- Improves soil aeration and water-holding capacity, essential for degraded and compacted soils.
Best Practices:
- Avoid feeding worms citrus, meat, or oily foods.
- Maintain the bin’s temperature between 55°F and 77°F for optimal worm activity.
3. Bokashi Composting
Bokashi composting is an anaerobic method that ferments organic waste using effective microorganisms (EM). This technique works quickly and is ideal for enriching degraded soils.
How It Works:
- Organic waste is layered with a Bokashi bran (a mixture of EM and wheat bran) in an airtight container.
- After two weeks of fermentation, the material is buried in the soil, where it decomposes further.
Why It Works for Degraded Soils:
- Rapidly improves soil fertility and microbial diversity.
- Fermented waste breaks down faster in the soil, releasing nutrients directly into the root zone.
Best Practices:
- Ensure the container is sealed to maintain anaerobic conditions.
- Bury the fermented waste at least 8 inches deep to avoid attracting pests.
4. Trench Composting
Trench composting involves burying organic waste directly into the soil, where it decomposes over time. This method is particularly effective for degraded soils in need of both organic matter and structural improvement.
How It Works:
- Trenches are dug in rows or around planting areas, and organic waste is added.
- The trenches are covered with soil, and crops are planted nearby.
Why It Works for Degraded Soils:
- Provides organic matter directly to the soil with minimal effort.
- Enhances microbial activity and soil structure while reducing compaction.
Best Practices:
- Rotate trench locations to distribute nutrients evenly across your garden or farm.
- Use a mix of kitchen scraps, yard waste, and manure for balanced nutrition.
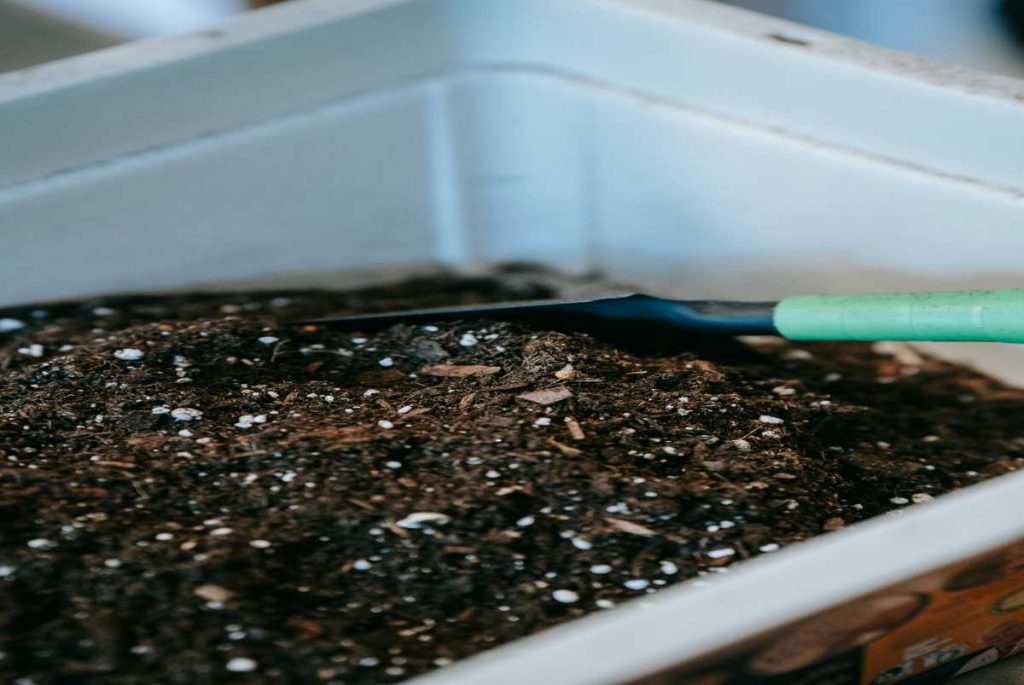
5. Biochar-Enriched Composting
Biochar composting combines organic compost with biochar, a carbon-rich material derived from burning biomass in a low-oxygen environment. This method is highly effective for restoring degraded soils.
How It Works:
- Biochar is added to compost piles or mixed with organic waste during the composting process.
- The biochar acts as a sponge, holding nutrients and water, which are slowly released into the soil.
Why It Works for Degraded Soils:
- Improves soil fertility by retaining nutrients that would otherwise leach away.
- Enhances soil aeration and provides a habitat for beneficial microbes.
Best Practices:
- Use high-quality biochar with a porous structure.
- Activate biochar by pre-soaking it in compost tea or liquid fertilizer before adding it to compost.
How Composting Revives Degraded Soils
Composting helps to revive degraded soils by:
- Restoring Nutrient Balance: Adds essential nutrients that crops and plants require for growth.
- Improving Soil Structure: Enhances water retention and aeration, preventing erosion and compaction.
- Encouraging Microbial Life: Boosts populations of beneficial microbes that break down organic matter and improve nutrient availability.
- Reducing Dependency on Chemical Inputs: Replaces synthetic fertilizers with natural, slow-release nutrients.
- Sequestering Carbon: Helps capture and store carbon in the soil, mitigating climate change.
Tips for Successful Composting in Degraded Soils
- Start Small: Focus on specific areas that need immediate attention.
- Combine Techniques: Use multiple composting methods to address different soil deficiencies.
- Test Soil Regularly: Monitor soil health and adjust compost inputs accordingly.
- Incorporate Local Materials: Utilize locally available organic waste to minimize costs and support sustainability.
Conclusion
Degraded soils can be revitalized using simple, cost-effective composting methods that not only restore fertility but also promote sustainable farming practices. Whether you opt for vermicomposting, Bokashi, or biochar-enriched composting, these techniques offer powerful solutions to heal the land and ensure long-term productivity. Embrace composting as a way to turn waste into wealth and revive your soil’s natural potential.