Turnip farming can be performed on commercial or personal scale very easily and with minimal efforts. Gaining much needed knowledge gets you ready to start. Check out this full guide on turnip farming.
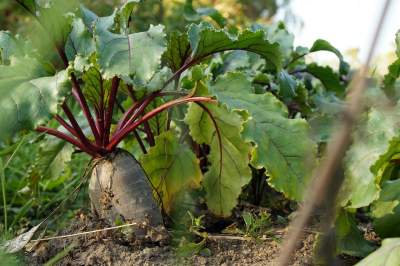
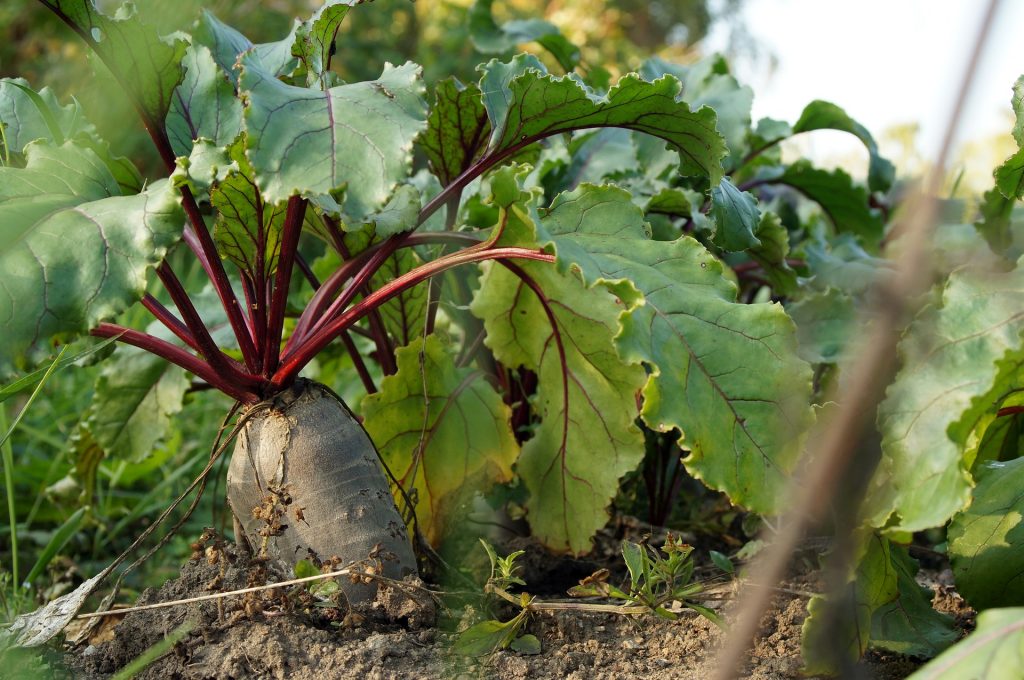
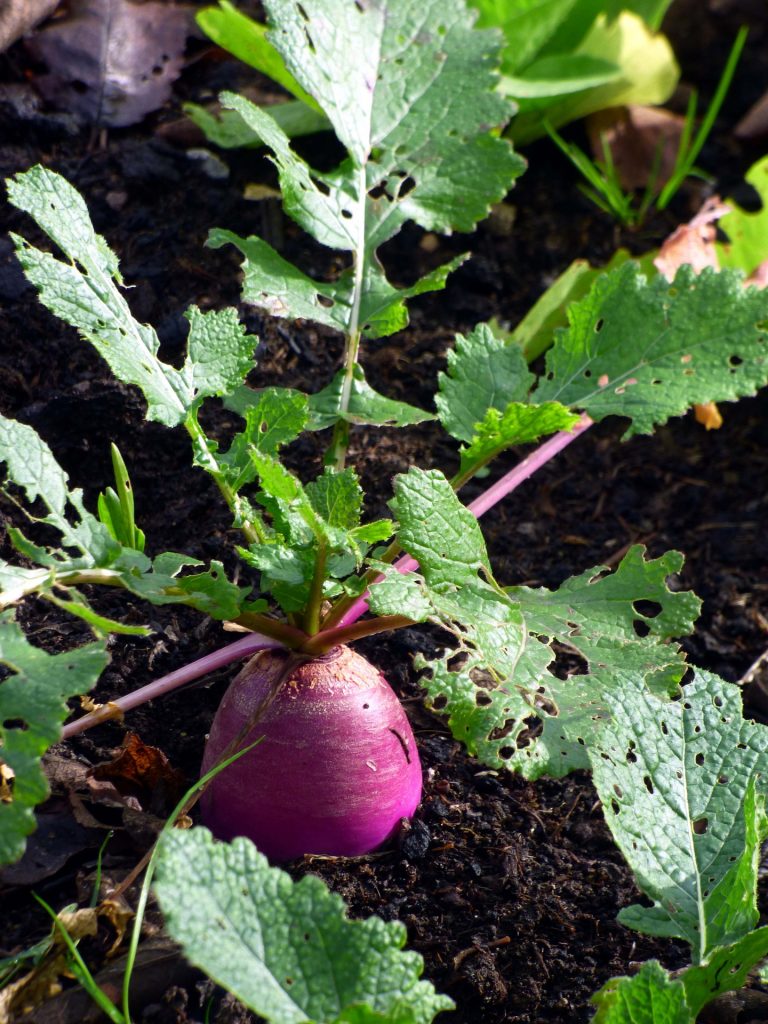
Turnips are cool weather vegetables and its botanical name is Brassica rapa. These are considered as staple food for humans and livestock too. They have a rosette of bright green leaves that grows from tubers or swollen roots. Turnips are consumed for their swollen roots and greens. Also, they are biennial but grown as annual.
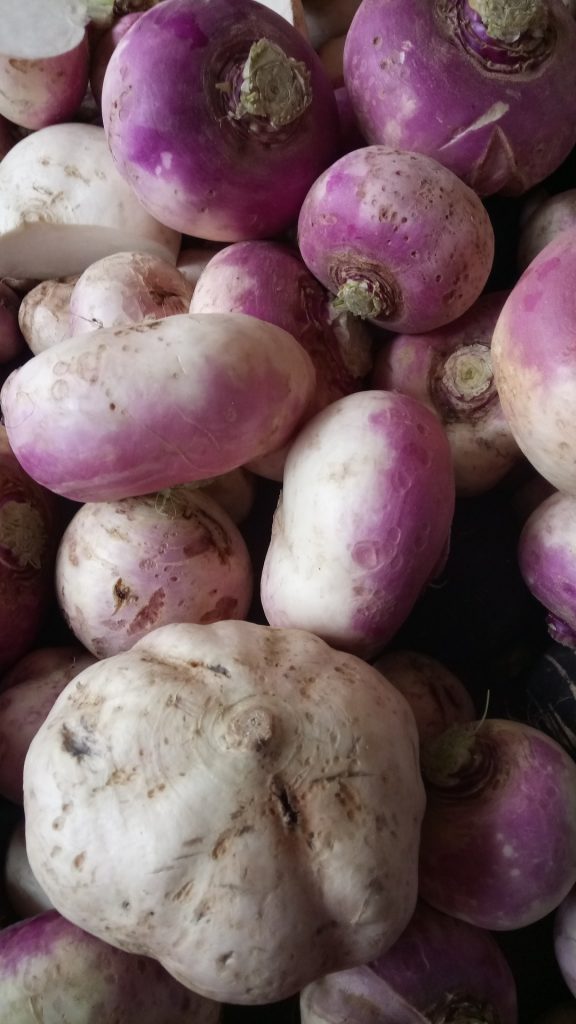
Most commonly found turnips are light purple in colour from top and white from bottom. However, more than 30 varieties of turnip are found over the globe. All of these vary in shape, sizes, and colours. Some might taste as sweet as carrots and others might taste like a potato.
Swollen turnip is eaten by people all over the world. It can be either consumed raw or stewed, roasted, boiled, mashed with other root crops to consume. Greens of turnips can be consumed too. People cook and eat them in the same manner as spinach as kale are.
They generally grow in spring and fall.temperate climates are best suites for turnips. Therefore, they are mostly grown in the USA, UK, Poland, China, France etc. They have been grown and consumed for over 3000 years by our ancestors.
It is advised to avoid hot summer weather for their growth. Turnips tend to become woody and bitter in hot temperatures. They mature rapidly and are very easy to grow in home gardens.
Turnips are considered biennials hardly. They are mostly grown by people as an autumn crop.
As mentioned earlier, turnips can be fed to livestock too. Animals can be fed upon turnips after they are harvested. Or browsing animals can consume them in fields too. Few people plant turnips to attract deers to their fields.
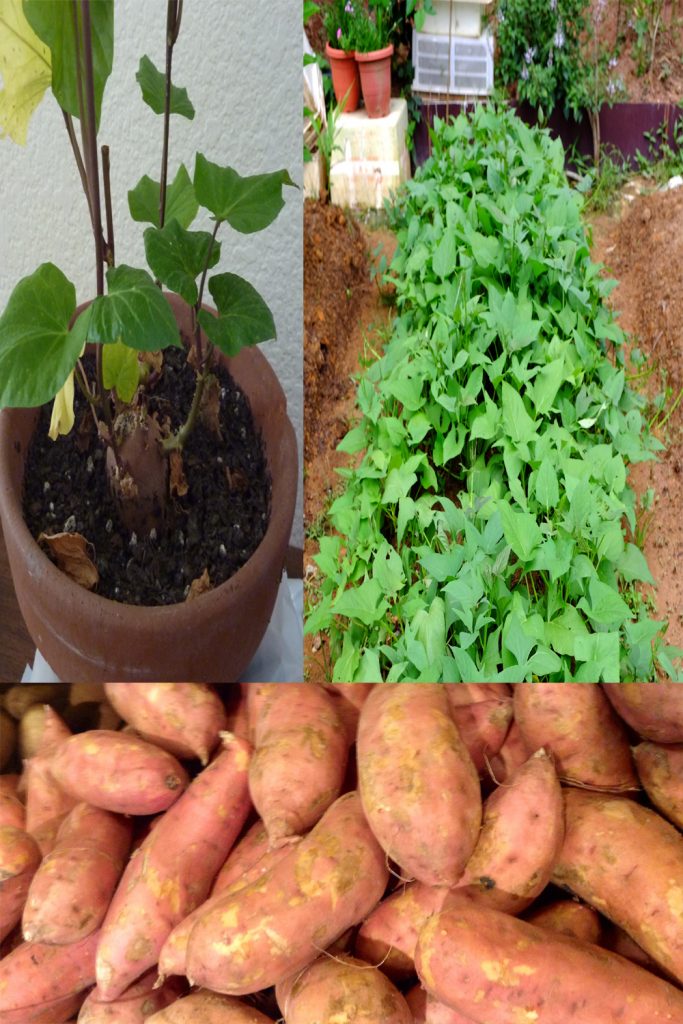
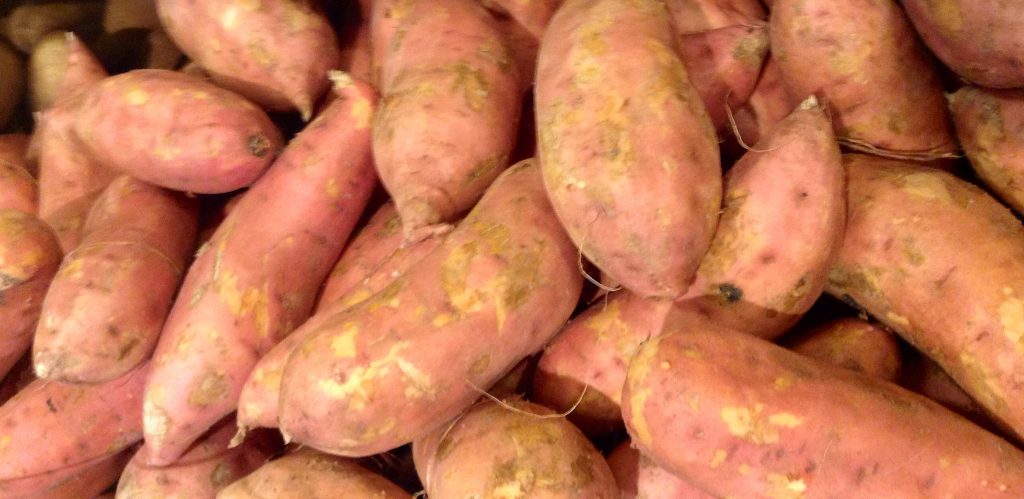
Also Read: Sweet Potato Farming Information Guide
Varieties of turnip
There are various varieties of turnips. Most popular varieties of turnip are Purple top, Royal Gloss, Just Right ( 40-60 days), White globe( 57 days), Tokyo Express, Market express, Shogoin, and mild Hakurei. Best varieties in the case of greens are Alltop (50 days greens), Topper, Royal Crown (52 days) and Seven top( 45 days,greens).
Yellow Globe produces golden turnip roots and is great for roasting. For upper midwest and canada, Green Globe and York Globe are the most suitable varieties.
Health benefits of turnips
Turnip is full of nutrition and anti-disease properties. Moreover, the health benefits of turnip are immense too.
- Nutritional value-
1 medium turnip is laced with following nutrients-
Calories- 34g
Fat- 0.1g
Carbs-7g
Proteins-1g
Fiber- 2g
Sugar- 4g
Cholesterol- 0g
- Vitamins and minerals–
Calcium- 3% of daily value (DV)
Folate- 5% of DV
Magnesium
Potassium- 115% of DV
Phosphorus- 3% of DV
Vitamin C- 30% of DV
Turnip greens are also full of nutrition. Vitamin A and C are found in abundance in turnip leaves. One cup of greens contains 6373 IU of vitamin A and 33mg of Vitamin C.
Health benefits
Vitamin C is helpful in protecting the body from free radical damage. To add to this, it increases iron absorption and regulates blood cholesterol.
Vitamin K, on the other hand, prevents excessive bleeding. Vitamin A regulates eye, skin and lung health.
Anti cancer properties– Turnip is famous all around the globe for its anti cancer properties. It helps prevent growth and spread of cancerous cells. Also, turnips are rich in glucosinolates. Glucosinolates are a group of bioactive plant compounds. These compounds have antioxidant properties and therefore, reduce risk of various cancers like lung cancer, colon cancer, rectal cancer etc.
Along with this, they are also enriched with flavonoids. Mainly anthocyanins are found in turnips and they are known to have anti cancer properties too. Plus, they lower the risk of chronic and degenerative disease.
Control blood sugar– Turnip swollen roots and greens are believed to have anti-diabetic effects. They can control metabolic disorders like high blood cholesterol, high triglyceride levels. Further, they increase blood sugar clearage and lower production of glucose from the liver. Also, they reduce the absorption of carbohydrates.
Anti inflammatory– Many diseases cause inflammation in the body part as symptoms like arthritis, cancer or high blood pressure. Turnip can be helpful in such a condition due to the presence of glucosinolates. It breaks down into indoles and isothiocyanates which have anti-inflammatory properties.
Protect against Bacteria– Turnip has antibacterial and antimicrobial properties also. Turnip ensures inhibition of bacterial or microbial growth in the human body.
Weight management– It is a non starch edible, full of fibre, and has very low calorie count. Therefore, consuming this will help you stay full for longer periods and healthy.
Promote bone health– Materials present in turnip have the power to maintain good bone health. Vitamin K found in turnip helps in bone metabolism.
Liver protection– Consuming turnip ensures lesser glucose production and thus less stress on the liver of the human body.
How to grow turnips
First of all, you must be aware of when to grow turnips. Turnip growth months vary with region. For late spring harvest, you can sow seeds directly in your garden around 2-3 weeks before the average last frost date. For instance, in USA zone 2a, the best time for sowing seeds of turnip is august and September for autumn harvest. You can easily check out the best month of growth of your region.
For autumn harvest seeds are sown in late summers. These seeds are generally sowed after summer crops of onion,squash, beans or sweetcorn. Seeds can be sowed in early autumn too to get a late autumn harvest.
They grow in temperatures ranging from 40F to 70F ( 7-24C). They must be reaped out before temperature exceeds 24 C.
Next thing that you need to focus upon is the planting site. The place for growing turnips must receive full sunlight for maximum hours. Soil of the area must be well drained to ensure good growth and sweet and tender vegetables. If soil is heavy or clayey, you can fix it by adding sand in it before seeding. Remove any stones at the site to provide a bigger area for roots to expand. pH of soil must be ranging between 5.5 to 6.8.
Addition of compost and well aged manure is suggested. Manure or organic compost is enriched with nutrients and minerals. Therefore, it is very beneficial in the growth of turnips.
Soil bed must be weed free. But keep in mind that removal of weeds can disturb roots of young turnip plants. Therefore be careful while removing weeds. Usage of mulch is proven beneficial. It helps in retaining moisture in soil and suppresses weeds too. Addition of peat moss, compost,coconut coir or well aged manure is also favoured.
Although not much care is needed for turnip plants but do provide them with enough moisture at all times of growing period. Watering must be done upto 1 inch per week to avoid bitter and tough roots. It is observed that they demand dry bed but wet heads. Plus, soil must be kept moist at all times.
Overcrowding must be avoided in case of turnip plants. It results in small roots in turnips.
How to sow turnip seeds
Turnip seeds are sowed directly into the soil. Just scatter the seeds in your garden. Dig a small hole of ½ inch depth. Place the seed in it and cover it with soil and then patt a little. Further, they must be placed 2 inch apart wide rows of 12 inches. In later stages,thin them upto 4-6 inches apart for large turnips while 2-4 inches apart for greens. Overcrowding can be an issue for turnip plants. Therefore, work out these beforehand.
You can also grow turnips in pots or containers. The container taken for turnip growth must be 8inch deep at least. This depth will ensure proper growth of roots.
Further, for summer harvest, seeds should be sown in early spring, 4-6 weeks before the last expected frost date. And in the case of autumn harvest, sow seeds 6-8 weeks before the first expected frost date. You can expect mature turnips in early spring and after 2 months of first frost date respectively.

Germination time of turnips
Turnip seeds take around 3 – 10 days approximately to germinate. Soil beds are required to be moist all the time for faster and better germination of turnip seeds. The temperature conditions must be favourable and the best temperature for germination is 71F or 21C. Also, colder temperatures can delay germination. Optimum Temperature for turnip growth is 16C.
Diseases in Turnip
Pests can affect turnip plants in various ways. Some might cause defects in vegetables or some can affect leaves of the turnip plant. Whatever, it is they ,ust be taken care of to ensure healthy plants.
Aphids and flea beetles are disastrous for turnips. Aphids can be removed by pinching out the foliage. While on the other hand, flea beetles can be removed or avoided by getting rid of weeds in the area of turnip plantation.
White rust of fungus is also a disease seen in turnips. It results in small white cottony blisters on the upper surface of the leaves. Yellow discolouration is also observed on the underside in this disease.
Alternaria leaf spot- In this disease, small black spots appear on leaves which turn into brown or grey. It is caused by fungus and can be treated with a fungicide.
Anthracnose- Small circular shaped spots appear on leaves. High number of spots can kill the leaves of turnip plants. Lesions turn leaves into yellow and make them wilt. The cause of this disease is fungus. Sanitary practices must be considered to avoid fungus and cruciferous weeds should be gotten rid off.
Black rot- dark rings appear on the cross section of stem in black rot. Lesions of v shape can also be seen. Leaves can turn into yellow or brown. Cause of disease is a bacteria. Good sanitation must be ensured and avoid sprinkler irrigation.
Club root- slow and stunted growth is observed.roots become distorted in this disease. It is caused by fungus. Treatment of this disease is economically unfeasible. In future,purchase certified plants from a renowned nursery.
Downy mildew- irregular yellow patches on the leaves are observed and gray growth is observed on underside of leaves. Apply appropriate fungicide and remove crop debris.
Root maggots- This insect leads to root damage and scars on the turnip.
Growth time for turnips
It takes from 5 weeks to 2 months to grow turnips. Growth time for turnip varies on the basis of a variety of turnip-like greens, tender roots to eat, or larger roots to store. It takes 60 days to grow fully but if you pull them out in 30 days, they will be very small in size.
Growing for 60 days helps in making them more flavoured and avoid watery or bland taste.
Along with time, take care of proper water supply too, in order to receive sweeter and tender turnips.
When to harvest turnips
Small, young and tender turnips can be harvested after 5 weeks of sowing seeds. Main crop can be harvested from 6 weeks to 10 weeks.
Fall turnips are harvested after light frost and they are known to be sweeter than other harvests. Do harvest them before hard breeze for best results.
Lift roots when they are 2-3 inch in diameter. Further, you can cut leaves of turnips when they are 12 inch long. Keep in mind to lift them very carefully with a garden fork.
After harvesting turnips, you can store them for 3 or 4 months in cool,dark and humid places. Turnips can also be stored in the root cellar, a vegetable drawer for the fridge in a perforated plastic bag.
Turnips plant is such a plant that doesn’t require much effort for growing. You just need to take care of the water supply and good soil condition for them to be best. Ensure good fertility in the sowing and growing period to receive sweet and tender turnips. Above mentioned knowledge is enough for you to get started. Then what are you waiting for, just begin.