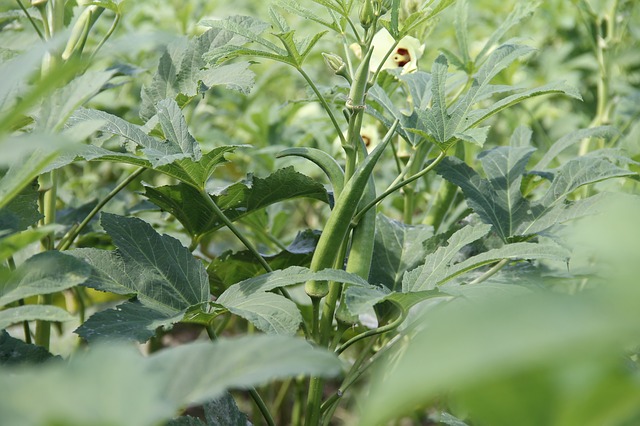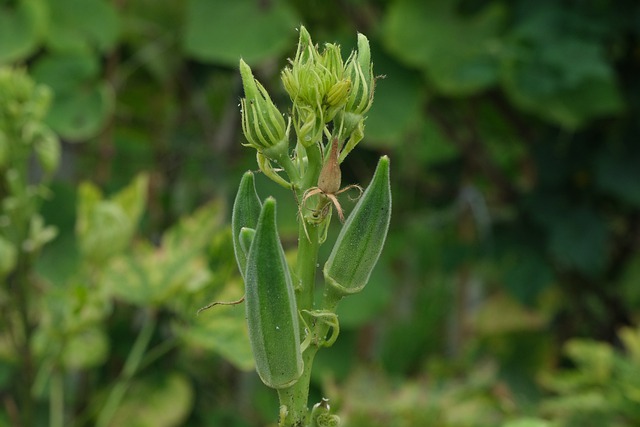
Okra is a vegetable commonly known as ladyfingers in many countries. These plants are very simple and easy to grow. Okro, gumbo, kopi, Arab, and bhindi are some other common names of okra pods.
This crop can be grown in different varieties of climate and soil. It requires plenty of sunlight. Also the roots should not remain wet for a long time. However, climate plays an important role in okra production. Cold climate is not very suitable for okra. They require proper temperature for germination of seeds.
To products a big crop yield you must be aware of how to increase production of okra?
Keep in mind the steps mentioned below to increase okra production.
Why are my okra plants not growing?
There can be a number of reasons for improper growth of your plants. Some of the common reasons for this are:
- Lack of proper sunlight: sunlight is very important and main factor for growth of okra. It needs sun for 7-8 hours daily. Hence if the crop doesn’t get sufficient sunlight then it will not bloom.
- Heat: Heat is very important for okra as cool climate will lead to rotting of the seeds. The temperature of soil should be at least 70° F. Therefore heat is necessary however if the plant doesn’t get sufficient heat then it may end up growing improperly. Hence it is said that areas having plenty of sunlight are most suitable for okra production.
- Not getting enough water: Though okra is a plant that doesn’t need much water and can survive in less amount of that for a good and healthy plant it is important to water the plant from time to time.
- Improper nutrition: It is clear that if a plant doesn’t get sufficient amounts of nutrients required then growth will definitely be affected. Hence to avoid this situation, one can add necessary fertilizers to the crop to fulfill the need of nutrients. For example, adding phosphorus is beneficial for flowering.
- Right time: Usually the plant matures in 55-65 days but sometimes it may take a bit longer. Nothing can be done in this situation except wait. One should have patience and wait for flowering.
Must Read: Planting and Growing Okra Step by Step
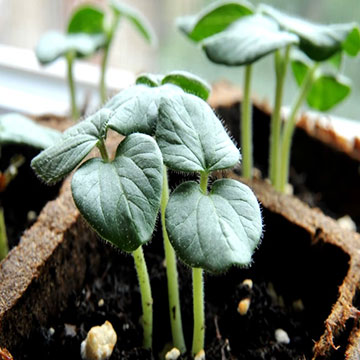
What to do with the wilted seedlings?
Wilted seeds are a common problem that you may often face. But it is not a big deal if you take necessary action on time. Keeping your crop hydrated can save them from wilting.
If you find that your plant is wilted then water it until the soil becomes moist. Then wait for about an hour and if you feel that the soil is dry then water it again.
Usually, in hot and dry climates the water gets evaporated very fast hence leads to wilted seeds. To treat this you need to water the plants at regular intervals. But before irrigation, put your finger in the soil 1-2 inches deep and check whether the soil is dry.
If the soil is dry then water it. On the other hand, if the soil has moisture then the reason for wilting is not lack of water. Excess sun or wind or any pest or disease may be responsible for this. So to avoid this change the position of the plant and shift it to an area where the sunlight is not direct or excess.
Next, if the problem is excess water then for that one can make some holes on the surfaces of soil, this will allow the water to penetrate to the soil. Also to avoid this one should check the soil before watering.
Along this remember that you don’t keep your plant in a pool of water as this can lead to yellow leaves.
Also Read: Why Are My Papaya Leaves Wilting
How to get rid of aphids on okra plants?
Firstly aphids are small-sized insects that feed on the plant and suck the nutrients. These insects cannot be recognized easily. They are very tiny in size and can not be easily seen with naked eyes.
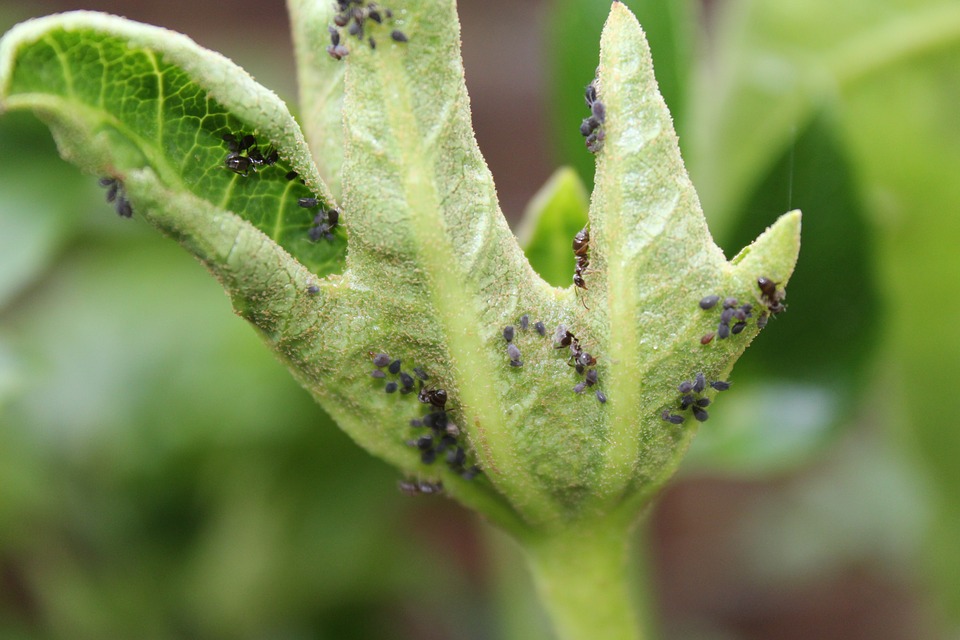
Okra exists in a variety of colors like yellow, brown, light green, pink or black. They have a waxy or wool-like coating on the surface. They have long antennae on their pear-shaped body. There are different methods to control aphids like:
- Aphids are not very friendly to cold water. Hence one you spray chilled water on the leaves, there is no coming back of aphids on the same plant.
- Flour can be another cure to aphids. Flour constipates the aphids hence can be sprinkled on the plant
- Neem oil also has properties to destroy aphids. Along this insecticidal soaps or any dish washer solution can also be used.
- Diatomaceous earth is an organic material that will vanish the aphids without harming the plant.
- Isopropyl alcohol can also be used to control aphids. Ethanol however is also a great option.
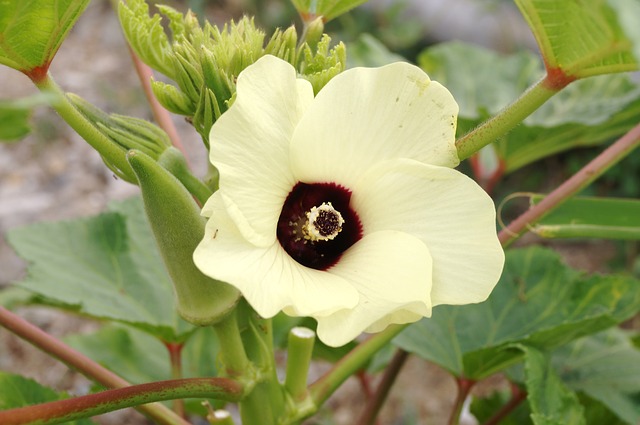
Why is my plant not Blooming?
There can be different reasons for this but insufficient water is one of the main and common reasons for not Blooming. Along with this improper sunlight also delays blooming. Pruning of the plant on time is very important in this cultivation.
Hence if you don’t do this activity on time, then plants may not show flowering. Hence one should take care of all the above-mentioned points so that your plant blooms on time.
Homemade fertilizers of okra plant:
You can prepare fertilizers for your okra plant at home and increase production of okra plants by multiple folds. Preparing fertilizers at home will surely improve the quality of it as well as will be organic. A list of homemade fertilizers is given below:
Compost:
Compost is very common as well as easy to prepare. It is used by many cultivators for all types of crops. To prepare this, dig up a big hole in the ground. Put a layer of soil mixed with dry leaves. Then you can add a lot of things like kitchen waste like vegetable and fruit peels or other kitchen waste, paper, clothing, etc.
After that again cover it with a layer of soil and leaves. You can add such types of waste products afterward also. Now leave this for 45 days and your compost is ready.
You can also make a very nutritional solution for your crop again using your kitchen products. You can use the left over water or water from the vegetables or water left after washing your cereals. Whether it is pasta or eggs you can use all of them. Collect all the water and let it cool and you can use it. Also you can use hot boiling water on weeds to destroy them
Eggs shells

Eggs shells can also provide some nutrients to the plant. You can use all the leftover eggshells. Dry them properly and then grind them. Hence they are ready to be used. These contain calcium carbonate that improves the fertility of the soil.
These are some of the homemade fertilizers that can be used for your crop
Bottom line:
okra crop is one of the easiest crops to grow. However similarly as other crops they need proper care. In this article you can learn about some facts and points that you should know if you are growing okra crops and wish for higher crop yield than usual.