Lemongrass is one of the easiest plants to grow in your home garden. However, if it gets a little fussy and specific about something, it is the watering requirements that it demands.
Therefore, one thing that most people growing lemongrass are worried about is how often should I water lemongrass. While it requires a careful intervention to water your lemongrass plant, a short answer to the question would be to water the plant every day in summers or if you live in arid regions and reduce the quantity to 3 days a week in temperate environments.
As mentioned earlier, one requires a great deal of knowledge about watering lemongrass right. In the following article, we present a detailed account of how to do so along with some general tips to take care of your lemongrass plant while growing.
Watering Lemongrass
Watering lemongrass is rightly important due to its native relevance. Plants grow to their maximum extent if their natural environment is habituated correctly.
Belonging to the tropical surroundings, lemongrass is very specific about how you water it and usually expects a surplus when compared to other plants.
Another rationale behind the excessive watering needs of the lemongrass plant is the speed at which it grows. During the hot and humid weather conditions, lemongrass shows a drastic and rapid development. For this process, it requires ample amounts of water.
Besides the season, another factor that impacts the watering needs of your lemongrass plant is the soil in which you are growing it. If your bedding soil is sandy and loose, then you are expected to water your plant more frequently than if the soil is loamy or a bit silty.
Loamy soil has properties that allow it to retain significantly high levels of moisture. Consequently, the watering requirements of the plant are reduced.
If you cannot water your plant every day, you can enhance its moisture retaining ability by adding a rich layer prepared with organic mulch. Adding mulch can seem a little expensive initially, but it offers other benefits like slowly releasing nutrients for the soil to absorb, thus fulfilling its feeding requirements.
When to water lemongrass?
Generally, it is recommended to water plants either early in the morning or early in the eveving (that is, post afternoon). The right time to water plants remains the same for each variety. Fortunately, lemongrass doesn’t follow a very different rule here and watering it in the early hours provides it with maximum benefits.
One of the simplest tips to help you stay right on track with the watering needs of your lemongrass plants is to never allow it to dry and become cranky. This will straight up lead to your plant dying. The soil should stay fertile, moist, and nutrient-rich at all hours of the day. A simple finger sticking test should be an easy way to identify when your lemongrass requires water.
Another tip to take into consideration while watering your lemongrass plants is to irrigate the plant deeply till the water reaches the soil. It helps improve the moisture retaining ability of your soil and keeps it moist and fertile for a long time.
Also Read: How Long Does Lemongrass take to Grow?
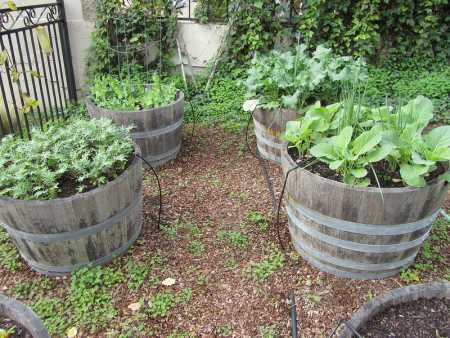
Watering lemongrass in containers
While lemongrass is usually grown in the open garden, most people prefer to grow them in pots and containers of different shapes and sizes to add variety in their garden. When the plants are grown in containers, their watering requirements change dramatically.
One of the most important ingredients to ensure that the plants grow to their fullest potential in containers is a blend of organic compost with potting mix. Bedding your containers with the right mix of ingredients is important for keeping your plants healthy in the long run. This also prevents you with the trouble of repeatedly changing the potting mixture to suit the needs of the plant.
When your plants are grown while being confined to the boundaries of a container, it leaves little room for them to breathe. To allow the constant ventilation and aeration between the roots of the plant, drainage holes are mandatory. Create big holes in your container to prevent root rot and other issues that could arise from a boggy soil.
Additionally, most containers have wide side openings that facilitate the quick evaporation of water from the soil. Therefore, the watering requirements of lemongrass kept in containers increases as compared to those that are grown independently. So, if you water your regular plant once every two days, water your plant growing in a container once each day. You can adjust this frequency by sticking a finger and checking the texture.
Another way to deal with the evaporation occurring in containers is to add a layer of organic mulch over the potting mixture. Besides lowering the rate of evaporation, it also enhances the ability of the soil to retain moisture. Finally, you can go for a container with comparatively narrower side openings, but with large enough space to grow plants.
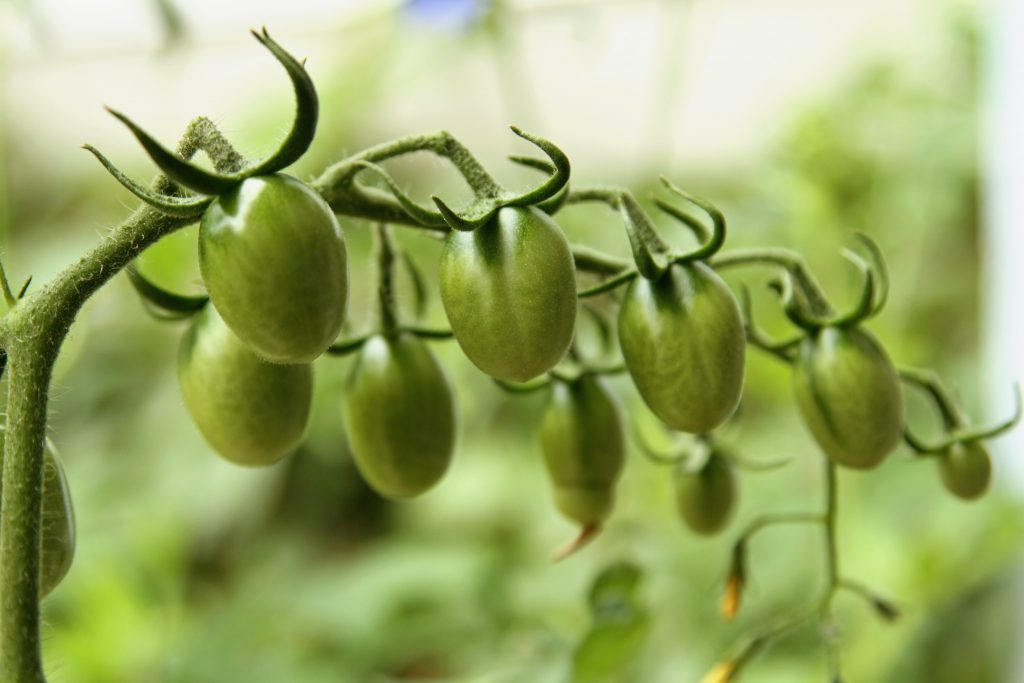
Check this out: Is Chicken Manure Good for Tomato Plants?
Lemongrass leaves turning brown
It is impossible to end our discussion about watering lemongrass without talking about one of the most common problems that it gives rise to, the leaves turning brown.
If your lemongrass plant is slowly turning brown without an unexplainable reason, it is probably because of the issues with proper watering and feeding.
When the plant doesn’t receive an adequate amount of water, it loses its ability to circulate nutrients and facilitate their absorption.
Therefore, if the leaves of your plant have started to turn yellow or brown, this is a sign to start watering them systematically. To speed up the recovery process, you can also feed your plant with a dose of nitrogen fertilizer at least once every month. It largely covers up for nutrient deficiency.
Key Takeaways
To summarize, watering lemongrass once every other day is recommended during every season. The plant loves to grow in moist soil and the roots tend to rot in soggy soil, so it is also important to do a quick finger check before watering your plants to avoid the issue of overwatering.
It is also desirable to create holes in the container in which you grow your plant to ensure proper aeration and drainage mechanism. Rest assured, your lemongrass plant will very smartly try to convey to you its deficiency needs, and if you have the right knowledge, you can allow proper growth conditions for it.
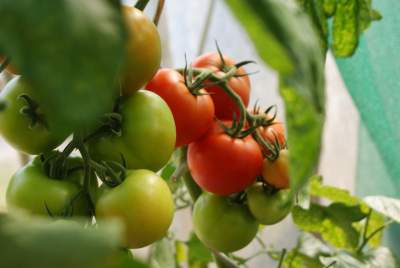
Also Read: Should I Cut Off Yellow Leaves on Tomato Plants?
Taking care of Lemongrass plant
While watering is one of the most important considerations to keep in mind when growing a lemongrass plant, one cannot dismiss other fundamentals, as they help in the holistic and sustainable development of this exotic species.
Here are a few quick and general tips to take care of your lemongrass plant and make sure that it stays in the best of its health for as long as it can:
Sunlight
The lemongrass plant is a tropical inhabitant. Like its watering needs should suffice with the demands that are originally met in its native habitat, similar is the case with sunlight.
The lemongrass plant grows best when it is exposed to roughly 6 hours of direct sunlight each day. Note that 6 hours is the minimum duration and it significantly increases during the cold weather. In such seasons, you can also arrange sources of artificial light to meet with the optimal lighting requirements of the plant.
If your plant is devoid of complete sun exposure, it can become an attractive hub for pests and turn significantly sparse. This can further contribute to its deteriorating health, also resulting in stunted growth.
Soil Type
The lemongrass plant is also particularly specific about the type of soil in which it thrives. While it is easy to grow them in any kind of soil, choosing the most appropriate fit eases your burden and facilitates better progress.
Generally, a nutrient rich, organic, and loamy soil with slits is preferred to grow lemongrass. This need arises from the fact that this kind of soil retains moisture for a long time, thus meeting the water needs of the plant as well. This kind of soil is both commercially available and can be made using easy ingredients like leaf mold, manure, and compost. Mixing these soil amendments is an ideal solution to growing the best kind of plants.
Apart from being organic in nature, these additives are also nutrient rich and enriching in their texture.
Also Read: Best Soil for Sweet Potatoes Growing
Temperature and Humidity
Hot and humid climates are the hometown of lemongrass plants and it constantly seeks comfort in such an environment. Therefore, to ensure that your lemongrass plant achieves the best growth potential, it is ideal to grow it within the temperature range of 50 degrees Celsius and above.
In winters, the lemongrass plant requires special attention. You cannot let your plant sit in temperatures that fall below 40. It is best to prepare a greenhouse setting with artificial light and a humidifier when the weather is cold.
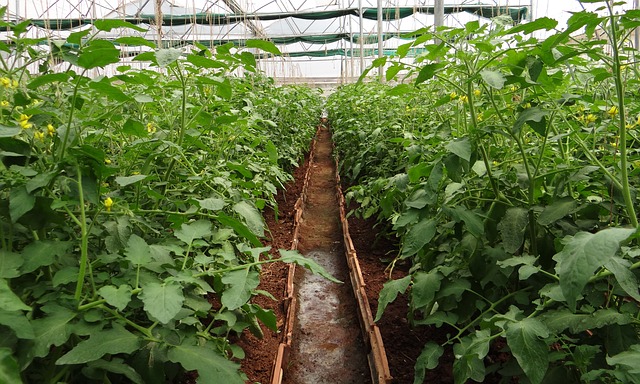
If you grow tomatoes in your garden, then it should be easy for you to cater to the temperature and humidity demands of lemongrass since they are remotely the same.
Meeting the nutritional requirements
Feeding your plant rightly is another very important aspect of growing lemongrass that most people tend to skip. Watering it right and keeping it under direct sunlight will probably not work unless there is no food to absorb nutrients for.
Providing the right kind of fuel to your lemongrass plant involves the use of fertilizers and organic mulching. Fertilizers that are high in nitrogen concentration are ideal to use in lemongrass. However, they should be neutralized with compost before application to avoid the adverse effects of the chemical on plants.
Organic mulch, on the other hand, is a comparatively easy way out but requires a lot of financial assets, making it unaffordable for a huge population. Slow release fertilizers are the most suitable pick for lemongrass since it saves you from the time and energy that comes from feeding it every now and then.
If you feel the need to add some trace nutrients to your lemongrass yield, try mixing manure tea into water and spray it on your plants for maximum effect. Not only does it ensure that your plants are watered right, but it also provides essential nutrients which might have otherwise gone unattended.
Conclusion
The native of Southeast Asia, this exotic lemongrass plant has been serving exquisite features in many international cultures for a long period.
It is also one of the most celebrated plants of the species because of the excellent medical and insect- repellent properties. To make sure that you are reaping the maximum benefits of lemongrass, it is helpful to understand its watering demands and other general requirements that help it to strive sustainably.
With the tips given in the aforementioned article, you can remain assured of the quality of lemongrass that’ll yield in your garden. Happy gardening!