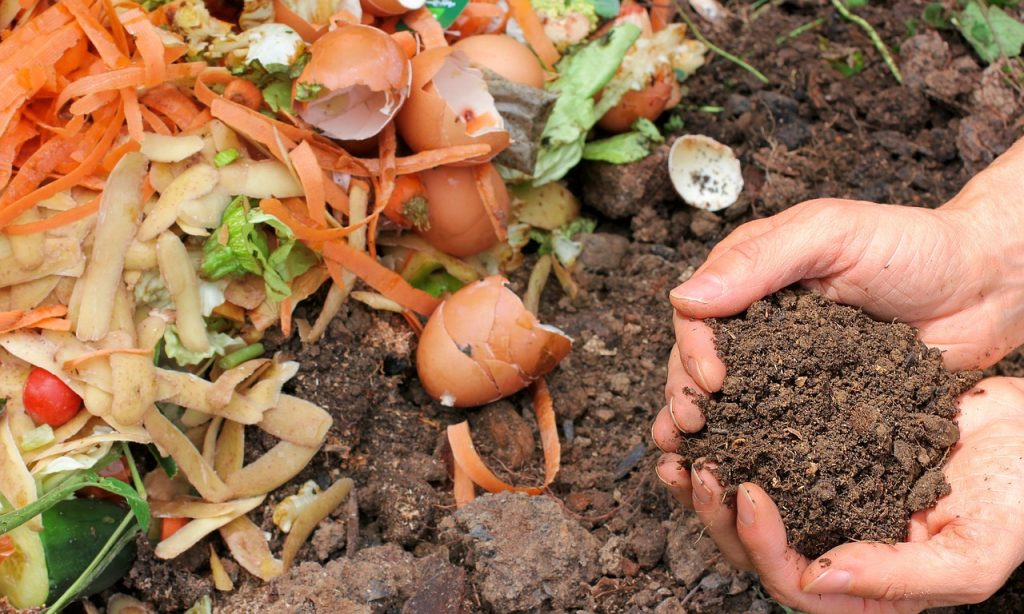
Newspapers and cardboard are often discarded as waste, but they can actually play a crucial role in composting. Both materials are rich in carbon (the “browns” in the composting process), which helps balance the nitrogen-heavy “greens” like kitchen scraps or manure. By incorporating these materials into your compost pile, you can create nutrient-rich soil while also recycling common household items. Here are five creative ways to use newspaper and cardboard in composting.
1. Shred and Mix Newspaper into Your Compost Pile
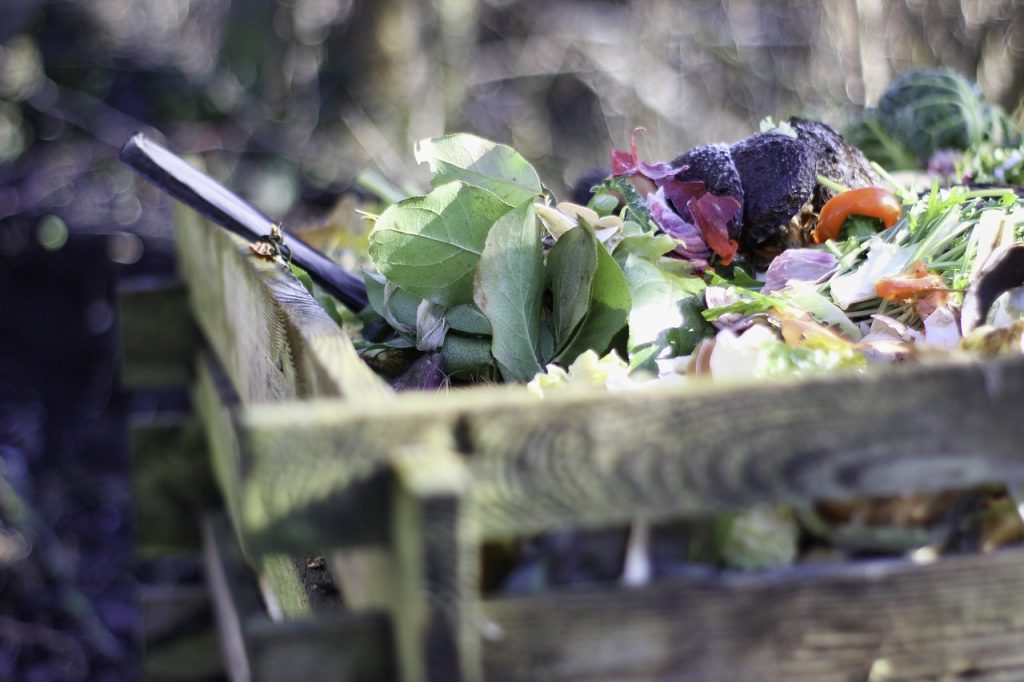
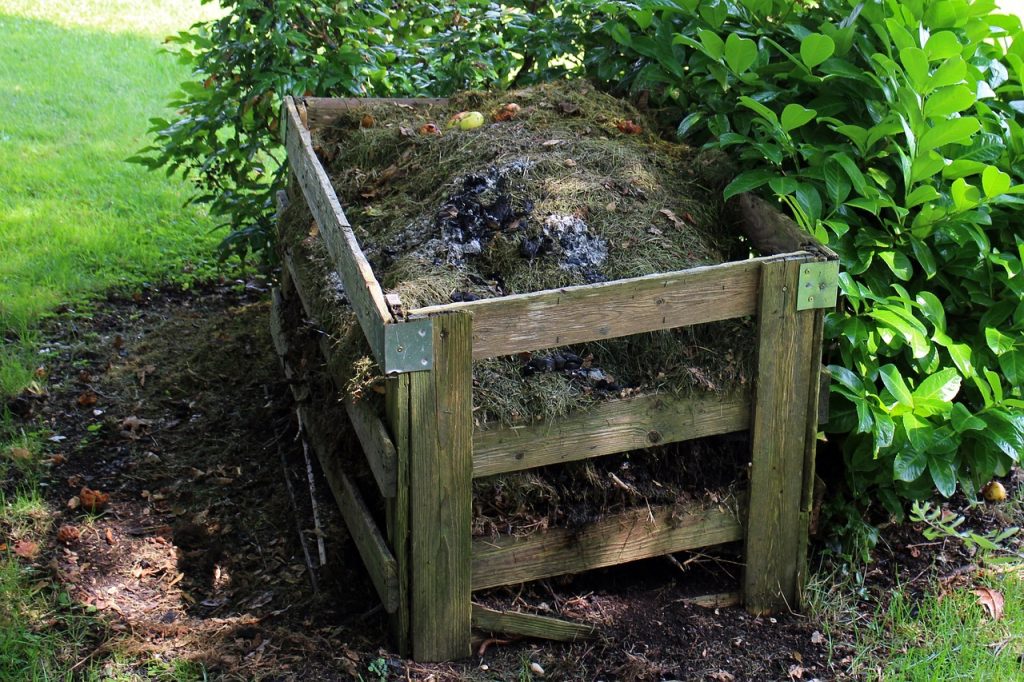
Shredded newspaper can be a great addition to your compost pile, helping to maintain the right balance of carbon and nitrogen. The shredded paper provides a light, airy structure to the compost, promoting aeration and preventing the pile from becoming too compacted. It also helps absorb excess moisture, preventing the compost from becoming too soggy.
How to Use:
- Shred your newspaper into strips or small pieces before adding it to your compost pile.
- Mix the shredded newspaper with other compostable materials like fruit and vegetable scraps, grass clippings, and leaves.
- Aim for a carbon-to-nitrogen ratio of 25:1 to ensure effective decomposition.
Benefits:
- Improves air circulation in the compost pile, speeding up the decomposition process.
- Absorbs excess moisture, maintaining the ideal dampness for composting.
- Helps balance the nitrogen-heavy materials in the pile, preventing odors.
2. Use Cardboard as a Weed Barrier
Cardboard is an excellent material for suppressing weeds in your garden while also being a valuable addition to your composting efforts. When placed over bare soil or between rows of plants, cardboard acts as a natural weed barrier by blocking sunlight and preventing weed seeds from germinating. As it decomposes, it adds valuable organic matter to the soil, enriching it for future crops.
How to Use:
- Lay flat pieces of cardboard directly on the soil around your plants or over a weed-prone area.
- Water the cardboard thoroughly to help it start decomposing faster.
- If using in a garden bed, cover the cardboard with mulch, soil, or compost to hold it in place and speed up the breakdown process.
Benefits:
- Prevents weeds from taking over your garden or compost area.
- Adds a rich carbon source to the compost pile as the cardboard breaks down.
- Enhances soil structure and helps retain moisture.
3. Make a Layered Composting System Using Newspaper and Cardboard
Layering your compost pile, also known as “lasagna composting,” is an effective technique for building up nutrient-rich compost. Newspaper and cardboard can serve as a valuable layer in this process. These materials help create the necessary structure for the compost pile, allowing for proper airflow and moisture retention while contributing valuable nutrients to the soil.
How to Use:
- Start with a base layer of cardboard or newspaper at the bottom of your compost bin or pile to provide a good foundation and encourage drainage.
- Add layers of kitchen scraps (greens), leaves (browns), and other compostable materials on top, alternating between wet and dry layers.
- Continue layering until your compost pile is several feet high, ensuring that you finish with a layer of carbon-rich materials like shredded newspaper or cardboard.
Benefits:
- Reduces the need for turning the compost frequently, as the layers break down more evenly.
- Promotes balanced decomposition with a good mix of greens and browns.
- Helps retain moisture in the pile, preventing it from drying out too quickly.
4. Create a “Sheet Mulch” with Cardboard and Newspaper
If you’re looking for an easy way to improve your soil and protect it from erosion, using cardboard and newspaper as sheet mulch is an effective method. This involves laying cardboard or newspaper on the soil to create a barrier that suppresses weeds, holds moisture, and adds organic matter to the soil as it decomposes.
How to Use:
- Lay a layer of cardboard or several sheets of newspaper on the soil, covering all exposed areas.
- Overlap the edges to ensure complete coverage and prevent weeds from growing through.
- Top the cardboard or newspaper with mulch, compost, or soil to enhance the decomposition process and further protect the soil.
Benefits:
- Creates an effective, low-cost weed barrier that also improves soil fertility.
- Prevents soil erosion by stabilizing the surface and holding moisture.
- Decomposes slowly, enriching the soil with organic matter over time.
5. Make Your Own Seed Starting Pots
If you’re an avid gardener, you can also use newspaper and cardboard to make biodegradable seed-starting pots. These pots can be placed directly in the soil, where they break down and add nutrients to the soil as the plants grow. This is a great way to recycle old newspaper and cardboard while giving your plants a sustainable, eco-friendly start.
How to Use:
- Roll strips of newspaper or cardboard into tubes to create small pots. You can secure them with a bit of tape or glue.
- Fill the pots with soil and plant your seeds.
- When the seedlings are ready for transplanting, plant the whole pot directly into the ground. The pot will decompose, adding organic matter to the soil.
Benefits:
- Reduces waste by reusing newspaper and cardboard for a useful purpose.
- Offers a biodegradable alternative to plastic pots, which can harm the environment.
- Allows you to transplant seedlings without disturbing their roots, promoting healthier growth.
Conclusion
Newspaper and cardboard are versatile materials that can be creatively incorporated into your composting routine. From improving soil structure to creating sustainable weed barriers and seed pots, these everyday items are perfect for enhancing your compost pile while reducing waste. By using them in the ways outlined above, you can boost your composting efforts, enrich your garden, and promote a more sustainable farming or gardening practice. Give these creative methods a try, and enjoy the benefits of healthier, more fertile soil.