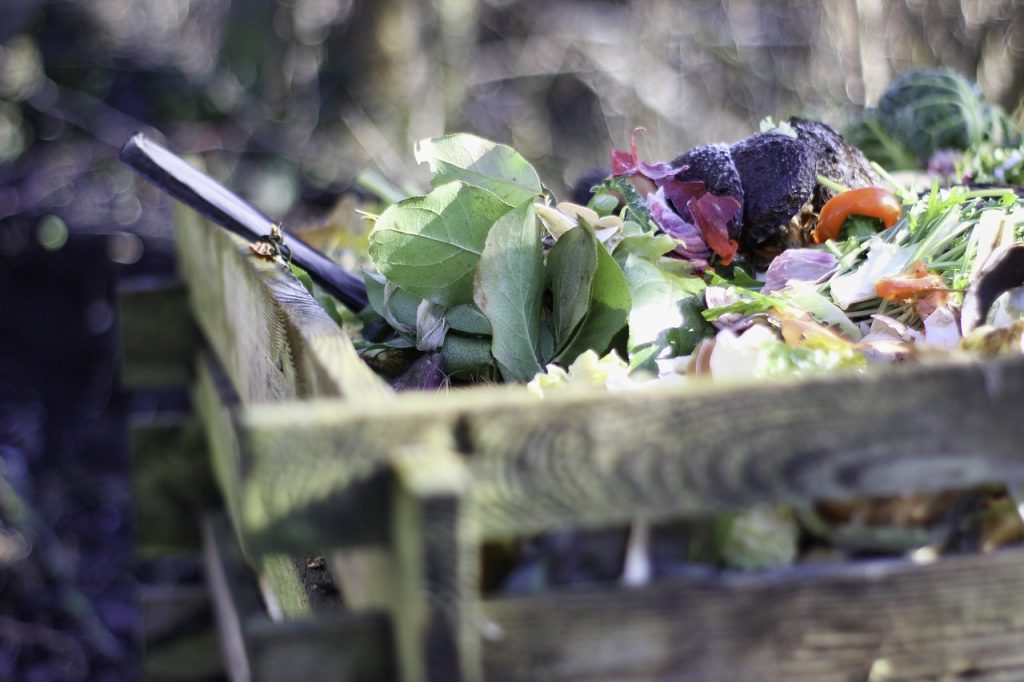
The carbon-nitrogen (C) ratio is one of the most important factors in composting. It directly influences the speed and quality of decomposition. Achieving the right balance between carbon (C) and nitrogen (N) is essential for maintaining a healthy compost pile. Too much carbon will slow down decomposition, while too much nitrogen can cause unpleasant odors and excess heat. In this guide, we’ll help you understand how to balance these two elements in your compost pile for optimal results.
What is the Carbon-Nitrogen Ratio?
The carbon-nitrogen ratio refers to the proportion of carbon (which provides energy for microorganisms) and nitrogen (which provides protein for growth and reproduction) in the composting materials. The ideal ratio for a balanced compost pile is around 30:1—30 parts carbon to 1 part nitrogen. This ratio promotes efficient microbial activity, speeds up decomposition, and results in high-quality compost.
Why the Carbon-Nitrogen Ratio Matters
- Faster Decomposition: The right Cratio creates an environment where microorganisms break down organic matter at an optimal rate, turning waste into compost more quickly.
- Odor Control: An unbalanced compost pile can lead to unpleasant smells. Too much nitrogen leads to anaerobic conditions (lack of oxygen) and foul odors, while too much carbon can cause the pile to become too dry and slow down decomposition.
- Nutrient-Rich Compost: Properly balanced compost provides the right nutrients for plants, offering both nitrogen and carbon in the form of organic matter.
Understanding Carbon-Rich and Nitrogen-Rich Materials
Carbon-Rich Materials (Browns):
These materials are high in carbon and provide energy for the microorganisms that help break down organic waste. They tend to be dry, woody, and fibrous. Examples include:
- Dry leaves
- Straw
- Hay
- Sawdust
- Cardboard and paper (shredded)
- Wood chips
- Corn stalks
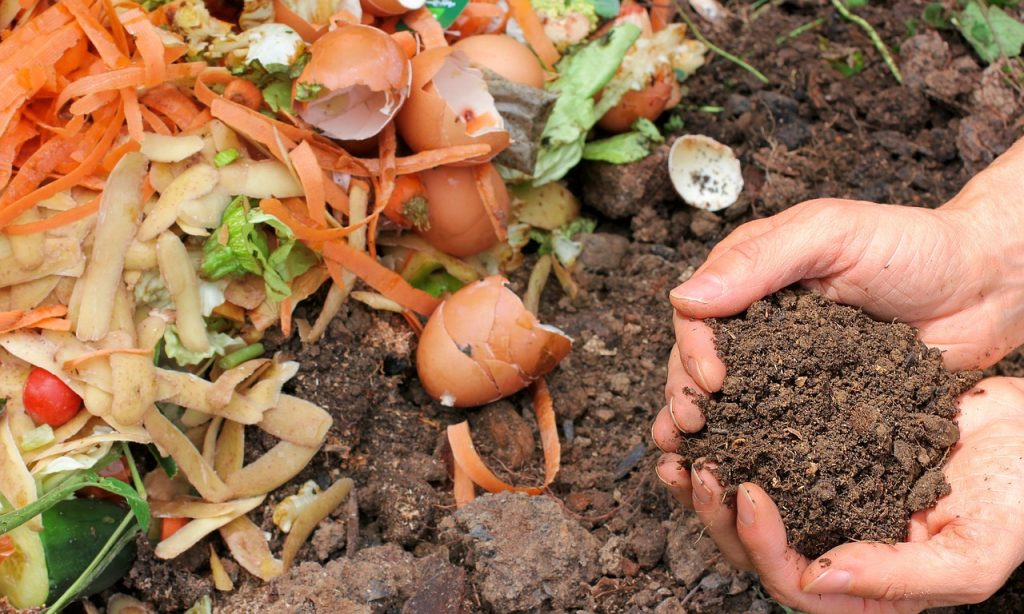
Nitrogen-Rich Materials (Greens):
Nitrogen-rich materials are high in protein and support the growth and reproduction of decomposing microorganisms. These materials tend to be moist and rich in nutrients. Examples include:
- Grass clippings
- Fruit and vegetable scraps
- Coffee grounds
- Eggshells
- Manure (from herbivores like cows, horses, chickens, etc.)
- Green plant clippings
- Fresh grass or weeds
How to Achieve the Ideal CRatio in Your Compost
Achieving the correct balance between carbon and nitrogen involves adding the right combination of materials. Here are some tips to help you get it right:
- Mix Brown and Green Materials: For optimal composting, aim for a 30:1 ratio of carbon to nitrogen. If you’re unsure, aim to mix 3 parts browns (carbon-rich materials) with 1 part greens (nitrogen-rich materials).
- Layering Your Compost Pile: One of the easiest ways to get the balance right is to layer materials in your compost bin or pile. Start with a layer of carbon-rich materials (such as dry leaves or straw), followed by a layer of nitrogen-rich materials (like kitchen scraps or fresh grass). Continue layering until your compost pile is at the desired size.
- Shred Carbon Materials: Shredding carbon-rich materials (like cardboard, newspaper, and leaves) helps them break down more quickly and evenly. Smaller pieces decompose faster than large ones, so shredding or chopping helps to maintain a balanced Cratio.
- Monitor Your Pile: Keep an eye on your compost pile’s moisture and temperature. If it’s too wet or smelly (which could indicate too much nitrogen), add more carbon-rich materials. If it’s too dry or not decomposing, add more nitrogen-rich materials or water to increase moisture.
- Adjust as Needed: Sometimes the compost pile’s Cratio will need adjustments. If it’s not breaking down as expected, try turning the pile to add more oxygen or mixing in additional carbon or nitrogen materials.
Signs Your Compost Pile Needs Adjusting
- Too Much Nitrogen (Greens):
- The pile is slimy and smells bad.
- It’s too wet, with excess moisture.
- Decomposition is slow or stagnant.
- Too Much Carbon (Browns):
- The pile is dry and crumbly.
- It’s decomposing slowly.
- The pile lacks the heat that is necessary for efficient decomposition.
The Role of Temperature and Moisture in Achieving the Ideal CRatio
Temperature and moisture also play an important role in composting. Maintaining the right moisture level (about 40-60%) is key for the microbes to thrive. If the pile is too wet, excess nitrogen can lead to odor issues. If the pile is too dry, microorganisms won’t be able to function properly.
As for temperature, a well-balanced compost pile should reach a temperature of 120-160°F (49-71°C). This high temperature speeds up the decomposition process. If your pile is not heating up, it may indicate an imbalance in the carbon-nitrogen ratio, so adjust the materials accordingly.
Composting Tips for Special Materials
- Manure: Manure is a great source of nitrogen but can also be rich in pathogens. To compost manure safely, mix it with carbon-rich materials and allow it to decompose fully to kill off any harmful bacteria.
- Green Weeds: Weeds can be composted, but they should be added in moderation. Some weeds (especially those that are seed-heavy) should be composted at high temperatures to avoid spreading seeds in the finished compost.
- Dairy and Meat Products: These are not recommended for home composting because they can throw off the carbon-nitrogen balance and lead to odors. Stick to plant-based materials for the healthiest compost pile.
Conclusion
Achieving the ideal carbon-nitrogen ratio in your compost is essential for efficient decomposition and producing nutrient-rich compost for your garden. By understanding the balance between carbon-rich and nitrogen-rich materials, and by monitoring moisture and temperature, you’ll create a compost pile that works effectively. Composting not only helps you reduce waste but also benefits your plants by providing them with the essential nutrients they need to thrive. With a little attention and the right materials, you’ll be well on your way to creating the perfect compost for your garden. Happy composting!
The carbon-nitrogen (C) ratio is one of the most important factors in composting. It directly influences the speed and quality of decomposition. Achieving the right balance between carbon (C) and nitrogen (N) is essential for maintaining a healthy compost pile. Too much carbon will slow down decomposition, while too much nitrogen can cause unpleasant odors and excess heat. In this guide, we’ll help you understand how to balance these two elements in your compost pile for optimal results.
What is the Carbon-Nitrogen Ratio?
The carbon-nitrogen ratio refers to the proportion of carbon (which provides energy for microorganisms) and nitrogen (which provides protein for growth and reproduction) in the composting materials. The ideal ratio for a balanced compost pile is around 30:1—30 parts carbon to 1 part nitrogen. This ratio promotes efficient microbial activity, speeds up decomposition, and results in high-quality compost.
Why the Carbon-Nitrogen Ratio Matters
- Faster Decomposition: The right Cratio creates an environment where microorganisms break down organic matter at an optimal rate, turning waste into compost more quickly.
- Odor Control: An unbalanced compost pile can lead to unpleasant smells. Too much nitrogen leads to anaerobic conditions (lack of oxygen) and foul odors, while too much carbon can cause the pile to become too dry and slow down decomposition.
- Nutrient-Rich Compost: Properly balanced compost provides the right nutrients for plants, offering both nitrogen and carbon in the form of organic matter.
Understanding Carbon-Rich and Nitrogen-Rich Materials
Carbon-Rich Materials (Browns):
These materials are high in carbon and provide energy for the microorganisms that help break down organic waste. They tend to be dry, woody, and fibrous. Examples include:
- Dry leaves
- Straw
- Hay
- Sawdust
- Cardboard and paper (shredded)
- Wood chips
- Corn stalks
Nitrogen-Rich Materials (Greens):
Nitrogen-rich materials are high in protein and support the growth and reproduction of decomposing microorganisms. These materials tend to be moist and rich in nutrients. Examples include:
- Grass clippings
- Fruit and vegetable scraps
- Coffee grounds
- Eggshells
- Manure (from herbivores like cows, horses, chickens, etc.)
- Green plant clippings
- Fresh grass or weeds
How to Achieve the Ideal CRatio in Your Compost
Achieving the correct balance between carbon and nitrogen involves adding the right combination of materials. Here are some tips to help you get it right:
- Mix Brown and Green Materials: For optimal composting, aim for a 30:1 ratio of carbon to nitrogen. If you’re unsure, aim to mix 3 parts browns (carbon-rich materials) with 1 part greens (nitrogen-rich materials).
- Layering Your Compost Pile: One of the easiest ways to get the balance right is to layer materials in your compost bin or pile. Start with a layer of carbon-rich materials (such as dry leaves or straw), followed by a layer of nitrogen-rich materials (like kitchen scraps or fresh grass). Continue layering until your compost pile is at the desired size.
- Shred Carbon Materials: Shredding carbon-rich materials (like cardboard, newspaper, and leaves) helps them break down more quickly and evenly. Smaller pieces decompose faster than large ones, so shredding or chopping helps to maintain a balanced Cratio.
- Monitor Your Pile: Keep an eye on your compost pile’s moisture and temperature. If it’s too wet or smelly (which could indicate too much nitrogen), add more carbon-rich materials. If it’s too dry or not decomposing, add more nitrogen-rich materials or water to increase moisture.
- Adjust as Needed: Sometimes the compost pile’s Cratio will need adjustments. If it’s not breaking down as expected, try turning the pile to add more oxygen or mixing in additional carbon or nitrogen materials.
Signs Your Compost Pile Needs Adjusting
- Too Much Nitrogen (Greens):
- The pile is slimy and smells bad.
- It’s too wet, with excess moisture.
- Decomposition is slow or stagnant.
- Too Much Carbon (Browns):
- The pile is dry and crumbly.
- It’s decomposing slowly.
- The pile lacks the heat that is necessary for efficient decomposition.
The Role of Temperature and Moisture in Achieving the Ideal CRatio
Temperature and moisture also play an important role in composting. Maintaining the right moisture level (about 40-60%) is key for the microbes to thrive. If the pile is too wet, excess nitrogen can lead to odor issues. If the pile is too dry, microorganisms won’t be able to function properly.
As for temperature, a well-balanced compost pile should reach a temperature of 120-160°F (49-71°C). This high temperature speeds up the decomposition process. If your pile is not heating up, it may indicate an imbalance in the carbon-nitrogen ratio, so adjust the materials accordingly.
Composting Tips for Special Materials
- Manure: Manure is a great source of nitrogen but can also be rich in pathogens. To compost manure safely, mix it with carbon-rich materials and allow it to decompose fully to kill off any harmful bacteria.
- Green Weeds: Weeds can be composted, but they should be added in moderation. Some weeds (especially those that are seed-heavy) should be composted at high temperatures to avoid spreading seeds in the finished compost.
- Dairy and Meat Products: These are not recommended for home composting because they can throw off the carbon-nitrogen balance and lead to odors. Stick to plant-based materials for the healthiest compost pile.
Conclusion
Achieving the ideal carbon-nitrogen ratio in your compost is essential for efficient decomposition and producing nutrient-rich compost for your garden. By understanding the balance between carbon-rich and nitrogen-rich materials, and by monitoring moisture and temperature, you’ll create a compost pile that works effectively. Composting not only helps you reduce waste but also benefits your plants by providing them with the essential nutrients they need to thrive. With a little attention and the right materials, you’ll be well on your way to creating the perfect compost for your garden. Happy composting!