Raising chickens and ducks together can be a rewarding endeavor, as both birds can complement each other in various ways. Ducks are known for their foraging abilities, which can help control pests, while chickens provide eggs and other benefits. However, co-habiting these two species requires careful planning to ensure their health and happiness. This blog will explore effective strategies for successfully raising chickens and ducks together.
1. Understanding the Differences
Why: Chickens and ducks have different behaviors, needs, and temperaments. Understanding these differences is crucial for successful cohabitation.
How:
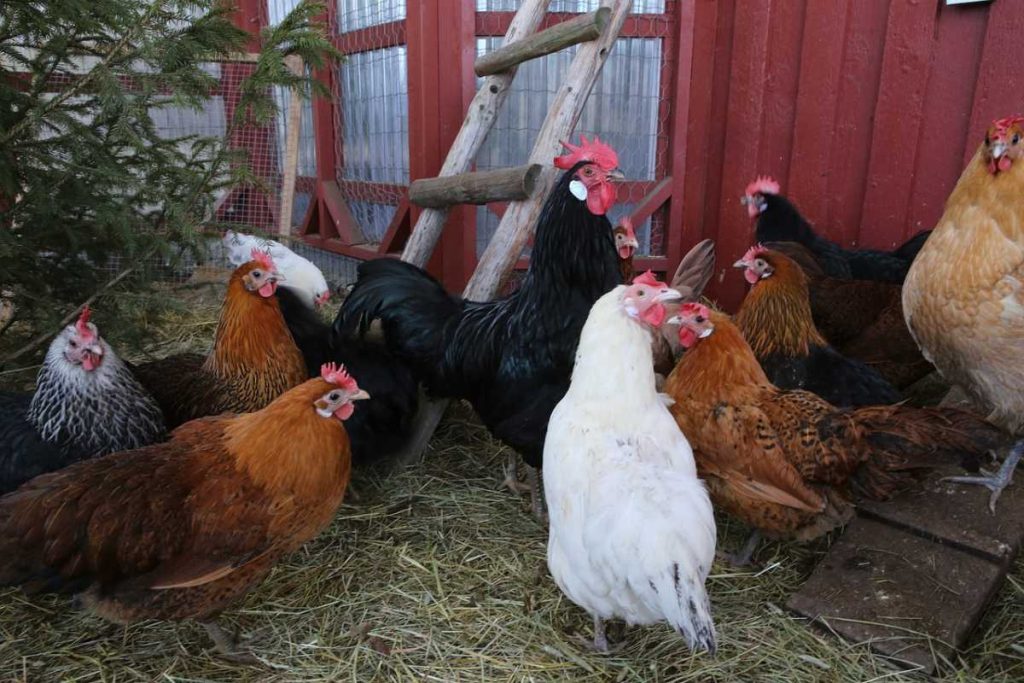
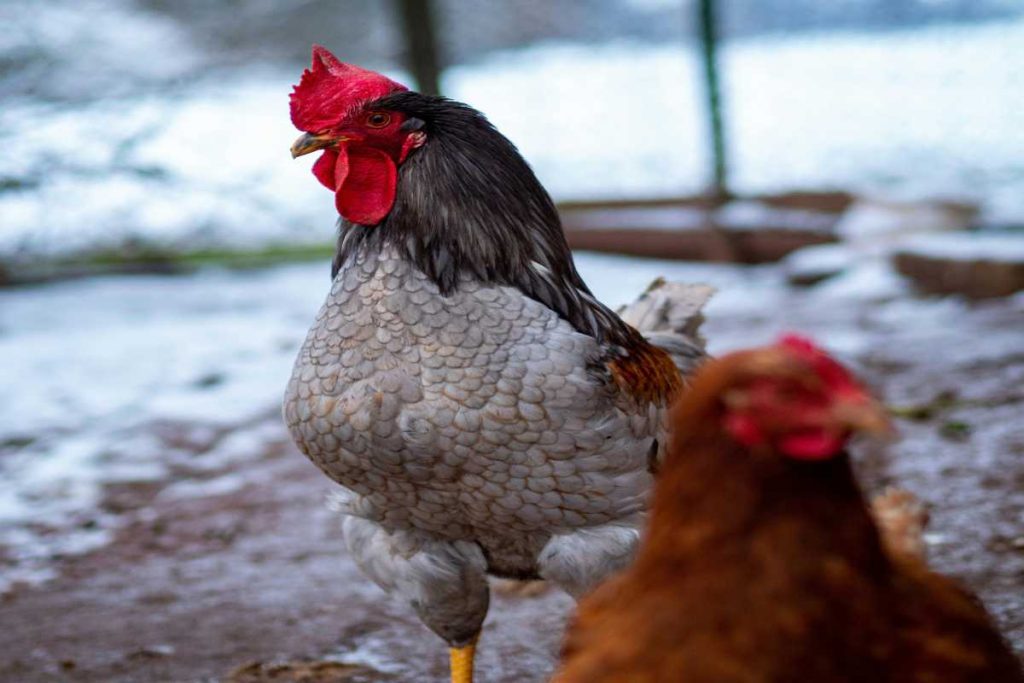
- Behavior: Chickens tend to be more aggressive and hierarchical, while ducks are usually calmer and more social. Recognize these behavioral differences to anticipate interactions.
- Water Needs: Ducks require more water than chickens, not only for drinking but also for dipping their heads. Providing a shallow pool or kiddie pool for ducks is essential, while chickens will prefer dry areas.
Tip: Observe each species’ behavior when introducing them. This will help you identify any potential issues early on.
2. Creating Separate Spaces
Why: Providing designated spaces for chickens and ducks helps reduce stress and conflict, allowing each species to thrive.
How:
- Coop Design: Build a secure coop with separate nesting areas for each species. Ensure that ducks have easy access to water, while chickens have perches and dust-bathing areas.
- Outdoor Space: Design a shared outdoor area but create sections where each species can retreat if needed. Consider using portable fencing to adjust their spaces as needed.
Tip: Ensure that the coop and outdoor space are secure from predators, as both chickens and ducks can be vulnerable.
3. Feeding Considerations
Why: Chickens and ducks have different dietary needs, and managing their feeding routines is crucial for their health.
How:
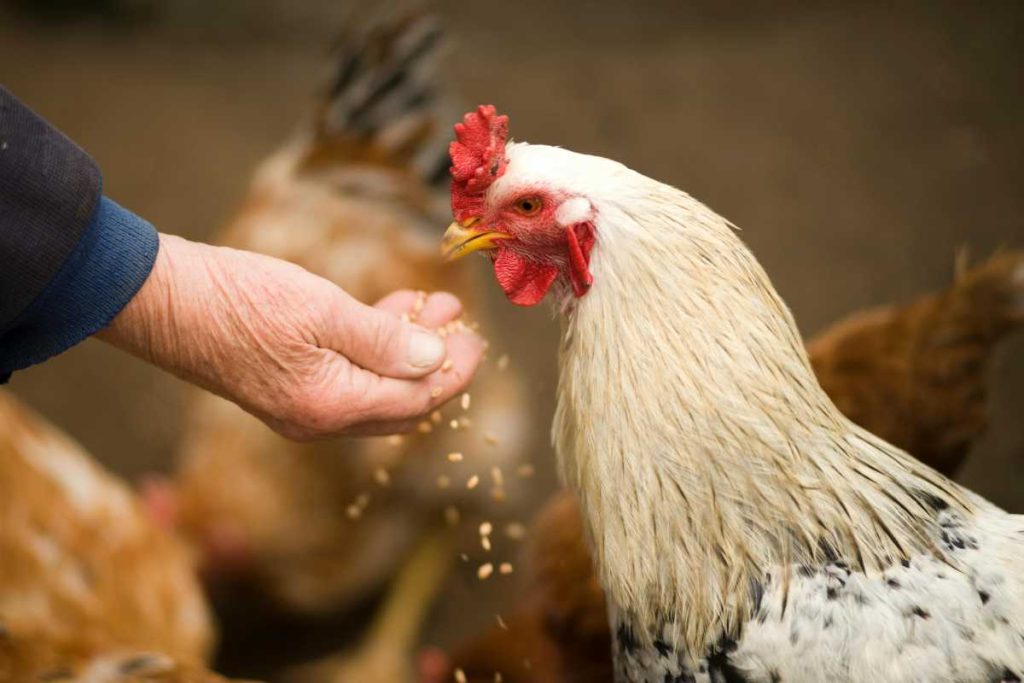
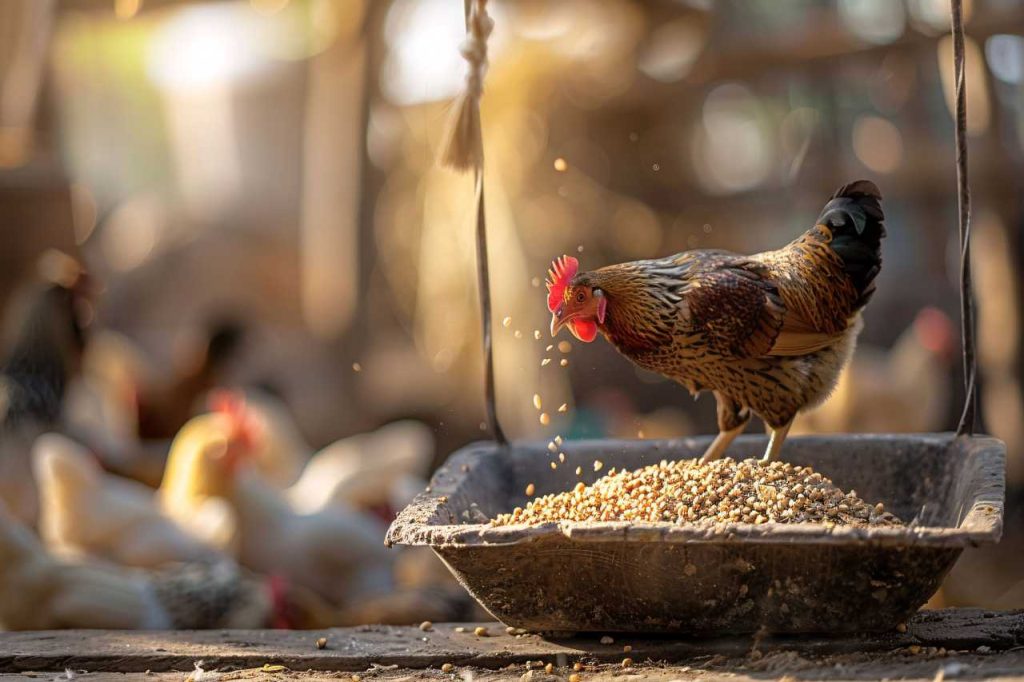
- Balanced Diet: Provide species-specific feed. Chickens typically require a high-protein layer feed, while ducks need a diet rich in niacin. Supplement their diets with kitchen scraps, grains, and greens.
- Feeding Schedule: Create a feeding schedule to ensure both species receive their appropriate nutrition without competition.
Tip: Monitor their feeding habits to ensure that neither species is dominating the feeding area.
4. Water Management
Why: Ducks need access to water for various purposes, while chickens require less water but still need a clean drinking source.
How:
- Separate Water Sources: Provide separate water stations. Ducks will enjoy having a small pond or kiddie pool for swimming, while chickens should have clean waterers.
- Maintain Cleanliness: Ducks can muddy water sources quickly, so regularly change their water to keep it clean and fresh.
Tip: Use deeper containers for ducks that they can dip their heads into, but keep chicken waterers shallow to prevent drowning.
5. Social Interaction
Why: Both chickens and ducks are social animals, and fostering positive interactions can enhance their well-being.
How:
- Gradual Introduction: Introduce them slowly and in controlled settings to monitor their interactions. Allow them to see and hear each other before full integration.
- Observation: Spend time observing their behaviors and interactions. Look for signs of stress, aggression, or dominance.
Tip: Encourage positive interactions by rewarding calm behavior with treats or attention.
6. Managing Health and Hygiene
Why: Maintaining health and hygiene is crucial for both species to prevent diseases and ensure a healthy living environment.
How:
- Regular Health Checks: Monitor both chickens and ducks for signs of illness. Check for proper feather condition, weight, and general behavior.
- Clean Environment: Regularly clean the coop and outdoor spaces to prevent the buildup of waste and reduce the risk of disease. Consider using bedding materials that are suitable for both species.
Tip: Implement a regular cleaning schedule and involve the whole family in maintaining a clean environment.
7. Breeding Considerations
Why: If you plan to breed either chickens or ducks, understanding their breeding needs and behaviors is important.
How:
- Separate Breeding Areas: If breeding, provide separate nesting boxes and areas for each species. Ducks may require more water for successful breeding, while chickens prefer dry, sheltered areas.
- Monitor Interactions: Be mindful of any aggressive behaviors during the breeding season, as both species can become more territorial.
Tip: Research breeding practices specific to each species to ensure a successful breeding process.
Conclusion: A Harmonious Co-Habitation
Raising chickens and ducks together can lead to a harmonious and productive backyard farm when done thoughtfully. By understanding their differences, creating separate spaces, managing their diets and water needs, fostering social interactions, and ensuring proper health and hygiene, you can enjoy the many benefits of co-habitation.
Whether you’re looking to diversify your livestock, enhance pest control, or simply enjoy the company of both birds, following these co-habitation strategies will help you create a thriving environment for chickens and ducks alike. Happy farming!