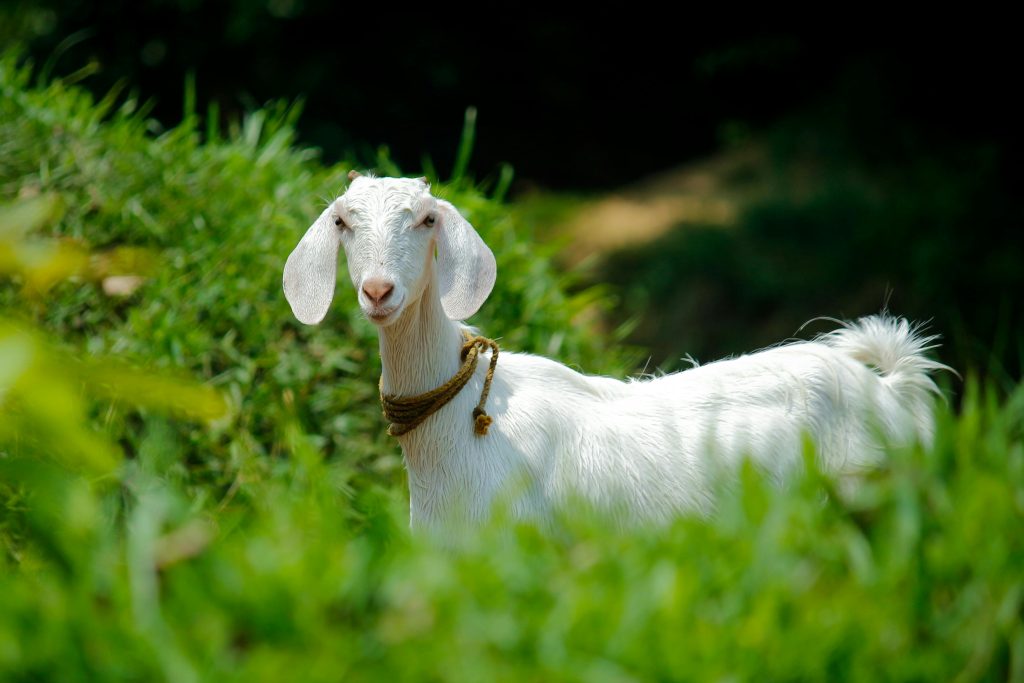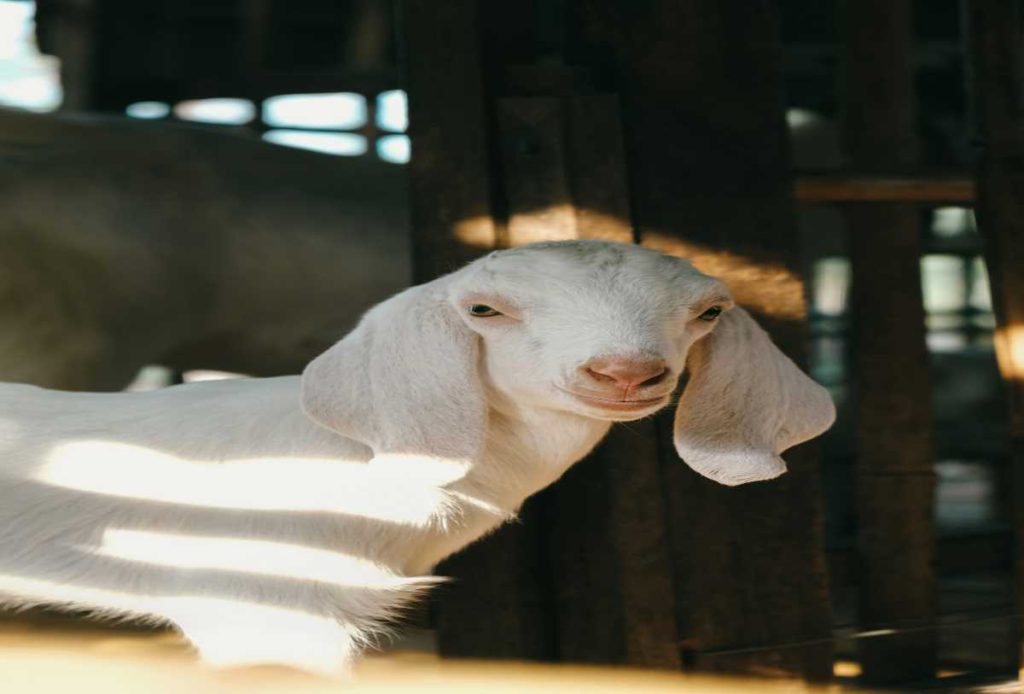
Raising goats has gained popularity among small-scale farmers, homesteaders, and even urban dwellers looking to add some charm and utility to their lives. Goats are not only adorable and entertaining animals, but they also provide a range of benefits that can enhance both your lifestyle and your farm’s productivity. In this comprehensive guide, we will explore the numerous advantages of raising goats, covering their versatility, economic benefits, and contributions to sustainable agriculture.
1. Understanding the Versatility of Goats
Diverse Purposes:
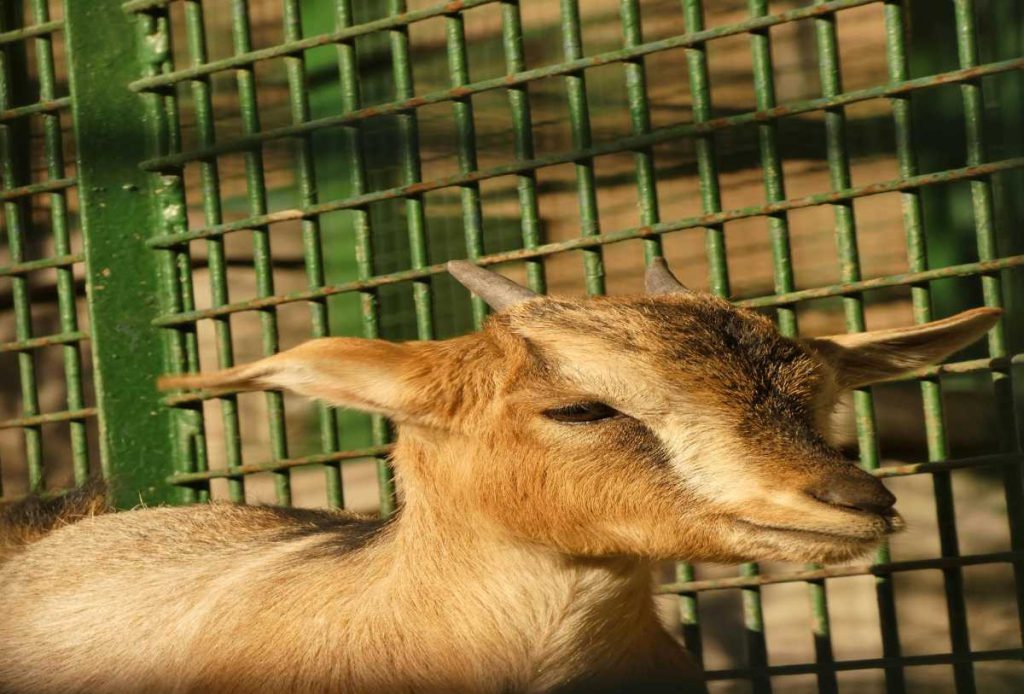
Goats are incredibly versatile animals, suitable for various farming purposes. Depending on your interests and needs, you can choose from different goat breeds that serve specific functions:
- Dairy Goats: Breeds like Saanen, Nubian, and Alpine are renowned for their milk production. Goat milk is nutritious and often easier to digest than cow’s milk, making it a popular choice for many families.
- Meat Goats: Breeds such as Boer goats are raised primarily for their meat. Goat meat, known as chevon, is lean and lower in fat compared to beef and pork, making it a healthy alternative.
- Fiber Goats: Angora and Cashmere goats produce luxurious fibers used in textiles, contributing to the fiber market.
- Pet Goats: Miniature breeds like Nigerian Dwarfs and Pygmy goats are perfect as pets. They are friendly, playful, and make wonderful companions.
2. Economic Benefits of Raising Goats
Low Startup Costs:
Starting a goat farm requires relatively low initial investment compared to larger livestock operations. Goats are smaller and require less space, making them an ideal choice for those with limited land.
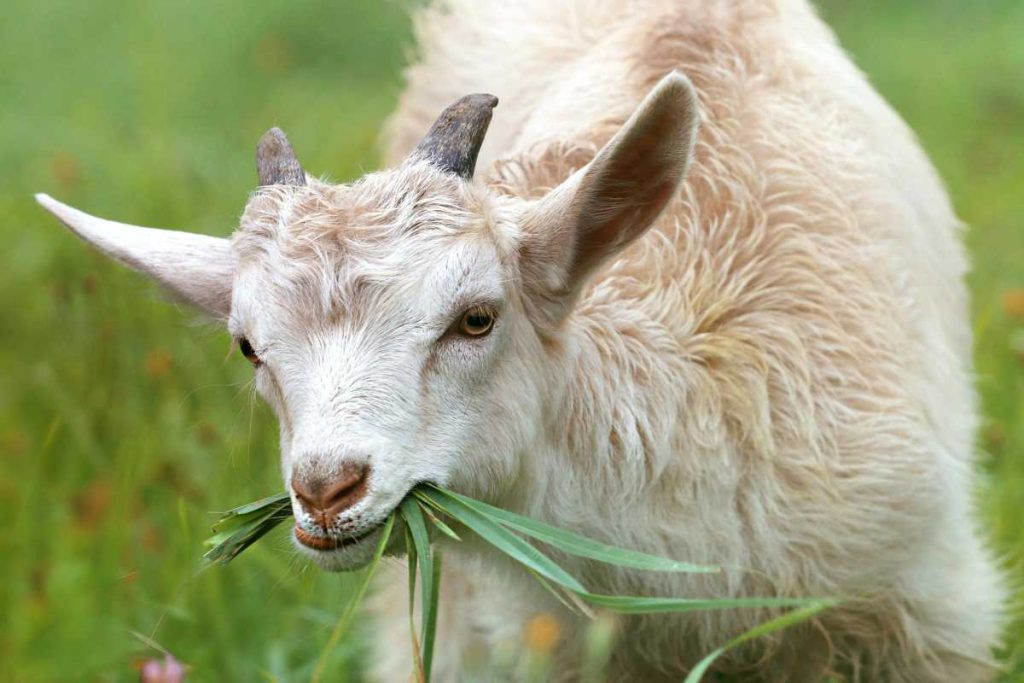
Sustainable Farming:
Goats are excellent foragers and can thrive on marginal land where other livestock might struggle. Their ability to graze on shrubs, weeds, and overgrown vegetation helps manage pastures and reduces the need for chemical herbicides.
Diverse Income Streams:
Raising goats offers various income opportunities:
- Milk Production: Goat milk can be sold fresh or transformed into cheese, yogurt, and soap, providing multiple revenue streams.
- Meat Sales: Goat meat is increasingly popular in many cultures, offering a profitable market for meat goats.
- Breeding and Selling: By breeding goats, you can sell offspring to other farmers or hobbyists.
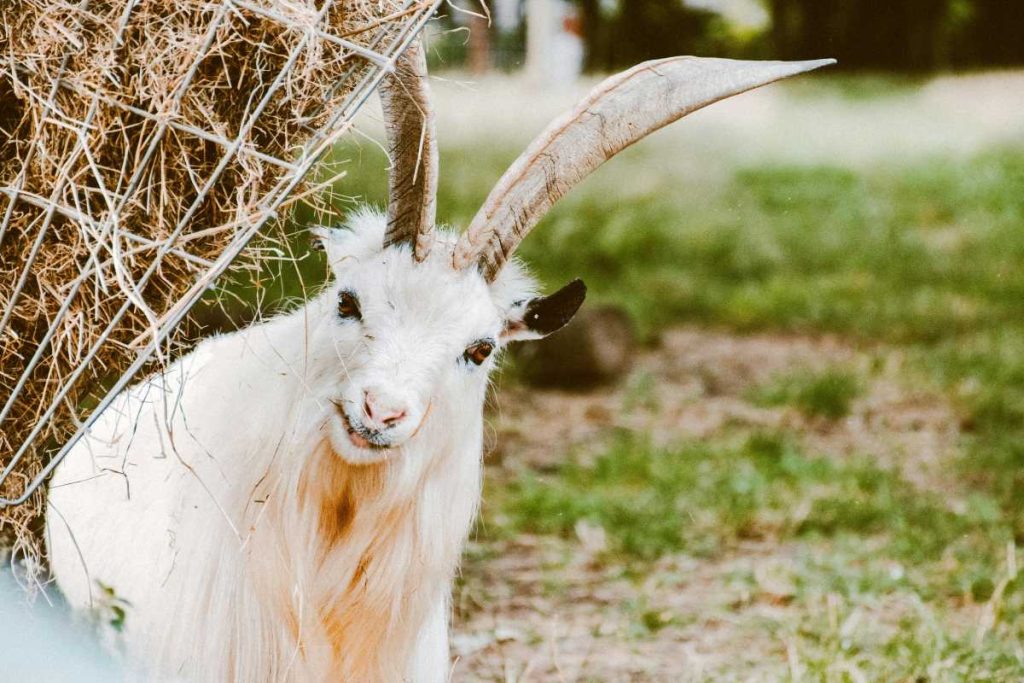
Cost-Effective Feed:
Goats are efficient grazers and can consume a variety of forage. They can thrive on pasture, hay, and agricultural by-products, reducing feed costs.
3. Health Benefits of Goat Products
Nutritional Value:
Goat milk and meat offer numerous health benefits. Goat milk is rich in vitamins, minerals, and healthy fats, making it a nutritious addition to the diet. It is also known to be less allergenic than cow’s milk for some individuals.
Lean Meat:
Goat meat is an excellent source of protein and contains less fat and cholesterol than beef and pork. This makes it a heart-healthy alternative for those looking to reduce saturated fat intake.
Rich in Fiber:
Fiber goats provide valuable materials for the textile industry. Angora goats produce mohair, while Cashmere goats produce soft cashmere fibers, both of which are in demand for high-quality garments.
4. Contributions to Sustainable Agriculture
Ecosystem Management:
Goats play a vital role in sustainable farming practices. Their natural grazing habits help control invasive plant species, promote biodiversity, and maintain healthy pastures.
Soil Health:
Goats contribute to soil fertility through their droppings, which enrich the soil with essential nutrients. Their grazing behavior also promotes healthy plant growth and soil aeration.
Waste Reduction:
Goats can consume food scraps and agricultural by-products that might otherwise go to waste. This reduces waste and contributes to a more sustainable farm operation.
5. Companionship and Social Interaction
Friendly Animals:
Goats are social creatures and thrive in the company of their herd. Their playful and affectionate nature makes them delightful companions, whether for families or as part of a larger farming operation.
Stress Relief:
Interacting with goats can provide emotional benefits. Their antics can lighten your mood and reduce stress, making them a joy to have around.
Educational Opportunities:
Raising goats offers educational experiences for families and children. Caring for animals teaches responsibility, empathy, and respect for nature.
6. Practical Considerations for Goat Farming
Space Requirements:
While goats are smaller than cattle, they still require adequate space to roam and graze. A minimum of 200 square feet per goat is recommended for outdoor space, along with a secure shelter for protection from the elements.
Fencing Needs:
Goats are notorious escape artists, so robust fencing is essential. Stock fencing combined with barbed wire or electric fencing will help keep them contained.
Health Care:
Routine veterinary care is necessary for goat farming. Regular vaccinations, hoof trimming, and deworming are essential to maintain the health of your herd.
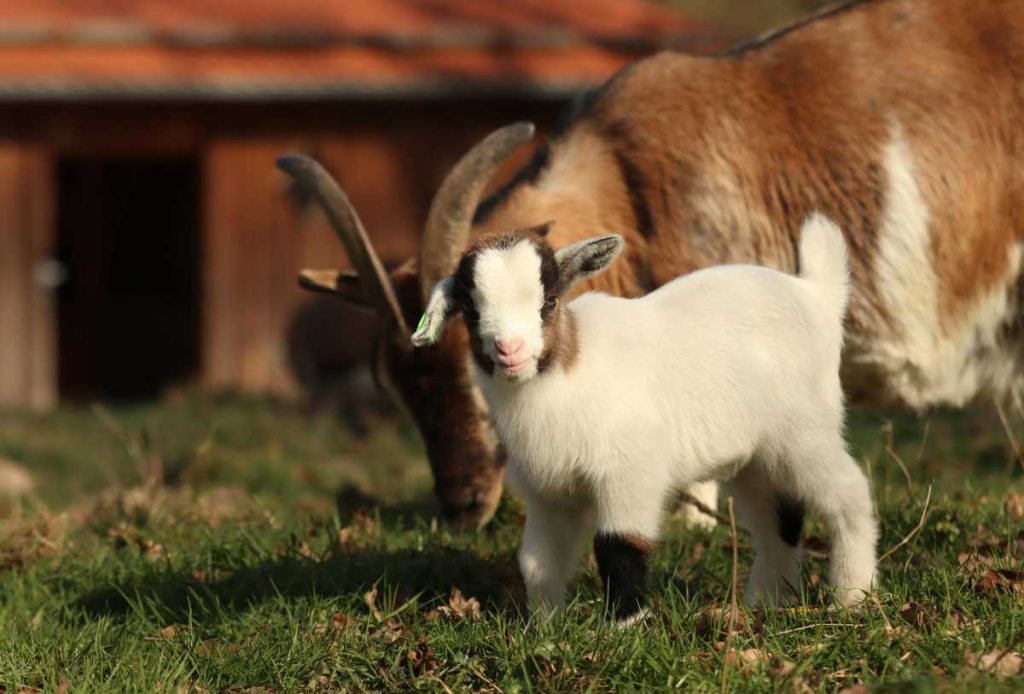
Breeding Considerations:
If you plan to breed goats, consider factors such as the breeding season, gestation period (about five months), and care of pregnant and nursing does.
7. Conclusion: The Joys of Raising Goats
Raising goats can be a rewarding venture, offering a variety of benefits that enhance your lifestyle and contribute to sustainable agriculture. From their versatility as dairy, meat, and fiber producers to their friendly nature and companionship, goats have much to offer.
Whether you’re looking to diversify your farm, provide nutritious products for your family, or simply enjoy the joy of caring for these wonderful animals, goat farming can be an enriching experience. With proper management and care, your goat herd can thrive and become an integral part of your agricultural endeavors.
Explore the wonderful world of goats and enjoy the multitude of benefits they bring to your life and farm! Happy goat farming!