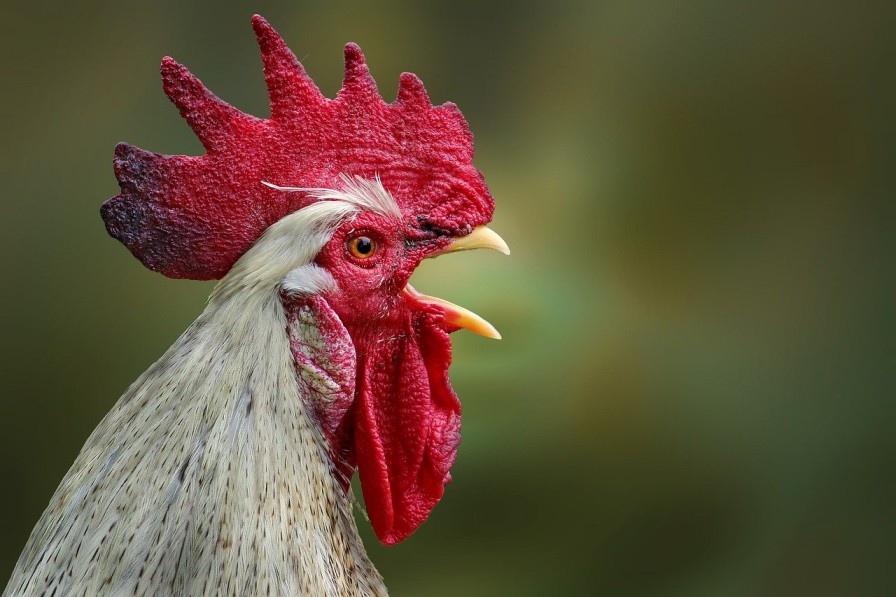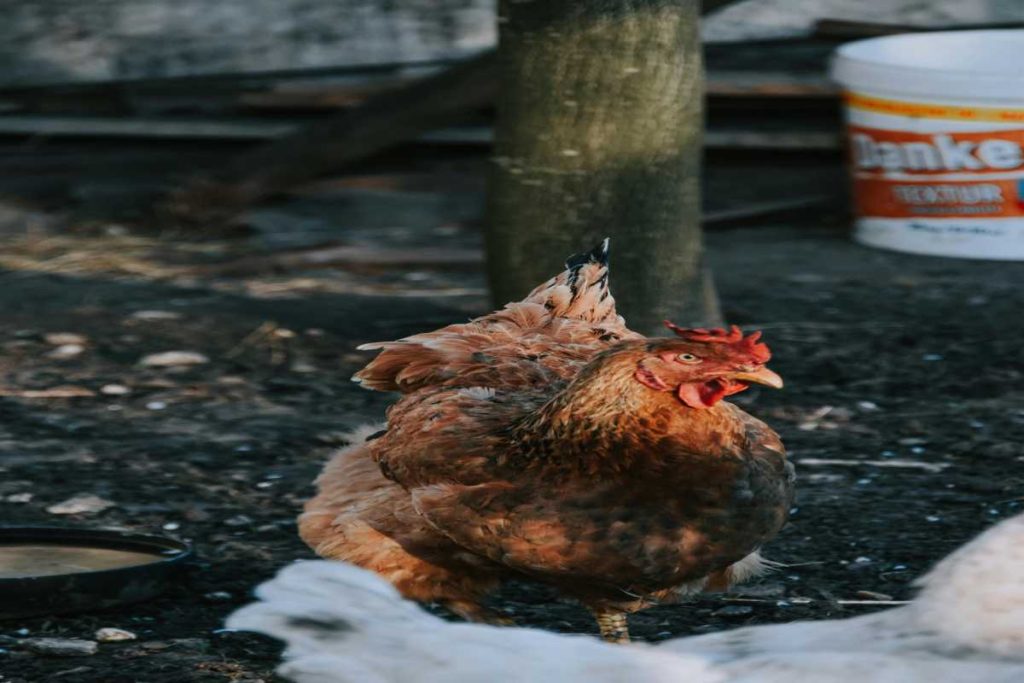
Raising heritage chicken breeds is a rewarding endeavor for any poultry enthusiast, providing not only a sustainable source of eggs and meat but also the chance to conserve genetic diversity in agriculture. Heritage chickens are traditional breeds that have been around for many generations, known for their hardiness, foraging abilities, and unique characteristics. This blog will guide you through the essentials of raising heritage chicken breeds, covering everything from selection to care.
1. Understanding Heritage Chicken Breeds
Heritage chicken breeds are defined by several characteristics:
- Genetic Diversity: These breeds have been developed over many generations, allowing for a wide range of genetic diversity. This makes them more resilient to diseases and environmental changes compared to commercial hybrids.
- Natural Breeding: Heritage breeds reproduce naturally, unlike some commercial breeds that require artificial insemination.
- Growth Rates: They typically grow slower than commercial broilers but are known for superior flavor and meat quality.
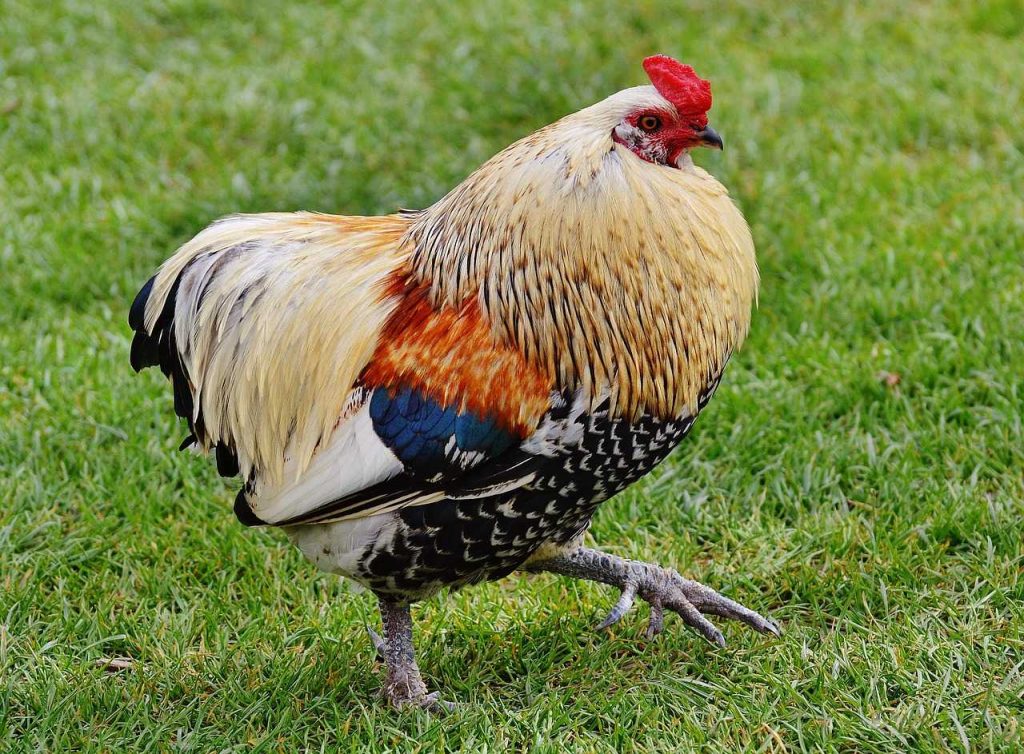
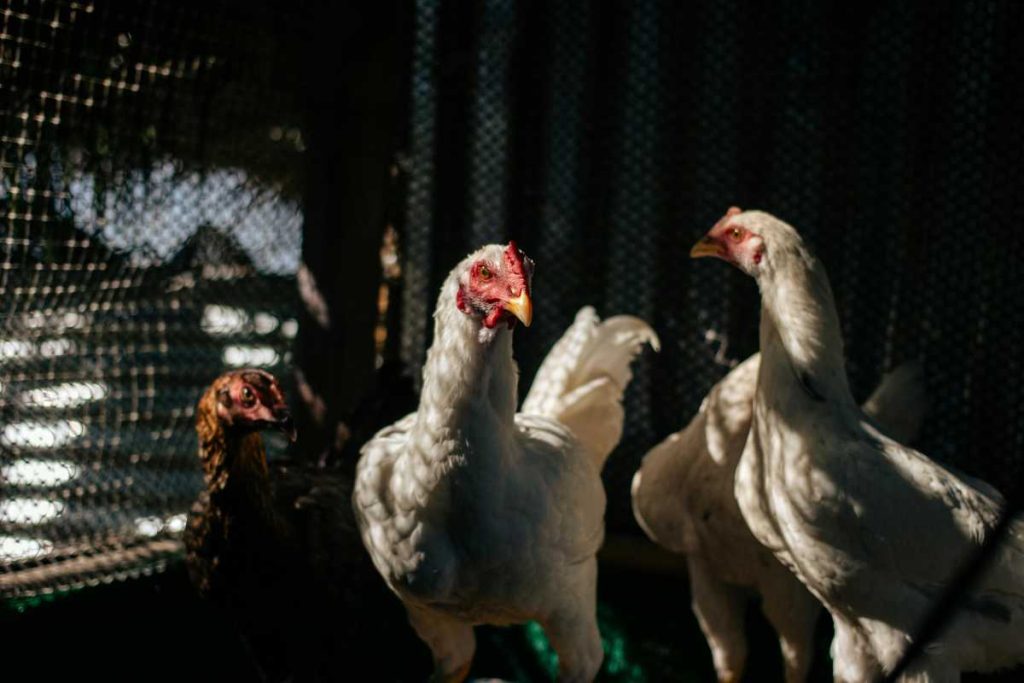
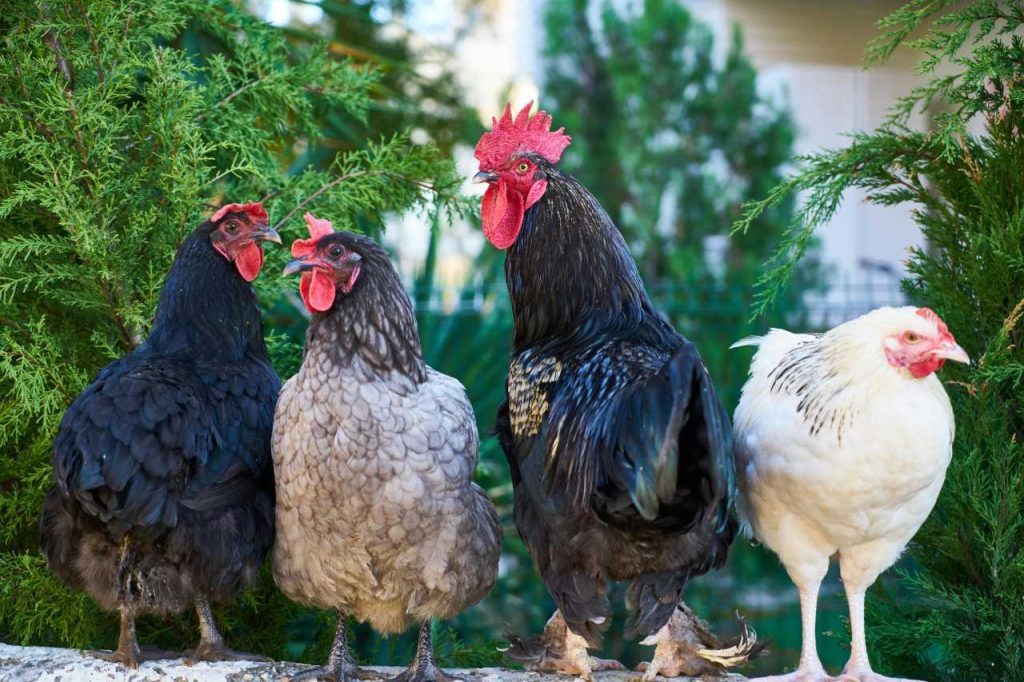
Popular Heritage Breeds
Some popular heritage chicken breeds include:
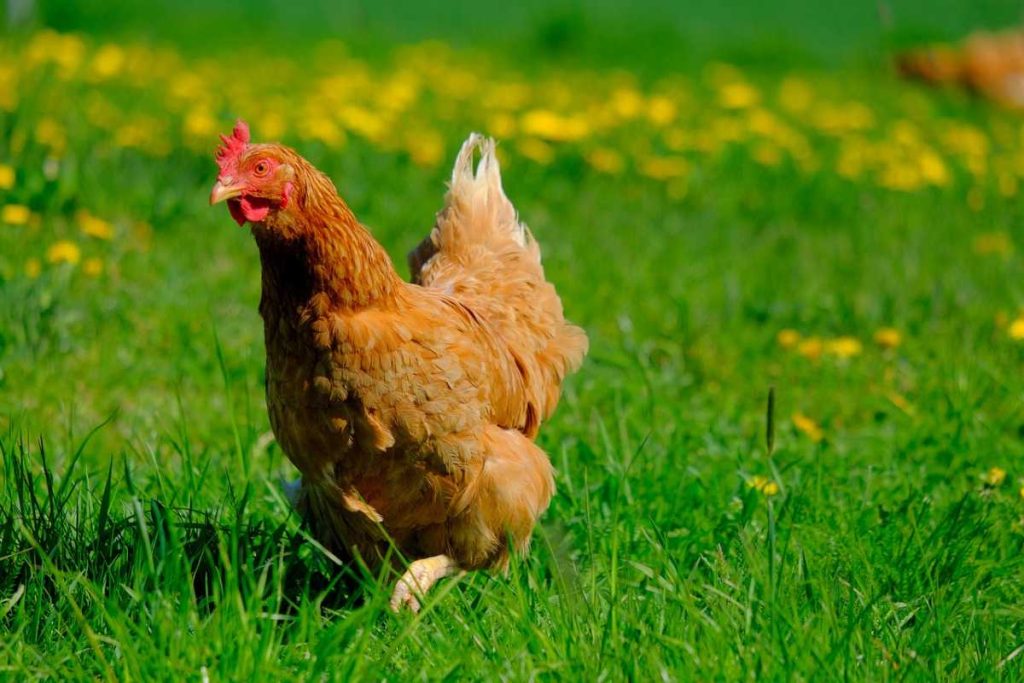
- Rhode Island Red: Known for their hardiness and excellent egg production.
- Plymouth Rock: Friendly birds that are good layers and great for families.
- Orpington: Known for their calm temperament and rich flavor.
- Wyandotte: Beautiful birds with good egg-laying capabilities.
- Brahma: Large birds known for their gentle nature and great meat quality.
2. Selecting the Right Breed
When choosing a heritage chicken breed, consider the following factors:
- Purpose: Decide whether you want chickens primarily for eggs, meat, or dual-purpose.
- Climate: Some breeds are more suited to certain climates than others. For example, Brahmas do well in colder regions, while Leghorns thrive in warmer climates.
- Space: Ensure you have enough space for the breed you select, as larger breeds like Brahmas require more room to roam.
3. Setting Up Your Coop
A proper coop is essential for the health and happiness of your heritage chickens. Here’s what to consider:
Size and Space Requirements
- Coop Size: Provide at least 4 square feet of space per bird inside the coop and 10 square feet per bird in the outdoor run.
- Roosting Space: Include roosting bars at least 2 feet off the ground for your chickens to sleep safely.
Ventilation and Protection
- Ventilation: Ensure your coop is well-ventilated to prevent moisture buildup and maintain air quality.
- Predator Protection: Use secure fencing and lockable doors to protect your chickens from predators.
Nesting Boxes
- Nesting Boxes: Provide one nesting box for every three hens, filled with straw or wood shavings for comfort.
4. Feeding Heritage Chickens
A balanced diet is crucial for the health and productivity of your heritage chickens. Here’s how to ensure they get the nutrients they need:
Starter Feed for Chicks
- Starter Feed: Feed chicks a high-quality starter feed that is specifically formulated for poultry, containing about 18-20% protein.
Grower Feed
- Grower Feed: Switch to a grower feed with slightly lower protein (16-18%) when they reach about 6 weeks of age.
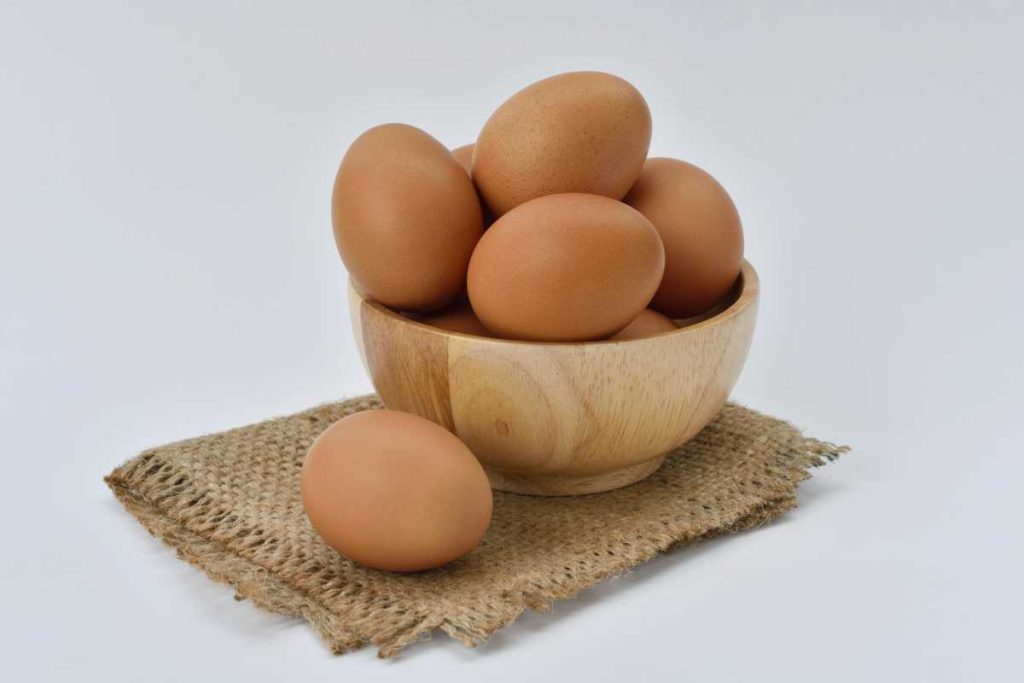
Layer Feed
- Layer Feed: Once your hens start laying eggs (around 18-20 weeks), transition to a layer feed containing 16-18% protein and added calcium.
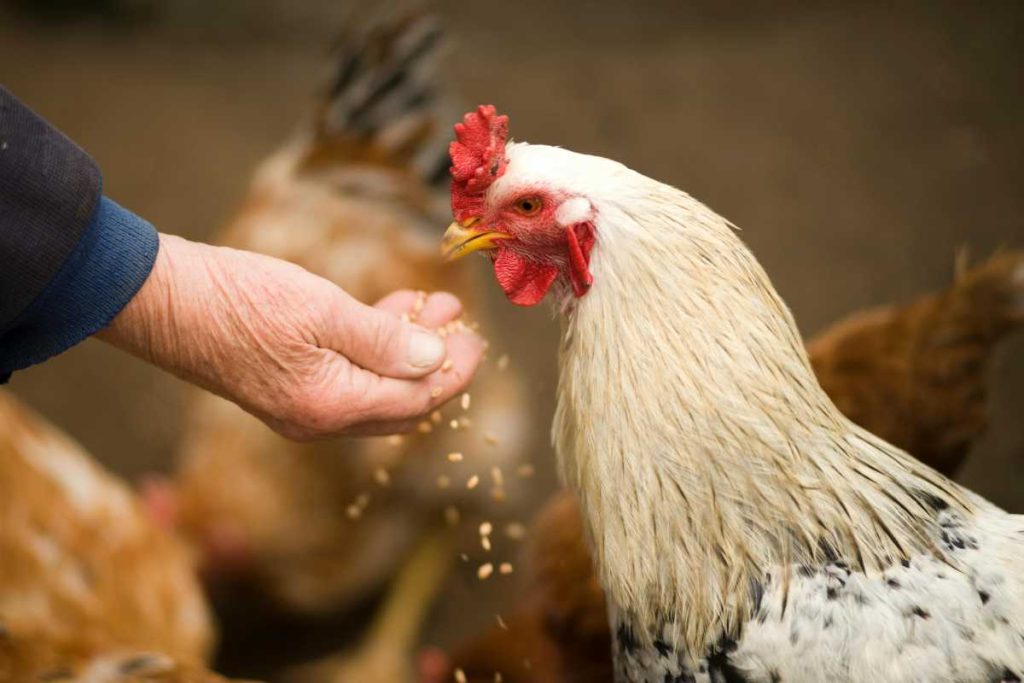
Supplemental Feeding
- Foraging: Encourage natural foraging behaviors by allowing your chickens to roam in a safe outdoor space. This helps supplement their diet with insects and plants.
- Kitchen Scraps: Provide kitchen scraps (avoid processed foods, citrus, and onion) as treats to diversify their diet.
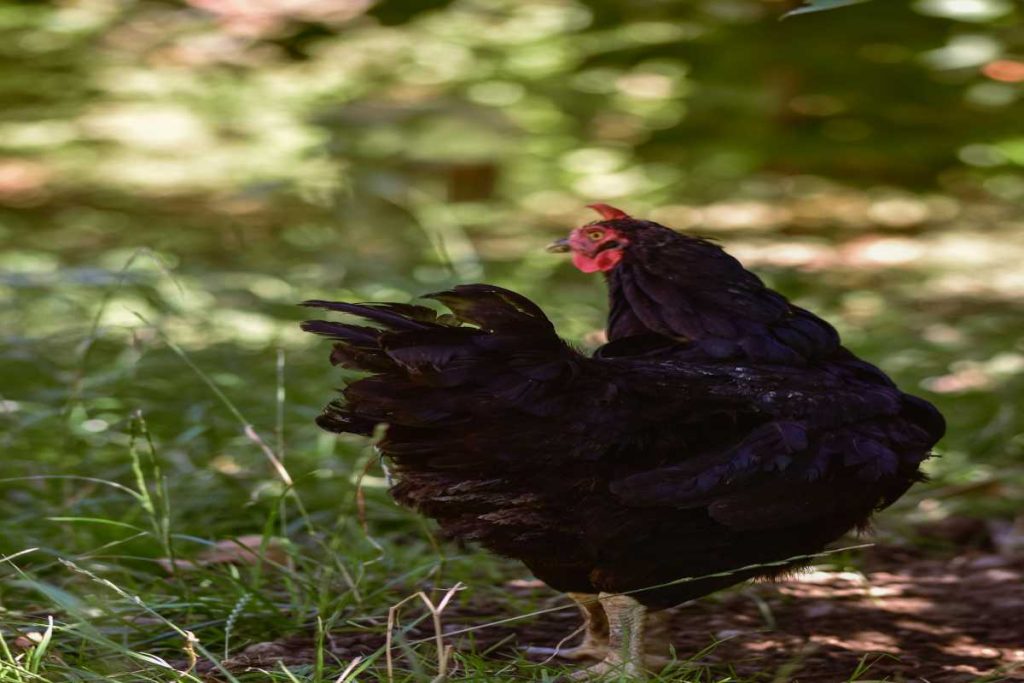
5. Caring for Your Heritage Chickens
Proper care ensures the well-being of your heritage chickens. Consider the following aspects:
Health and Hygiene
- Regular Health Checks: Monitor your flock for signs of illness, including lethargy, unusual droppings, or respiratory issues.
- Cleanliness: Regularly clean the coop and nesting boxes to prevent the buildup of waste and reduce disease risk.
Vaccination and Medications
- Vaccination: Consult with a veterinarian about vaccination schedules to protect your flock from common poultry diseases.
- Natural Remedies: Many heritage breeds are hardy, but be prepared with natural remedies and treatments for common issues like parasites.
Socialization
- Interaction: Spend time with your chickens to build trust. Heritage breeds often have friendly dispositions and enjoy interaction.
- Introducing New Birds: Introduce new birds gradually to prevent pecking order disputes and stress.
6. Breeding Heritage Chickens
If you’re interested in breeding your heritage chickens, follow these guidelines:
Selecting Breeding Stock
- Choose Healthy Birds: Select the best specimens from your flock for breeding, focusing on health, temperament, and production traits.
- Genetic Diversity: Ensure you maintain genetic diversity by not inbreeding. Introduce new bloodlines as necessary.
Breeding Practices
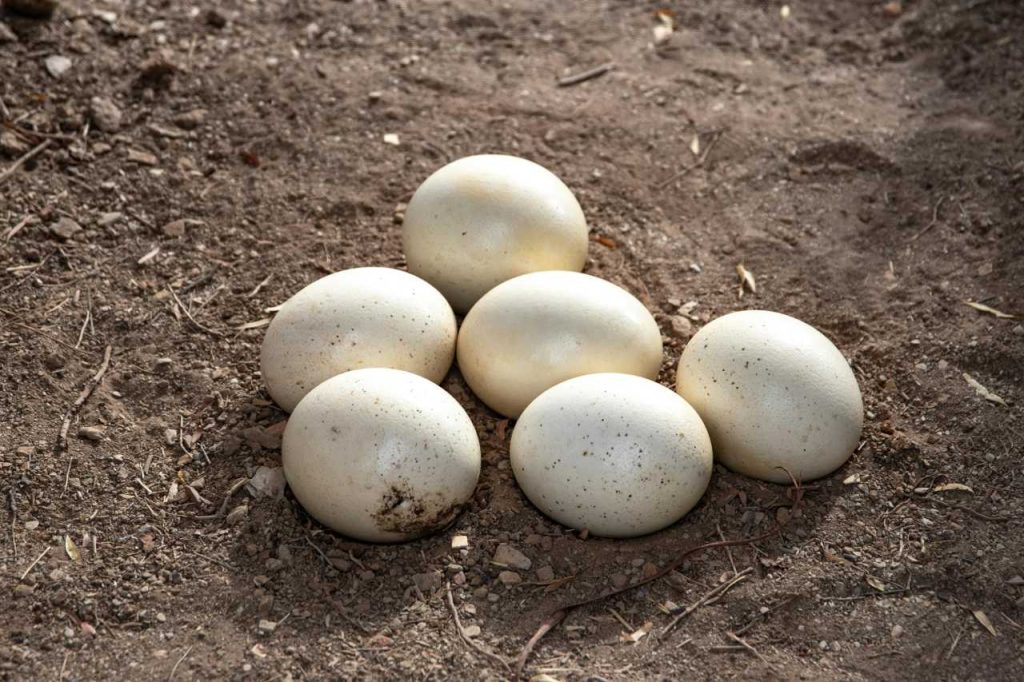
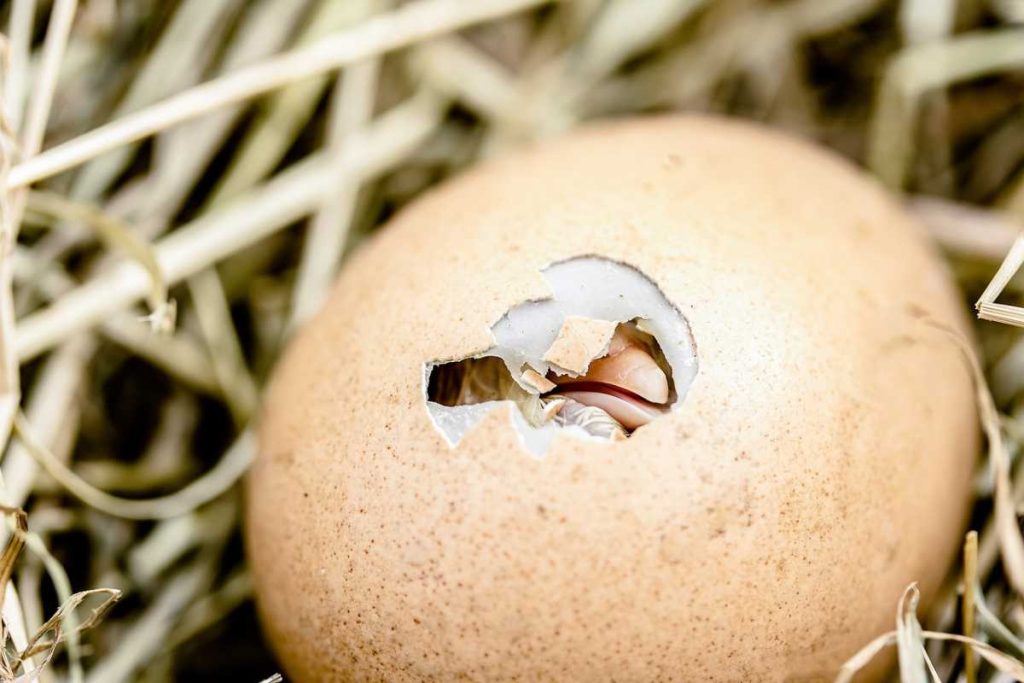
- Natural Breeding: Allow hens and roosters to mate naturally. Provide adequate nesting boxes for hens to lay eggs.
- Incubation: If you choose to incubate eggs, use an incubator or allow the hens to brood their eggs. Monitor temperature and humidity for successful hatching.
7. Conclusion
Raising heritage chicken breeds is not only a fulfilling hobby but also contributes to sustainable farming practices. With their rich history and unique traits, these chickens offer flavor, beauty, and resilience. By understanding their needs for space, diet, care, and breeding, you can create a thriving flock that provides fresh eggs and meat for your family while helping preserve these valuable breeds for future generations. Enjoy the journey of chicken-keeping, and appreciate the joy these remarkable birds bring to your life!