Deciding on the best raising method for goats is essential for the health of your herd and the efficiency of your farm. Different methods offer unique benefits and challenges, depending on factors like climate, available space, and your goals. Whether you’re a first-time goat owner or an experienced farmer, here are five key things to consider before selecting the best raising method for your goats.
1. Understand Your Farm’s Space and Grazing Options
Overview:
The amount of space you have, including pasture availability, will heavily influence your goat-raising method. Goats are natural grazers and do well when they have enough room to roam.
Considerations for Space and Grazing:
- Pasture-Based System: If you have ample land, pasture-based systems are ideal, as they allow goats to forage for natural food. This method reduces feed costs and encourages natural behaviors.
- Dry Lot or Confinement System: For smaller spaces, a dry lot system may be better. In this method, goats are kept in a smaller area and fed hay and supplements. It’s crucial to provide enough space per goat to prevent overcrowding and ensure exercise.
- Rotational Grazing: This involves moving goats between pastures to prevent overgrazing, reduce parasite load, and promote pasture regrowth. It requires multiple fenced areas but is highly effective for both goats and land health.
2. Assess Your Goals and the Purpose of Raising Goats
Overview:
Different raising methods may be more suited for specific goals, such as milk production, meat, fiber, or land clearing. Defining your purpose early on helps you choose the method that aligns with your goals.
Tips for Goal-Based Selection:
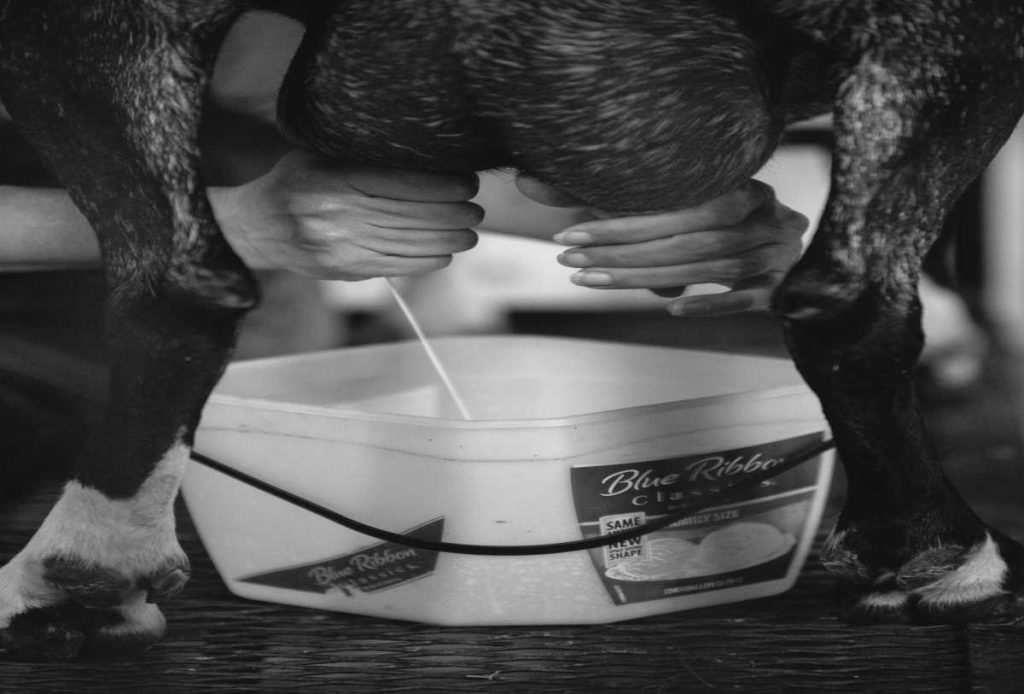
- Dairy Goats: If your focus is on dairy production, look for methods that ensure consistent access to fresh forage and high-quality feed. Dairy goats benefit from a more structured diet and milking routine, often requiring separate housing.
- Meat Goats: Meat goats may thrive in pasture-based systems or rotational grazing since they’re more resilient and don’t require a specialized diet. The goal is to maximize weight gain, so ample forage is important.
- Fiber Goats: For fiber breeds like Angora goats, maintaining a clean and spacious environment is key. They’re sensitive to moisture, so a dry lot with shelter access is often ideal.
- Brush Control and Land Clearing: Goats raised for brush clearing can benefit from rotational grazing or a portable fencing system, allowing them to clear different areas effectively.
3. Plan for Health and Parasite Control
Overview:
Health management, especially parasite control, is essential in goat farming. Different raising methods have varying impacts on health risks, especially regarding parasites.
Parasite Control Considerations:
- Pasture Rotation: Regularly moving goats to different pastures helps reduce exposure to parasites, as it breaks the life cycle of common parasites like worms. This method is highly recommended for farms with sufficient space.
- Dry Lot Advantages: While dry lot systems may limit natural grazing, they can reduce the risk of parasite infestation, as goats are less exposed to soil-borne parasites. However, you’ll need to supplement their diet.
- Fecal Testing and Deworming: Regardless of the method, regular fecal testing and a targeted deworming schedule are important for all goats. Pasture-raised goats may need more frequent checks, as they’re exposed to more potential sources of parasites.

4. Factor in Climate and Shelter Requirements
Overview:
Climate affects the type of shelter your goats will need, as well as their comfort and health. Goats need protection from extreme weather conditions, and shelter requirements vary by raising method.
Shelter Considerations by Method:
- Pasture-Based Systems: Goats in pasture systems still need access to shade and shelter from rain, snow, and wind. Portable shelters can work well in rotational grazing setups.
- Dry Lot or Confinement: In smaller spaces or dry lots, provide a stable, well-ventilated shelter with ample bedding to keep goats warm and dry. This is especially important in colder climates.
- Hybrid Systems: If you live in an area with harsh winters or hot summers, a hybrid approach might work best. Goats can graze when the weather is mild and move to sheltered areas during extreme conditions.
5. Evaluate Your Budget and Resources
Overview:
Different raising methods come with varying costs and resource requirements, from fencing and shelter to feeding and water management. Your budget plays a critical role in selecting the most feasible option.
Cost and Resource Planning:
- Pasture and Rotational Grazing: While initially requiring investment in fencing and potential shelter, rotational grazing can be cost-effective over time, as it reduces feed costs and improves pasture quality.
- Dry Lot System: This method may require consistent feed purchases, as goats won’t have access to natural forage. However, it can reduce parasite treatment costs.
- Hybrid System: Balancing pasture access with confinement when needed can optimize costs, but it requires additional planning and may involve both fencing and extra feed.
Conclusion: Choose the Method that Best Fits Your Farm and Goats’ Needs
Choosing the right raising method for goats involves balancing your farm’s resources, climate, and space with your goals, whether they are dairy, meat, fiber, or brush control. With careful consideration of each of these five factors, you can select a system that suits your goats’ well-being and supports a successful and sustainable farm operation. Whether you’re new to goat farming or looking to improve your practices, understanding these basics will set you on the right path to effective goat care.