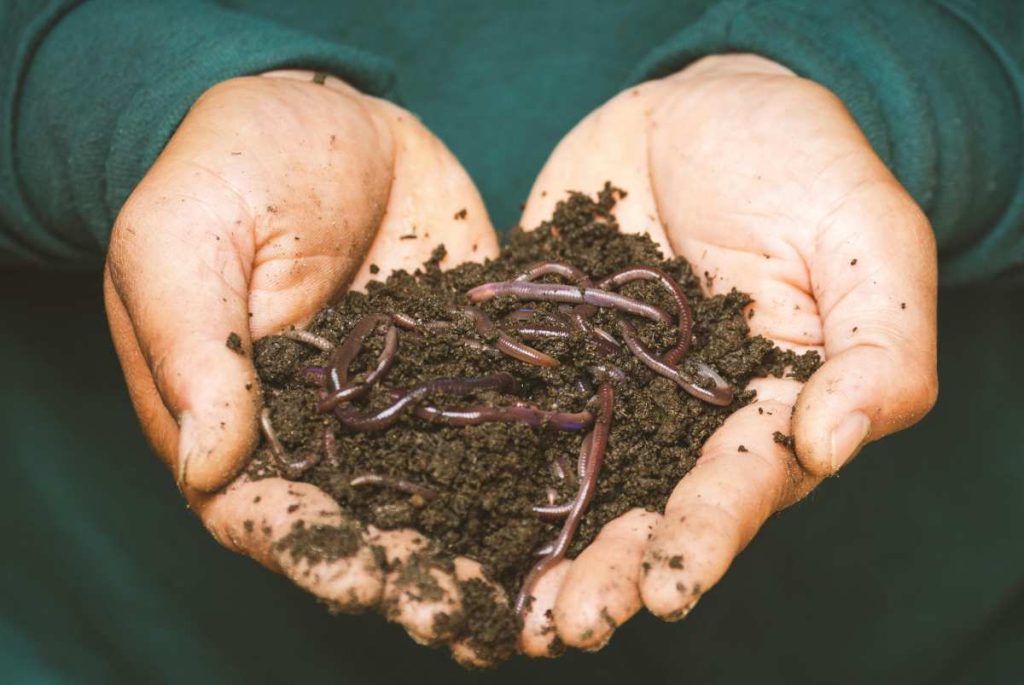
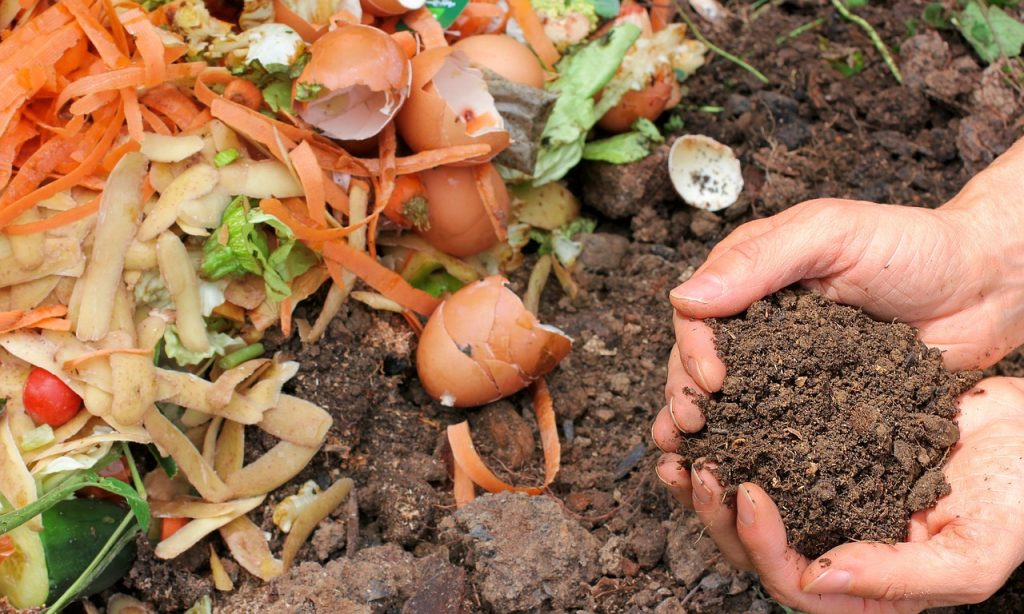
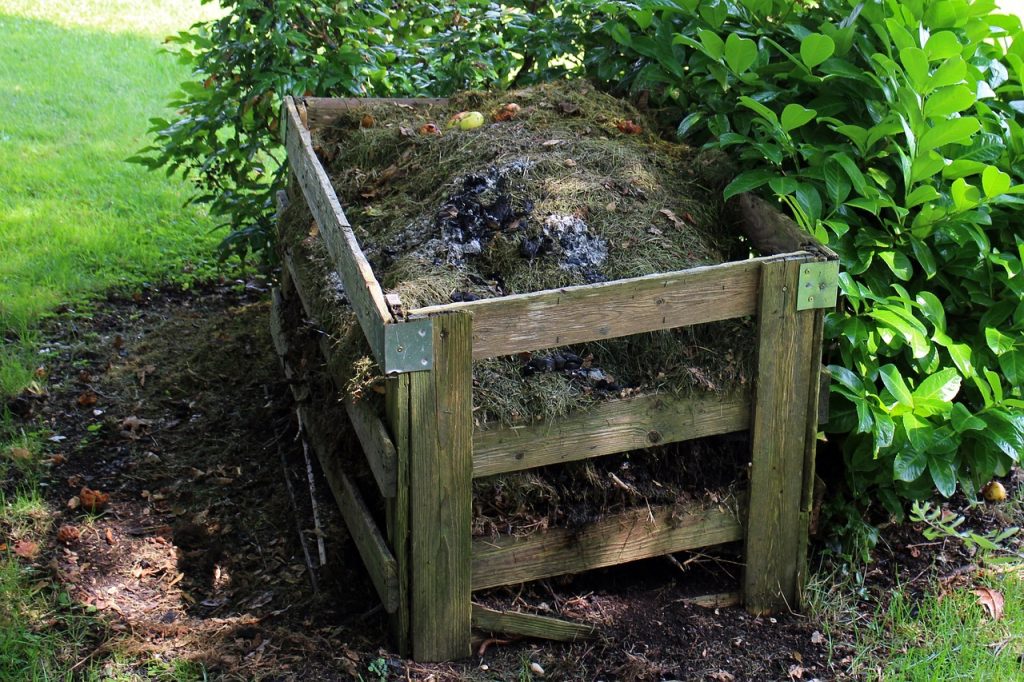
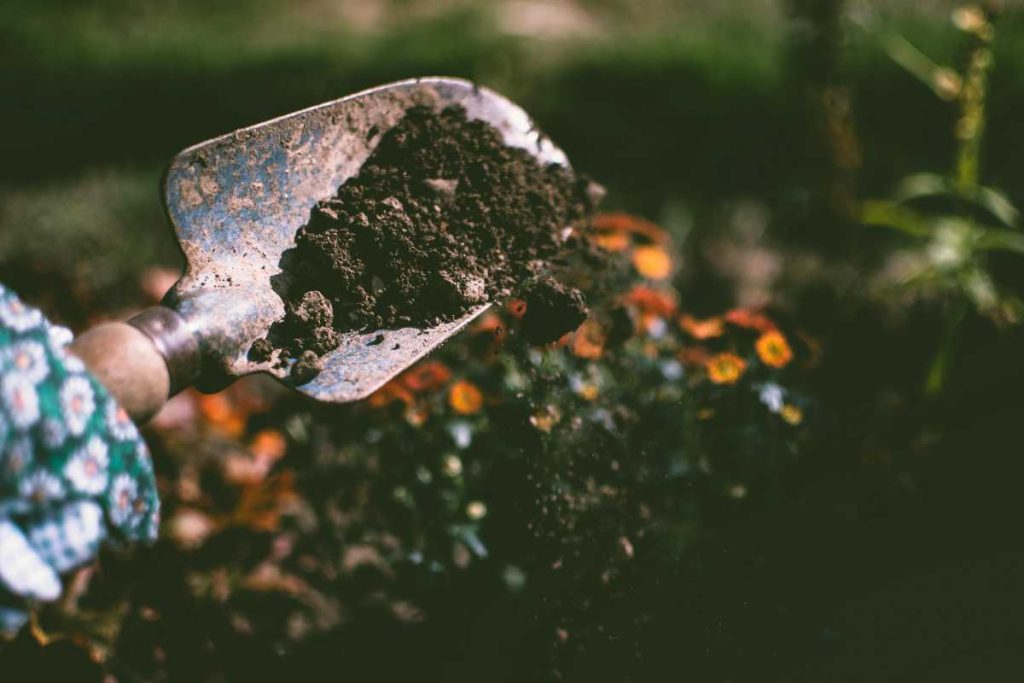
Finished compost is one of the best natural fertilizers available, and it’s a great way to recycle organic waste into valuable nutrients for your plants and garden. But once you’ve created your rich, dark, crumbly compost, you might wonder: How can I put it to best use? The possibilities are endless! Here are 10 creative uses for your finished compost that will enhance your garden, home, and more.
1. Improve Soil Quality in Your Garden
Why it helps: Compost is rich in nutrients that plants need to grow, such as nitrogen, phosphorus, and potassium. It also enhances the soil structure, improves drainage, and supports healthy root development.
How to use it:
- Spread a layer of compost on your garden beds before planting, or mix it into the soil to improve its texture and fertility. Use it for vegetables, flowers, shrubs, and trees.
2. Create Compost Tea for Plants
Why it helps: Compost tea is a nutrient-rich liquid that you can use to feed plants and enhance soil health. It’s packed with beneficial microorganisms that can boost plant growth and help protect against diseases.
How to use it:
- Place a small amount of finished compost in a mesh bag or cheesecloth, then steep it in water for a few days. Once the liquid turns brown and fragrant, strain out the solids and use the tea as a natural fertilizer for your plants.
3. Mulch for Your Garden Beds
Why it helps: Compost can act as a natural mulch that retains moisture, prevents weeds, and regulates soil temperature. Plus, as it decomposes, it continues to enrich the soil beneath it.
How to use it:
- Apply a 2- to 3-inch layer of compost on top of your garden soil as mulch. This will keep your plants hydrated and suppress weed growth throughout the growing season.
4. Boost Lawn Health
Why it helps: Compost improves the texture and structure of your lawn’s soil, helping grass roots penetrate deeper and grow stronger. It also enhances the overall health of the lawn by providing essential nutrients.
How to use it:
- Spread a thin layer (around ¼ inch) of finished compost over your lawn and rake it in. This will provide your grass with the nutrients it needs to thrive and help combat compaction.
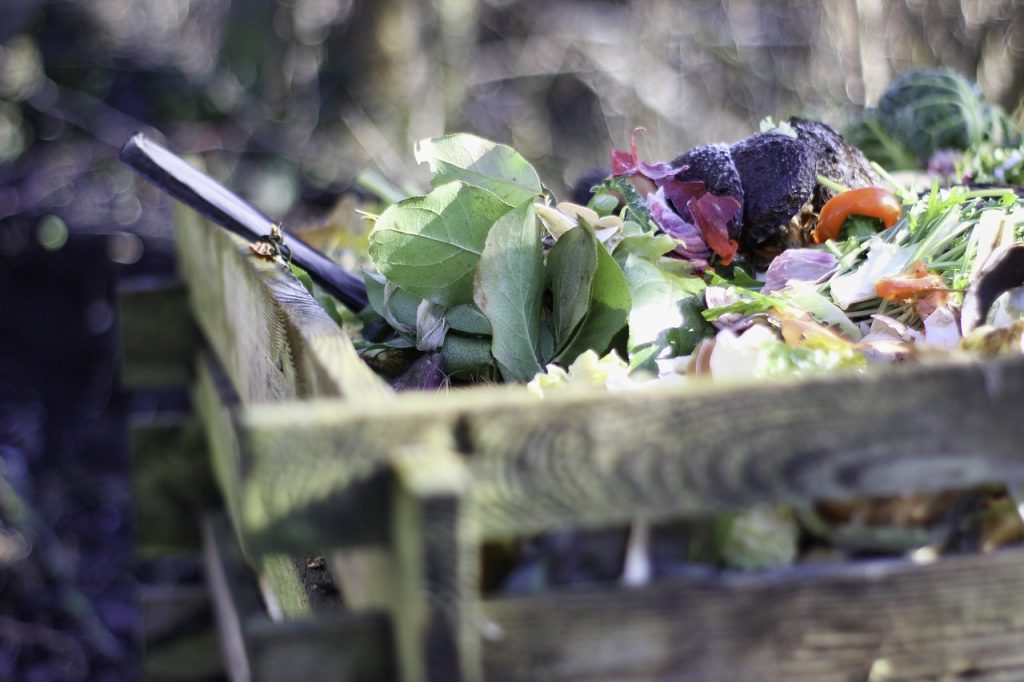
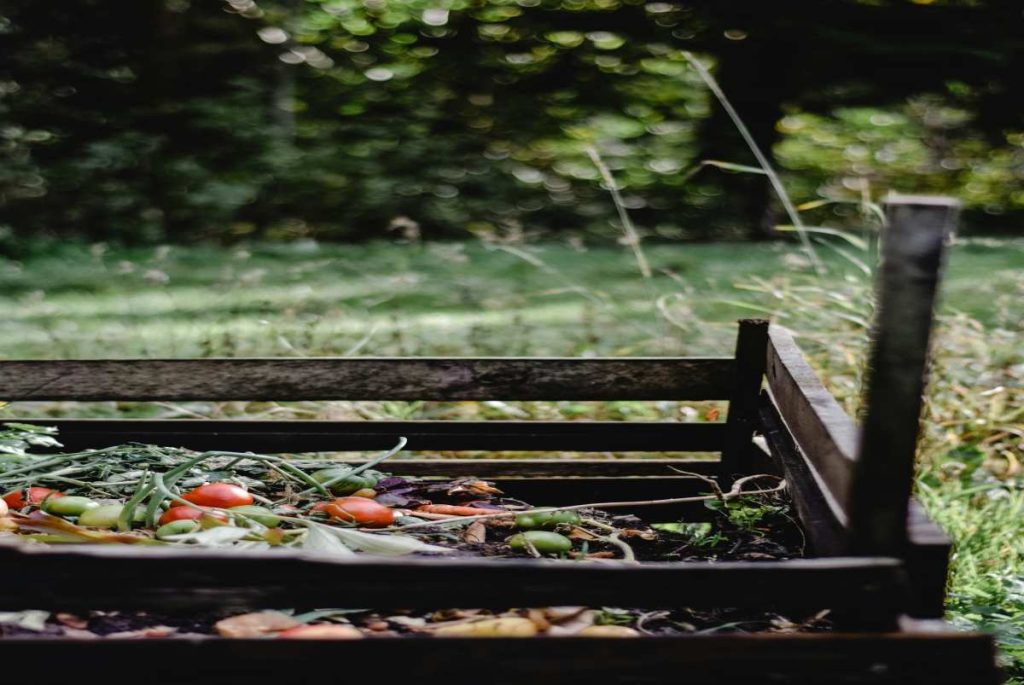
5. Enhance Your Composting Pile
Why it helps: Adding a small amount of finished compost to your new compost pile helps introduce beneficial microorganisms that aid in breaking down organic matter more quickly.
How to use it:
- When starting a new compost pile, sprinkle a layer of finished compost over the materials. This will help jumpstart the decomposition process by introducing microbes that are already active in the finished compost.
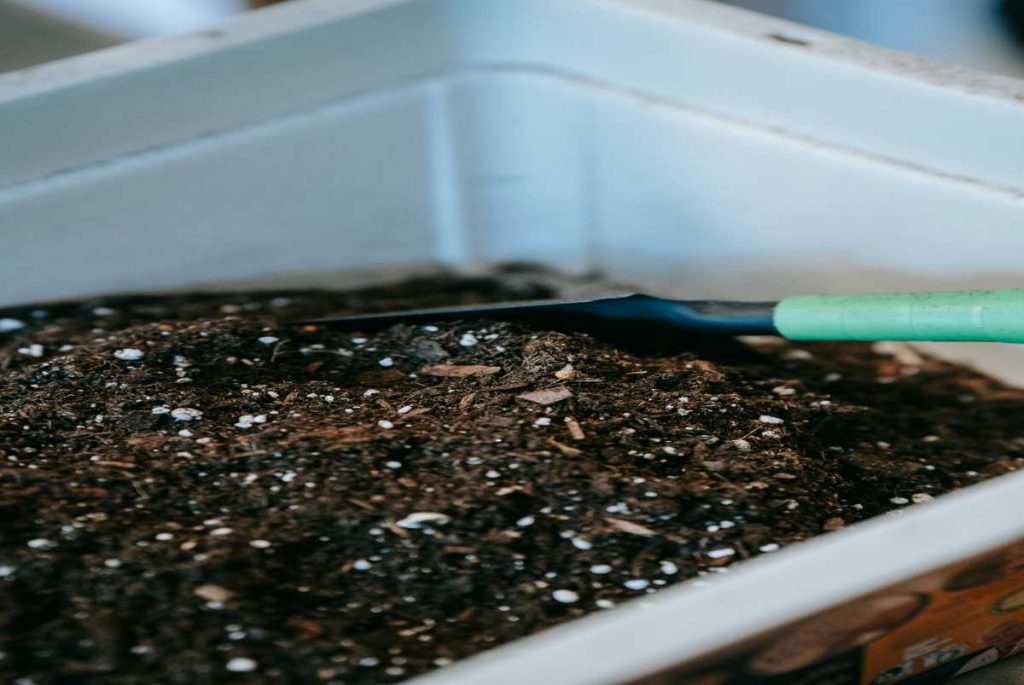
6. Potting Mix for Container Plants
Why it helps: Finished compost is a great addition to potting soil because it helps retain moisture, adds nutrients, and improves drainage in containers.
How to use it:
- Mix finished compost with perlite or vermiculite (to improve aeration) and some garden soil to create a well-draining potting mix. Use this mixture to repot or plant in containers, baskets, or pots.
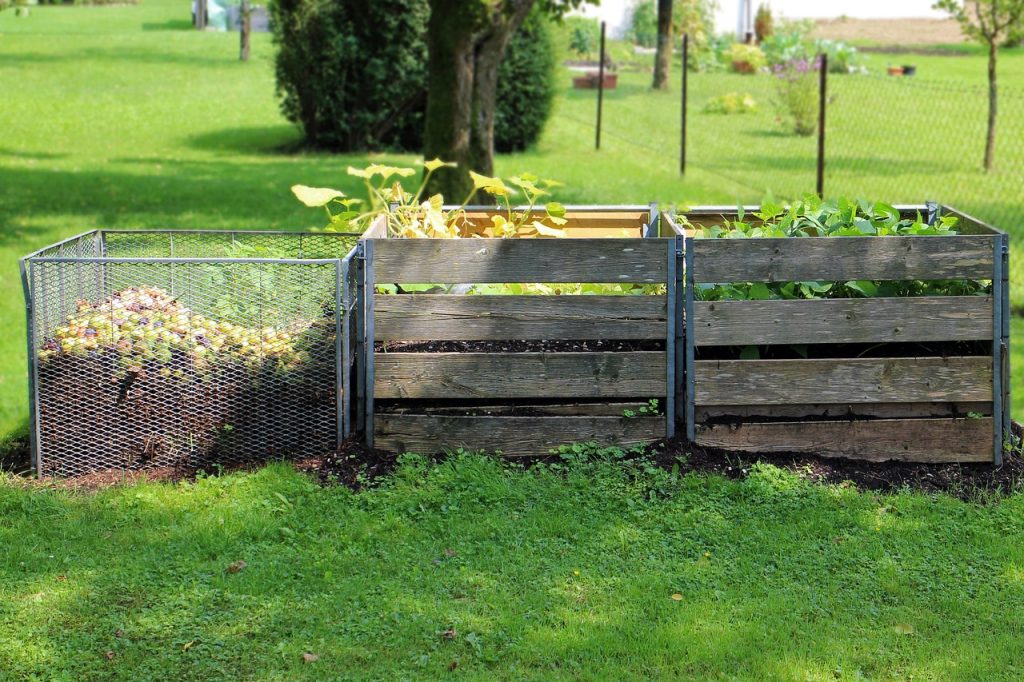
7. Use in Raised Garden Beds
Why it helps: Raised garden beds often need a soil boost, especially when they are newly established. Finished compost improves the soil’s nutrient profile and supports plant growth in these beds.
How to use it:
- Add a generous amount of finished compost to the soil mix for your raised garden beds. This will provide immediate nourishment for your plants and create a healthy growing environment.
8. Enhance Your Vegetable Garden
Why it helps: Compost is especially beneficial for vegetable gardens, as it provides essential nutrients while also improving soil structure, which leads to healthier, higher-yielding plants.
How to use it:
- Mix compost into the soil of your vegetable garden before planting to create rich, fertile ground for your crops. You can also side-dress around the base of growing plants to provide additional nutrients as needed.
9. Top-Dress Fruit Trees
Why it helps: Fruit trees require nutrient-rich soil to produce high-quality fruit. Compost improves soil health by providing the right balance of nutrients and moisture, helping trees grow strong and produce abundant fruit.
How to use it:
- Spread a layer of compost around the base of fruit trees (but not directly against the trunk) and lightly rake it in. This will provide nutrients and improve the tree’s access to moisture and minerals.
10. Improve Flower Beds and Landscaping
Why it helps: Whether you’re growing flowers, shrubs, or ornamental plants, compost helps to ensure healthy, vibrant blooms. It encourages strong root systems and lush foliage.
How to use it:
- Work finished compost into the soil of flower beds, or use it as a mulch around plants to keep them nourished throughout the season.
Conclusion
Finished compost is a powerful, all-natural tool for improving the health and vitality of your garden and plants. From enriching your soil to making compost tea or boosting the health of your lawn, the possibilities for using finished compost are endless. By putting your nutrient-rich soil to work, you’ll create a healthier, more productive garden that thrives season after season.