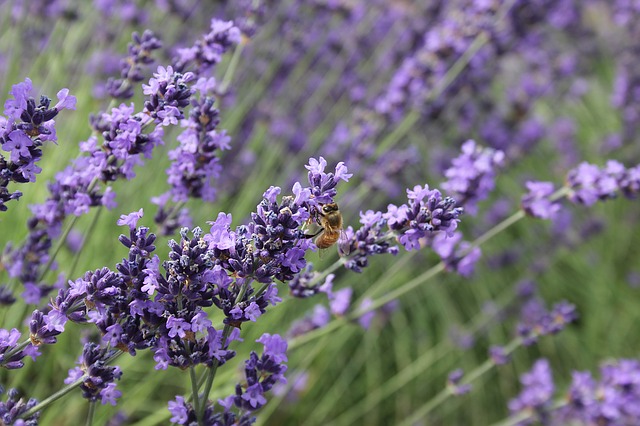
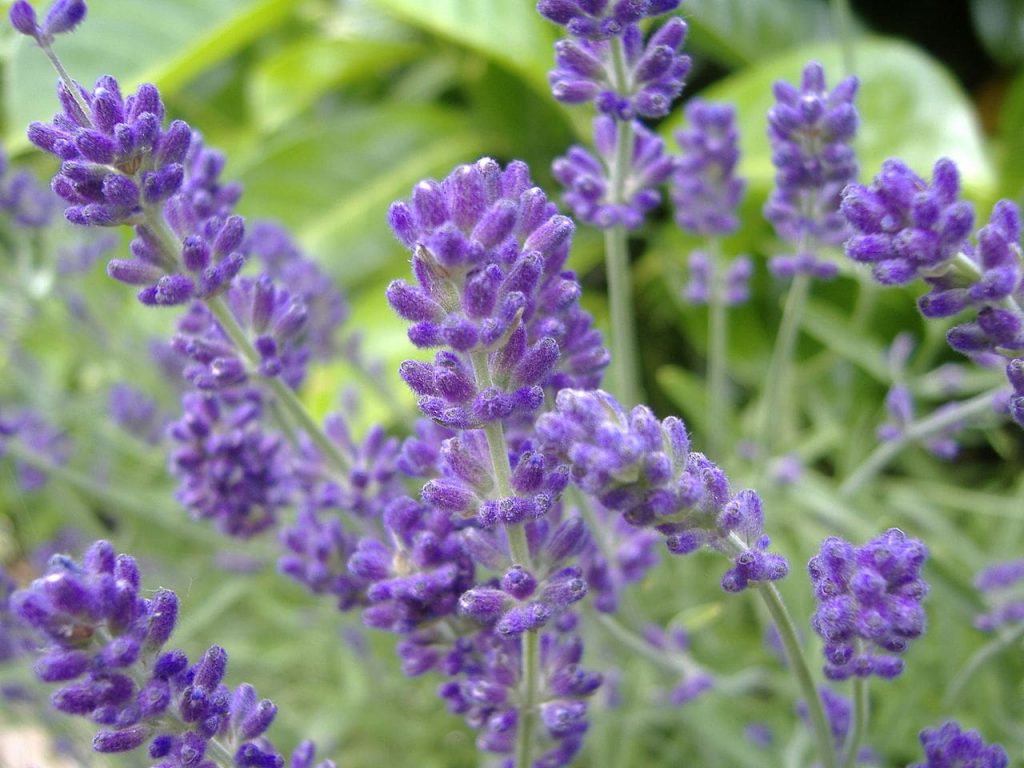
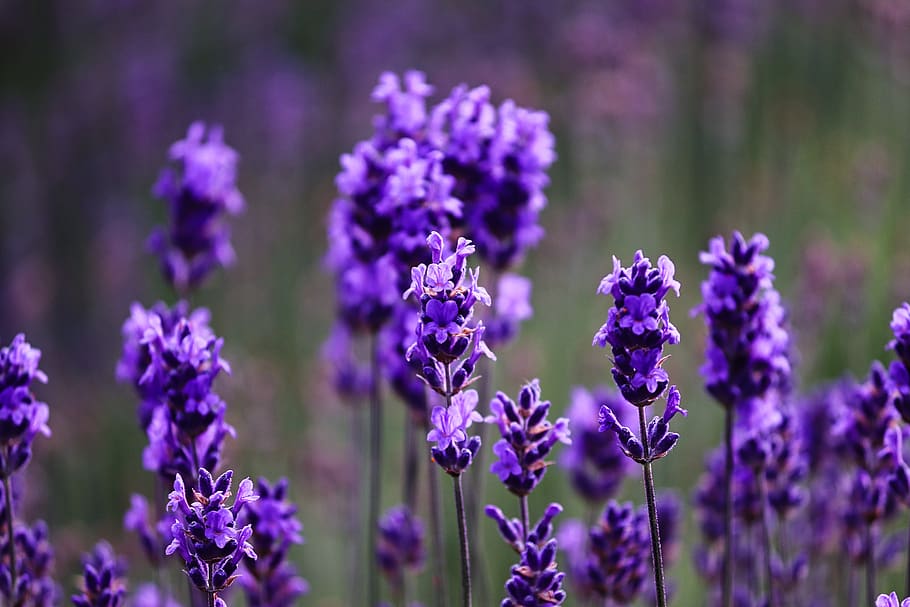
Lavender, also known as Lavandulaspica consists of 30known species of flowering plants in the entire mint family. Lavender is a beautifully aromatic and rustic shrub or herb that originated in the mountainous region of the Mediterranean and North Africa. The height of the herb is from 40-80 cm. The plant has oblong, linear, and opposite leaves consisting of small purple flowers.
Lavender farming is really easy and it only requires ideal growing conditions and extra space. Climate is a critical factor in growing the lavender plant. Lavender can be containers/pots, and backyards. Growing dozens of lavender plants in the backyard of the house can make an individual earn a high profit. If the lavender is cultivated commercially on a huge scale, it can fetch high profits.
Also, there are plenty of ways in which lavender farming can help an individual earn money. For example, lavender can be used in making lotions, soaps, essential oils, fragrant sachet, teas, medicines, and flavorings. Also, fresh or dried lavender can be sold to earn huge profits.
The Indian subcontinent cultivates lavender on the slopes of the hills of Uttar Pradesh and Himachal Pradesh and in regions experiencing scanty rainfall. Successful cultivation of the lavender crop is also seen in Kashmir valley.
Types of Lavender
At a global level, there are five types of lavender varieties known in the market – French lavender, English lavender, Spanish lavender, Spike lavender, and, Lavandin
French lavender

French lavender or Lavanduladentata grows in warm climate and are extremely fragrant. This variety of lavender is grown annually in certain regions of the United States.
English lavender
English lavender, also known as Lavandulaaugustifolia is one of the popular species of lavender. This species is used in flavouring, oils, dried flowers, and perfumes. English lavender can be cultivated in warm regions where days are longer.
Spanish lavender
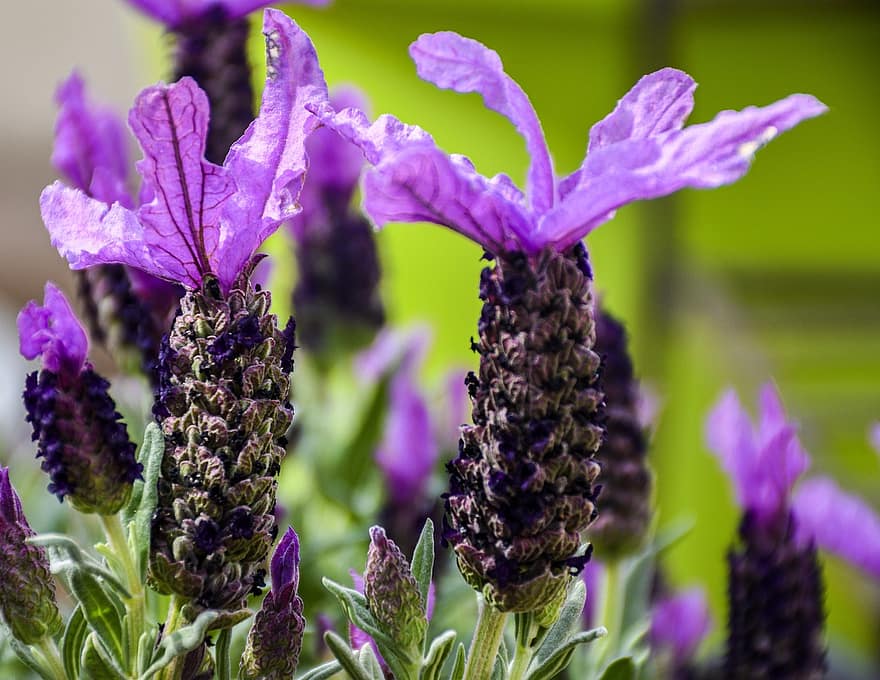
Spanish lavender or scientifically known as Lavandulastoechas blossoms in dark purple colour and are majorly used for dried flowers. Spanish lavender species are grown annually for decoration purposes.
Spike lavender
Spike lavender, also called as Lavandulalatifolia is grown to extract essential oils which is further used to make soaps. Spike lavender is also referred as Portuguese lavender and requires a Mediterranean climatic conditions.
Lavandin
Lavandin, also referred to as Lavandula x intermedia has a high oil and flower yield, however, the oil quality might not be of supreme quality as compared to the yield. The other name of Lavandin is Dutch lavender and this variety is a hybrid of Spike and English lavender.
In India, Spike lavender, Lavandin, True lavender (English lavender), and Sher-e-Kashmir varieties are grown.
Starting a Lavender Farm
Lavender flower farming should be on the top of a gardener’s list as it is a commercially profitable crop. The flower also adds more beauty to the garden. Although growing lavender on a farm is time-consuming and a risky business because the product may not be of preferred variety.
The transplants of lavender can be planted in small areas such as nurseries. To retain desired characteristics in the plant, growers opt for root divisions or cuttings. It is advisable to do a patch test in a small area to check the appropriate climatic conditions for the plant.
Lavender Propagation Techniques
In order to grow lavender for profit, cutting and planting through seedling is done. The sifted soil can be layered lightly. However, planting seeds need knowledge as well as effort. Beginners can start their journey of lavender cultivation by the cutting method. Tissue culture and layering can also be used for the propagation purpose of the plant.
Seedlings can be sowed directly in the area or in the trays. The germination time of lavender seeds is around 2-6 weeks. To plant the lavender plant by cutting (vegetative technique), it is essential to cut the stems which can be around 10 cm long. The leaves present in the lower region of the plant are removed. Slight humid soil is required in the cutting technique as excess water can cause decomposition. The spacing between each plant should be around 30-90 cm in the cutting method.
Tissue culture is preferred for mass production of the plant and to yield genetically identical and disease-free plants. The mother plants are selected and then cultured for bulk production. However, this technique is costly. On the other hand, layering method uses healthy stem from which a 12-15 cm foliage is removed.
This leaves a 10 cm foliage at the branch tip. The bare section is covered with moist soil. Once the new plants start to grow, they are separated from the mother plant. The new plants are then again planted in the field once the rooting starts. The roots in the plants take around 6-12 weeks to grow.
Spacing and Planting in Cultivation
Spring or Autumn is the best time for the transplantation of the seedling. The plant need plenty of room to grow. The lavender plant is planted 30-40 cm inside rows and are kept at a distance of 4 feet between rows. The highest yield should have plant density of 20,000/ha. For the proper root establishment of the plant, earthing up of soil is extremely essential.
Lavender can tolerate the drought situations. The water requirement of the plant is minimal and thus needs water every 2-3 weeks till the time the buds are formed. Later on, once or twice in a week is required until the harvesting is done.
Best Farming Conditions for Cultivation
Lavender plant being a Mediterranean plant grows best in the dry climatic conditions. The plant however can tolerate various temperature range. Cold or humid climate is not suitable for the proper plant development. Direct sunlight or sun exposure for approximately 6-8 hours is preferable for growing a healthy lavender plant.
Lavender grows best in a dry and warm environment, and in mild winters. Early years require pruning even during the mature stage as it makes the entire framework of the plant sturdy. Failing to do pruning an initial couple of years can result in woody stems subsequently affecting flowers and stem health.
In order to avoid humidity, a proper drainage system is preferred. As the rise in a humid environments increases the risk of fungal infections. Well-drained soil with pH in the range of 6-8 is used for the cultivation. A calcareous type of soil is ideal for lavender. The optimum temperature for lavender cultivation is in the range of 15-30 °C. The temperature of soil should be higher than 18 °Ctosupport proper growth. The product quality can be affected badly by overheating in summer.
In India, the best climatic condition to grow lavender is autumn season. This helps in firm establishment of the plant before the cold winter. Spring season further will help the plant to grow quicker.
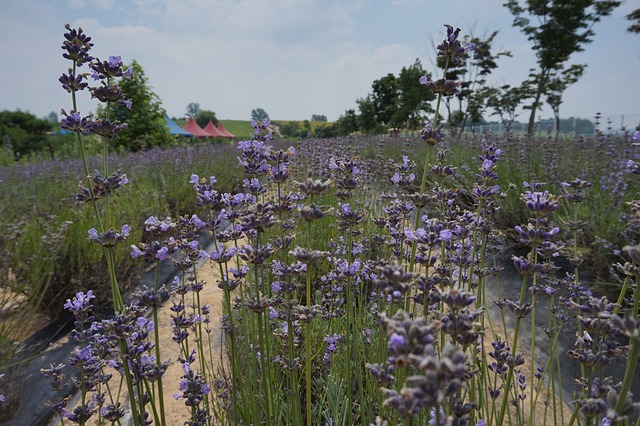
Global Cultivating Regions
Lavender can be easily grown in Canada, Africa, Indonesia, Japan, UK, India, Australia, New Zealand, and USA. Other regions producing the herb are Goodwin Creek, Central Mexico, Bulgaria, and Italy, Spain among others.
Irrigation in Cultivation
The commercial cultivation of lavender requires irrigation for initial 2 years so that the crop can be properly established. The regions experiencing low rainfall and has light soil need irrigation only at vital growth stages. Irrigation is must during the flower initiation stage. It is advised to avoid sprinkler irrigation system as that may elevate disease conditions in the crop. Drip irrigation is the preferred system as it aids in controlling weed and in saving water.
Drip Irrigation for Lavender Fields
As discussed earlier, excessive moisture is not good for lavender crops. It can cause a lot of problems and can disrupt the overall growth, and hence productivity. Aerial irrigation is not suitable too, as it causes leaves to spit in half. Lavender is also at risk of rotting, especially of the soil, remains moist for a long time. Hence, proper planning is required to ensure healthy and productive growth of lavender plants.
Talking to the experienced lavender farmers about “how to do lavender farming” is not a bad idea either. After all, there is no substitute for experience. And they already have learned a lot of lessons, you are now about to learn, and they can give you some valuable feedback!
As said repeatedly, lavender plants don’t require a lot of water, and you should stay at the shorter side while watering. These plants can even withstand droughts well enough. All you need to do is to maintain the moisture in the soil.
Essential Tools for Lavender Cultivation:
Like other crops, lavender cultivation also needs some equipment and tools. These are some essential tools commonly required while planting lavender.
- Sharp Sickle
- Steel Shank
- Kneeling Pad
- Lavender Sifter
- Mini Plow
- A folding hand saw
- Washable gloves
Fertilizers and Manures for Lavender Cultivation
Once the lavender plant is established properly, there is no need of fertilizer. The new plants do need fertilizers as they can boost the plant growth. It is recommended to use P 40kg/ha, N 100kg/ha, and K 40kg/ha. The basal application needs complete dose of K2O and P2O5 but only 20 kg nitrogen is used. Rest of the nitrogen is used in the later stage.
Diseases and Pests in Lavender
Lavender is resistant to most common pests and insects. However, to be successful in the farming of lavender, it is essential to prevent these insects rather than curing them in the later stage. There are chances that the plant might be affected by Mites, Slugs, Con chinchillas, and Whiteflies.
Preparing the land and making the right soil
Lavender farming profitability depends a lot on the land and soil. A lot of successful lavender farmers do some research before finally starting, and there is no reason why you should not do the same.
Well-drained, gravel-laden, sandy soil with a pH between 6.5 and 7.5 is perfect for growing lavender. Dig the ground at least 18 to 24 inches deep and then add the soil to it. If you can mix the soil with a mixture of 1/3 clay, 1/3 loam, and 1/3 sand, the effectiveness of soil will be even better.
A lot of hybrid lavender species are known for producing sterile seeds. In such a scenario, you should use well-drained, light and moderately fertile soil.
How to Plant Lavender – Start Planting through Soft Cuttings
If you are a beginner, growing lavenders from seeds is not a good idea at all. Instead, start growing from soft cuttings, taking care of the resource links. Herbs grow from these links. Preparing the cuttings can be both frustrating and tedious. So, you should get some from a nearby nursery.
- Leave a space of four feet between rows and 2½ feet between the two plants.
- This type of spacing is ideal for growing approximately 4,000 plants per acre.
- Ensure surrounding every plant with garden cloth, mulch the plats as well as rows to protect from weeds.
- Add a light-colored hoop at the base of every plant, like gravel, sand, or a piece of marble. This will help the reflection of sunlight on the plants.
- Prevent excessive moisture to keep your plants healthy.
When to Plant Lavender?
Planting lavender cuttings in the seedbed at the beginning of spring is the best idea. Lavender usually transplants in the autumn or winter. You can obtain a new lavender plant when it is grown a little, and the germination is started. The end of the summer is a suitable time to separate the branches. The flowering time will most probably end at that time.
Taking Care of Lavender Crops for High Yield and Profit
“Good care equals to good yield” suits very well to lavender farming as well. It needs a little bit of rain and a lot of direct sunlight. Furthermore, it can adapt to fall as well.
- Removing invasive plants is recommended for proper lavender care. Invasive plants may take up the nutrients from the soil.
- You should also remove the old branches at regular intervals. Because, old branches get woody, and may disrupt the growth of soft, younger plants.
- You can divide the branches to reproduce new lavender.
- Having good drainage for lavender is necessary to avoid puddles of water around the plant.
- Pruning is suitable for lavender so that it can bloom the next year again.
Common Pests, Diseases, and their Management
Although, lavender is known as a repellent to most common insects and pests, controlling them is still a very important aspect of lavender care. The formula of “prevention is better than cure” suits the lavender crops best. Therefore, you should act before any sign of attack from pests or diseases.
Also Read: Why Are Bottom of Tomatoes Turning Black: Blossom End Rot
Lavender is commonly attacked by:
- Mites
- Slugs
- Whiteflies, and
- Con Chinchillas
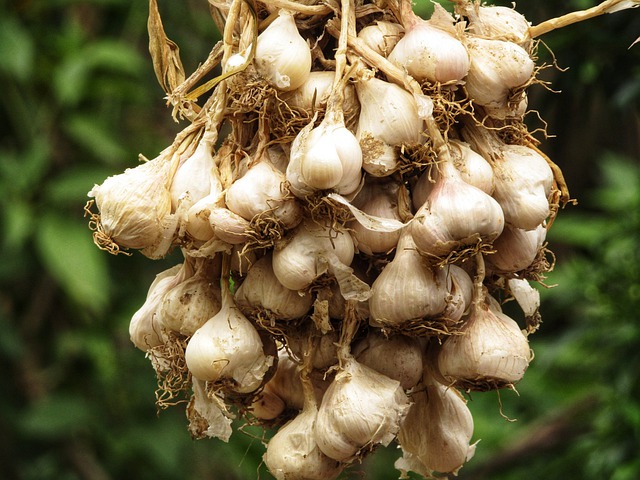
You can keep a few lavender plants in pots and use them as a repellent spray to protect other plants. Basil and garlic are very effective to protect the plants from files, insects and some fungi.
Even after proper lavender care, plants may get the victim to different plagues. To avoid that, you would like to eliminate the dead or infected plants as soon as possible.
How to Harvest and store lavender?
It would help if you cut the entire branch with leaves and flowers while harvesting lavender. You can remove the leaves later. Use only sharp flower cutting tools to ensure maximum profit. Flowering begins in the first year itself, but the lavender gets ready for harvesting after one year of planting. So, you can start harvesting after 13 to 14 months of planting the cuttings.
- Harvesting the lavender crops in the morning hours is ideal, as the oils are most concentrated at that time.
- It would be best if you cut the stems as long as possible.
- Gather them in bundles and use rubber bands for securing.
- Hang them at a sheltered place for proper drying. A cool, dark place with good air circulation is recommended for drying.
- Flowers will get dried after a few weeks, and you will be able to remove them by shaking the bundles gently. Shake them into lidded jars for a lot of uses!
The flowering process starts late in high slopes while it starts early in low altitude and warm regions. During the harvesting process, flowers are cut with 10 cm stem length. August or September is the ideal time for harvesting lavender in the Kashmir region.
The yield as well as the quality of the oil depends on various aspects such as the agro-climatic conditions, variety, process of distillation, planting, fertilization, and soil. A yield of 15kg/ha with oil content in the range of 1.2%-1.5% can be obtained under optimal herbal cultivation methods.
Now, lavender for marketing is ready. You can opt to trade in local markets or transport them to distant areas. You should get ready to get some decent money!
Lavender for Business
If you are planning for lavender farming, we would suggest you move ahead. But you will have to be a bit patient, at least in the first year, and you can, of course, afford it to become a successful lavender farmer.
Lavender is available in various fragrances and colours depending on the harvest. The family tree of lavender also constitutes widely known sage, Mediterranean herbs, thyme, and rosemary. The historical data suggests the use of lavender as a fragrant, medicinal, and culinary herb. Roman soldiers used the herb as a disinfectant while ancient Roman people scented their bath tubs using the plant.
The average life of productive and healthy lavender plant when used for commercial purpose is around 12 years. However, in certain cases steady produces are obtained for nearly 20 years. Planting lavender for gaining profit can be a perfect mode to transform the love for gardening and herbs into a method to earn money by selling the plants as well as the products. Various products can be made from the plant such as aromatherapy products, dried lavender bundles, herbal pillows, skin care products, lavender buds, tinctures, sachets, and oils. Manufacturing these products require less effort but are high in demand in the market.The herb is also used to increase the taste of honey. The baking process too uses lavender crop to enhance the taste.
Fresh bouquets also provide profit to the grower. A 20’x20’ area produces approximately 300 bunches/year which is of $1,800. The profit margin in large plots is even higher. For instance, a quarter acre area produces around 3,000 bunches which costs $18,000. The flower bunches that remains unsold can be dried and sold to florists, crafters, candle makers, beauty product manufacturers for various purposes.
The easy endeavor is to make soaps using the very simple melt and pour technique. These soaps are the best-selling gift items among the customers. Aromatherapy uses lavender oil as one of the most essential products. The distillation process helps in the extraction of lavender oil. The by-product obtained after the distillation process consists of the water-soluble products together with the oil and thus it is used in room fresheners and spritzers.
At a global level, a certain region of France has been involved in commercial lavender farming for centuries. North America has started to grow the crop on a commercial scale. The growers in these regions have started farming in the backyard as well as multi-acre farms. The knowledge is shared among the novice growers for better yield. Thus, lavender is considered a perfect cash crop for small growers to get substantial income.
Drying the Purple Herb
Once the process of harvesting is complete, the stems of the lavender bunches are tied with a strong rubber bands. The bunches are then transferred to the drying area as early as possible. The delay in transferring results in fading of the natural colour. The drying area should be well-ventilated, dry, and dark. Lavender bunches are hanged in upside-down direction for drying.
Advantages of Growing Lavender
The flowers of the crop are edible and the crop has an approximate life span of 10 years. The plant lavender can be grown without hassle but is a costly herb. The extracted oil has many health benefits such as preventing digestive issues, anti-inflammatory, reduces stress and anxiety, treats sleep issues, among others.
Thank you for reading this piece patiently! Hopefully, we have helped you at the beginning of your journey as a lavender farmer. If you have any questions, feel free to write to us. We will be more than happy to answer! And don’t forget to share with your friends and family members! Good Luck!