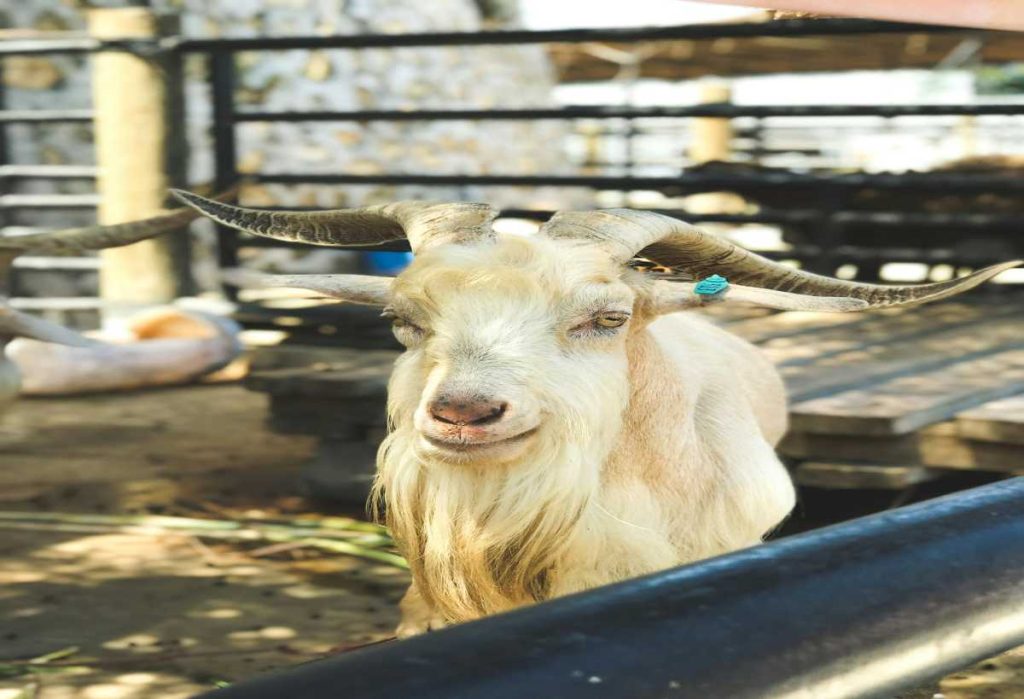
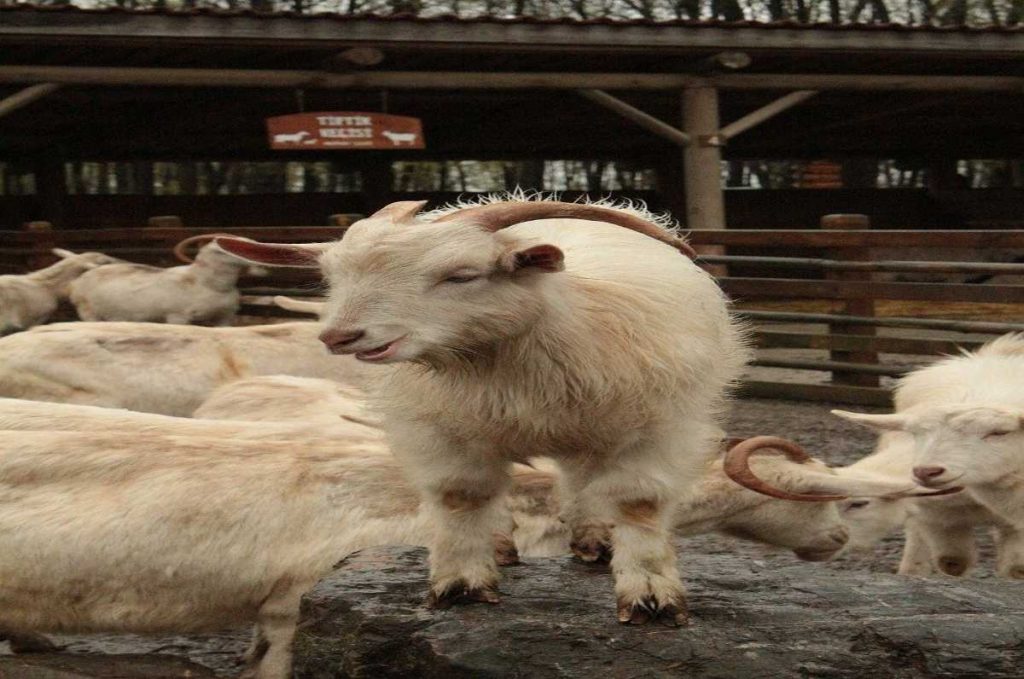
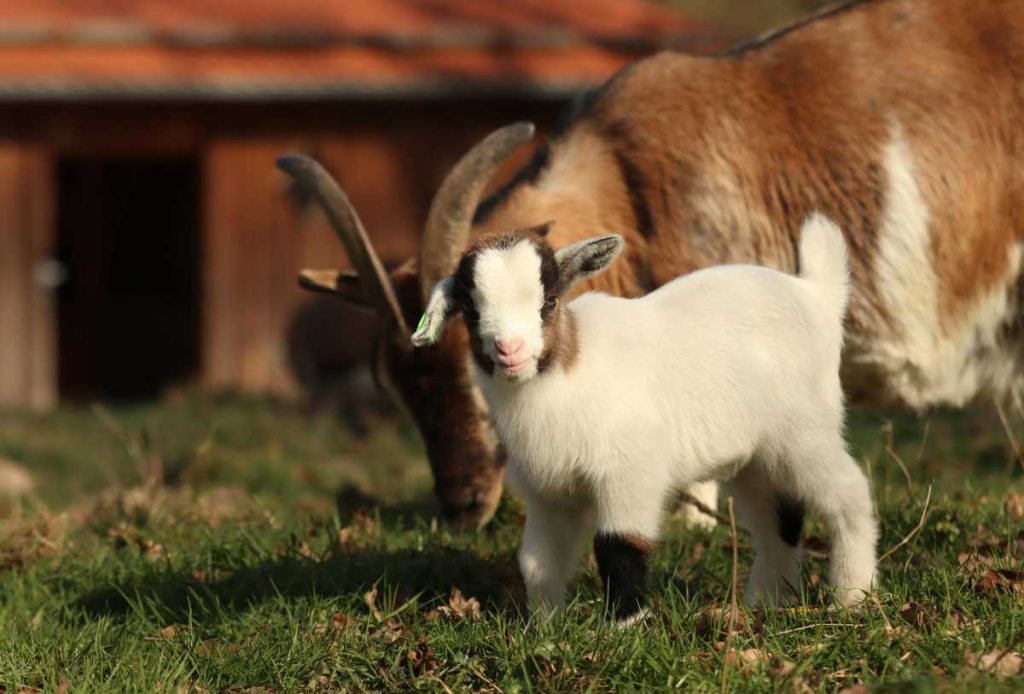
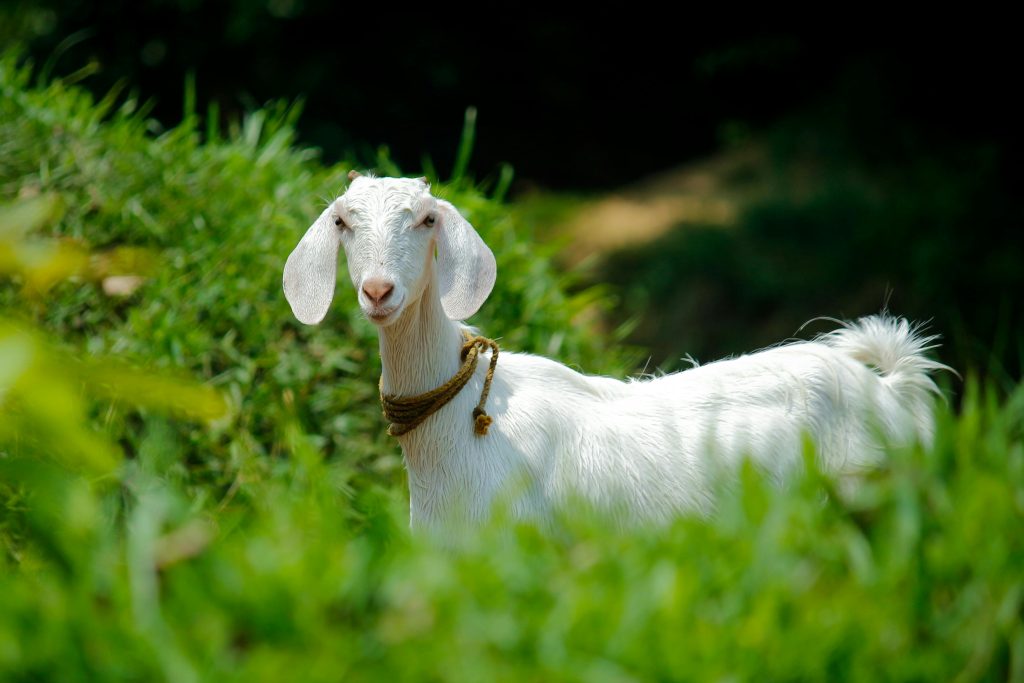
When introducing new goats to your herd, the excitement of welcoming fresh additions can sometimes cloud the importance of taking proper precautions. One of the most crucial steps in maintaining the health of your existing goats is quarantining any new arrivals. Quarantining helps prevent the introduction of diseases, parasites, and other health risks that could harm your entire herd. While it may seem like an extra effort, the benefits far outweigh the potential consequences of skipping this essential step.
In this guide, we’ll explore why quarantining new goats is so important and how you can set up a quarantine system that will keep your herd safe, healthy, and thriving.
1. Preventing the Spread of Diseases and Infections
Goats, like all animals, can carry diseases or infections that may not be immediately visible or obvious to the untrained eye. Some diseases, like caprine arthritis encephalitis (CAE) or Johne’s disease, can be latent, meaning the goats show no symptoms at first but can pass the disease on to others in the herd. In addition, respiratory infections, parasites, and bacterial diseases can also spread quickly through direct contact.
Why Quarantine is Essential:
- Incubation periods: Many diseases have incubation periods where the goat doesn’t show symptoms but can still be contagious. By quarantining new goats, you give yourself time to monitor for signs of illness before they are exposed to your herd.
- Contagion risk: Goats can be carriers of zoonotic diseases (diseases that can spread from animals to humans), such as Q-fever or brucellosis, which can pose a health threat to both goats and their human caretakers.
Tip: A typical quarantine period lasts 21-30 days, during which time you can observe for any health issues that might arise and have time to test for diseases.
2. Protecting Your Herd from Parasites
Parasites are another major concern when introducing new goats. Goats can carry internal parasites (like worms or coccidia) that may not show immediate symptoms, but could infect other goats in your herd. The new goats could also be carrying external parasites, such as lice, mites, or ticks, that can spread quickly if introduced to your main herd.
Quarantining Helps With:
- Parasite control: During the quarantine period, you can conduct parasite tests and treat any infestations before the new goats interact with your herd.
- Preventing contamination: By keeping new goats in isolation, you prevent the potential spread of parasites like worms or lice to your existing animals.
Tip: Use the quarantine period to treat any detected parasite issues with dewormers or other vet-recommended treatments, and take fecal samples to check for worm loads.
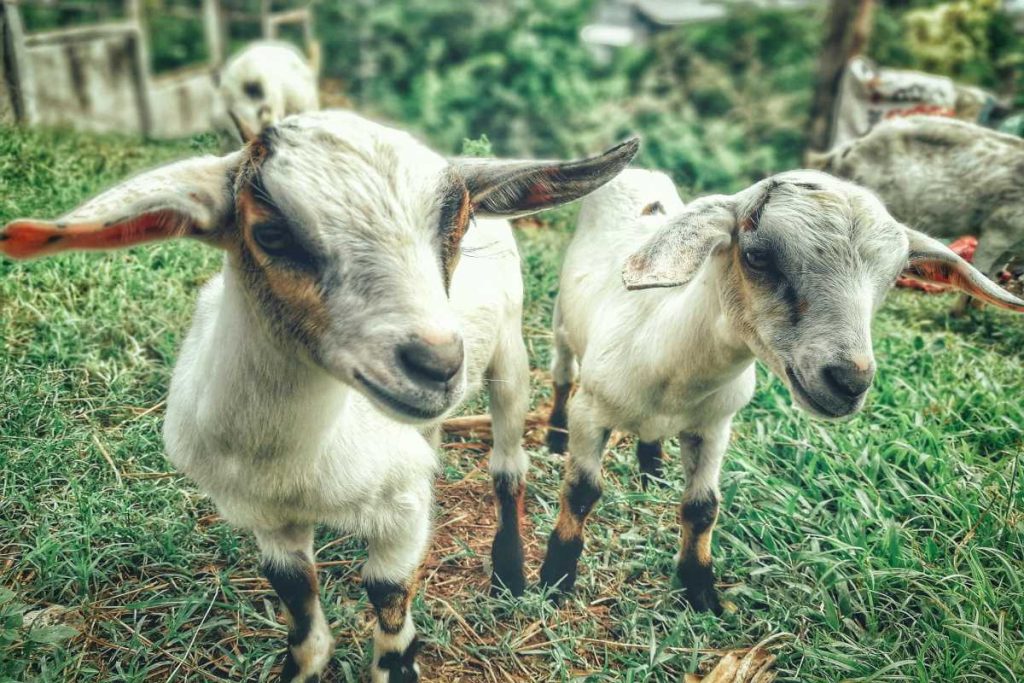
3. Monitoring for Behavioral Adjustments
Not only do you need to be concerned with physical health, but behavioral issues can also arise when introducing new goats to the herd. Some goats may experience stress from moving to a new environment, leading to behavioral changes such as aggression or anxiety. Quarantining allows you to assess your new goats’ temperament and behavior before they mix with others.
How Quarantine Helps:
- Behavioral observation: The quarantine period gives you the opportunity to observe how the new goats are adjusting to their new surroundings without the pressure of introducing them to a larger group.
- Stress reduction: Introducing a new goat to the herd too quickly can cause stress, which weakens their immune system and makes them more susceptible to illness. Quarantine helps reduce this risk.
Tip: Keep the new goats in a low-stress, quiet area during quarantine, providing plenty of food, water, and shelter. Monitor for any signs of aggression or excessive stress before introducing them to the rest of the herd.
4. Giving Time for Health Checks and Vaccinations
Quarantining new goats provides a valuable opportunity to conduct health checks and administer necessary vaccinations or treatments. Even if the new goats come with a clean bill of health, it’s always better to double-check their vaccination status and ensure they are up to date with any necessary health care.
Health and Care Considerations During Quarantine:
- Vaccinations: Make sure the new goats have received all required vaccinations, such as clostridial vaccines, and if not, administer them during the quarantine period.
- Health screening: During quarantine, have your vet perform health tests (such as blood tests, fecal samples, or physical exams) to confirm the new goats are disease-free.
Tip: Don’t assume that new goats have been properly vaccinated by the previous owner. It’s safer to administer your own vaccinations to avoid potential gaps in their immunization.
5. Allowing Time for Adaptation
Goats are creatures of habit, and adjusting to a new environment can be stressful for them. Quarantining your new goats gives them the time they need to adapt without being exposed to the additional stress of a new social environment.
Why This is Important:
- Environmental stress: A new goat might not adjust well to the larger herd initially, causing physical stress that can weaken their immune system. During quarantine, they can adapt at their own pace.
- Preventing herd disruption: Introducing a new goat too soon can disrupt the established social structure of your herd, potentially leading to bullying, territorial behavior, or fighting.
Tip: During quarantine, give your new goats time to settle in. Keep them in a calm, quiet area and monitor their eating, drinking, and behavior. Gradually increase exposure to the herd when they seem settled.
How to Set Up a Quarantine Area for Goats
To successfully quarantine new goats, you need a secure, separate space away from your main herd. Here’s what to keep in mind when setting up the quarantine area:
1. Location:
- Choose a location that is isolated from your main herd to minimize the risk of cross-contamination. If possible, select a location that is easy to clean and disinfect.
2. Facilities:
- Provide basic facilities like a shelter for protection from the elements, and make sure the area is secure to prevent escape. The quarantine area should include fresh water, proper food, and enough space for the new goats to move around.
3. Monitoring and Care:
- Monitor the new goats closely for signs of illness or stress. Regularly check their temperature, appetite, and overall behavior. Keep a log of their health observations.
4. Disinfection:
- After the quarantine period is over, clean and disinfect the area thoroughly to remove any potential pathogens before the new goats join the main herd.
5. Gradual Introduction:
- Once the quarantine period is successfully completed and you’re confident that the goats are healthy, introduce them to the herd slowly. Start with short interactions and increase the time as the goats get comfortable with one another.
Conclusion
Quarantining new goats is a simple but vital practice to ensure the health and well-being of your entire herd. By isolating new arrivals for a period of time, you can monitor their health, prevent the spread of disease, and give them time to adjust to their new environment. Whether you’re new to goat ownership or a seasoned farmer, quarantining is a step that should never be overlooked. Protect your herd, your investment, and your peace of mind by giving your new goats the care and attention they need during their quarantine period.