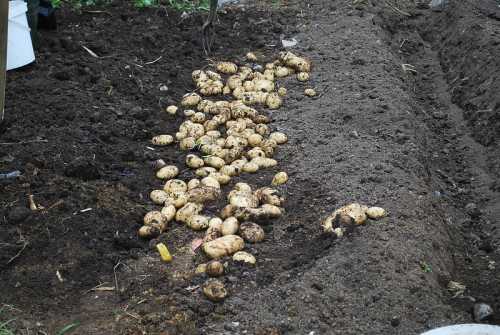
Soil, water and sunlight are essential needs for a plant growth. But, without right amount of nutrients you can’t expect the potato plant to give quality yield.
With increasing use of chemical filled fertilizers, it’s enticing to switch to natural organic fertilizers to enrich your plant soil. Chicken manure is one such fertilizer.
Those who aren’t aware of nutrients in chicken manure may wonder is it good for potatoes?
Clemson University states that poultry manure has 13 essential plant nutrients including nitrogen, phosphorus, potassium, calcium, magnesium, sulfur and manganese, which are all essential for healthy potatoes. It also contains trace elements like zinc and iron which benefit potato plants to thrive.
Before dwelling further, lets know about chicken manure.
What is Chicken Manure?
Chicken manure is the excrement of chickens which is often used as an organic fertilizer in gardens and farms. It is made up of droppings, feathers and bedding material such as straw or sawdust.
It is often used as a natural fertilizer to provide essential nutrients to plants.
Poultry manure has a high nitrogen content, which helps with photosynthesis and helps the plant to produce proteins and enzymes.
It also contains phosphorus, which is important for root growth, and potassium, which helps plants to absorb water and nutrients more efficiently.
What Kind of Nutrients Potato Plant Needs to Grow?
Potatoes require a few essential nutrients to grow well. The primary nutrients needed are nitrogen, phosphorus and potassium.
Nitrogen helps the plant with photosynthesis and encourages leaf growth so that potatoes can better absorb sunlight.
Phosphorus is important for proper root growth while potassium helps the plants to absorb water and other necessary minerals from the soil more effectively.
Your potato plant needs Phosphate and Magnesium for bigger tubers.
All nutrients help in tuber growth, calcium helps to regulate the water uptake of potatoes and sulfur helps in chlorophyll formation. (Source)
Is Chicken Manure Good for Potatoes?
As mentioned chicken manure provides essential nutrients such as nitrogen, phosphorus and potassium, which are important for plant growth. It also contains several trace minerals like zinc and iron, which are beneficial for the potatoes to thrive.
Adding chicken manure will helps your potato plant to absorb water and other minerals from the soil more efficiently.
It enhances photosynthesis and encourages leaf growth for better absorption of sunlight.
Adding chicken manure to potato plant will regulates water uptake in potatoes through calcium content.
- Chicken manure has a lot of nitrogen. That helps potato plants grow tall and have big leaves..
- It also contains phosphorus, which is important to promote root development and overall plant growth.
- Potassium is essential for flower production and tuber formation in potato plants, and chicken manure is a good source of this nutrient.
- Potato plant needs calcium for strong plant cell walls, which can be provided by this organic fertilizer.
- Magnesium housed in chicken manure promotes photosynthesis and overall plant health.
- Sulfur content in this organic fertilizer helps to promote enzyme activity in potato plants and can help improve soil structure.
Also Read: Why Are My Potatoes So Small?
How to Use Chicken Manure for Potato Plants?
Chicken manure can be used to fertilize potato plants in a few ways.
The easiest way is to mix the chicken manure into the soil before planting the potatoes.
However, you can also use this organic fertilizer as a side dressing.
Spread the chicken manure around the base of the potato plants, at least 6-8 inches away from the stem.
Below mentioned are different ways to use this natural fertilizer:
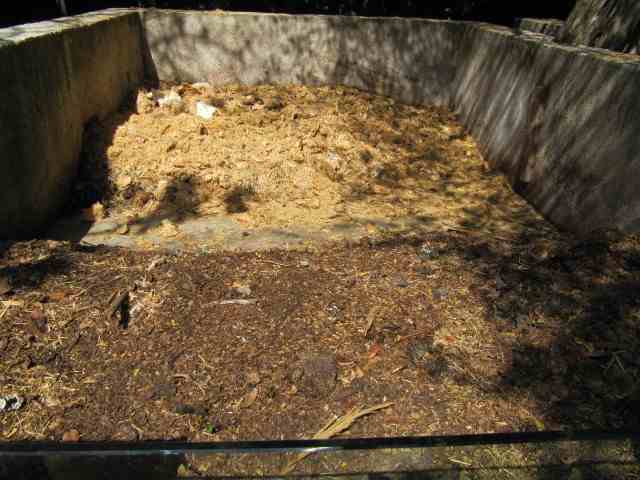
#1 Compost the manure
Composting is the process of breaking down organic matter into a nutrient-rich soil amendment for gardening.
You can add poultry manure for your compost bin, so that you can reuse the decomposed compost to enrich your potatoes.
- To add chicken manure for compost, you will need to collect fresh chicken bedding material such as straw or sawdust.
- This is mixed with the manure and composted for several weeks before it can be safely used in your potato garden.
- You must add 1 part of brown and 2 parts of green in your compost bin. More on this here.
#2 Apply the composted manure
To ensure the best growth of your potato plants, utilize decomposed manure instead of fresh to nourish and enrich their soil. Place it around them in a circular formation for optimal benefits.
- Apply the composted chicken manure evenly around the potato plant.
- Make sure not to spread it too close to the stem of the plant or it can cause damage.
- Water it in well after application and fertilize according to your garden’s needs.
#3 Apply Directly
Instead of adding to your compost bin, you can spread old chicken manure (3-4 months decomposed) in your garden as a top-dressing for maximum nutrient absorption.
- To use this method, spread the chicken manure on top of the soil around your potato plants and gently work it into the first few inches of soil.
- Make sure not to bury the stem of the plant.
- Watering in well after application helps to release the nutrients from the manure and make it available to your potato plants.
#4 Mix with potting soil
Adding chicken manure to the soil before planting potatoes can give your plants an instantaneous dose of essential nutrients that will aid in their growth and development.
- Add a few inches of chicken manure to the planting area and mix it into the soil well before planting your potatoes.
- This will provide the plants with a slow release of nutrients throughout the growing season.
Check this out: Can You Grow Potatoes in Clay Soil?
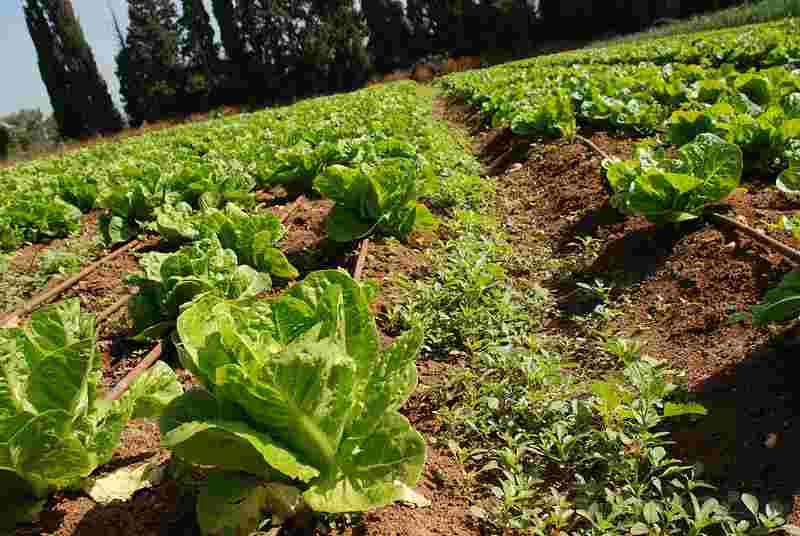
Other organic fertilizer for potatoes
You can give your potato plants organic fertilizer. This could be compost, dried seaweed, or fish emulsion.
- Compost is a special type of food for plants. It helps potatoes grow strong and healthy by giving them all the nutrients they need.
- Dried seaweed is a good option for your plants because it has lots of vitamins and minerals. Fish emulsion can help the roots grow strong..
- You can use organic fertilizers on your potato plants, like you would with chicken manure. This will help them grow healthy during the season.
- The best thing about using organic fertilizers for your potatoes is that you don’t need to worry about chemical residues in the soil, making them safer and more eco-friendly.
- By understanding which nutrients are most beneficial for potato plants and how to use organic fertilizers such as chicken manure, you can ensure a successful harvest.
List Potato Plant Fertilizing Tips
1. Compost the manure before applying it in your garden.
2. Apply composted or fresh manure as a side dressing around the base of the plant.
3. Use top dressing for freshly applied manure.
4. Mix it into soil before planting potatoes to give them an immediate boost of nutrients.
5. Consider supplementing with other organic fertilizers such as compost, dried seaweed or fish emulsion to provide additional nutrients and promote root growth.
6. Water well after application to release the nutrients and make them available to your plants.
Read other organic fertilizer articles here:
- Is Chicken Manure Good for Cucumbers?
- How to Use Chicken Manure for Tomatoes?
- Can You Use Cow Manure to Fertilize Chili Plants?
- Fertilizing Potatoes with Cow Manure
- Are Worm Castings Good for Tomatoes?
FAQs
How long should chicken manure sit before planting?
It is best to let chicken manure sit and compost for at least 3-4 months before using it in your garden. This will help reduce any potential nutrient burn and make the manure more effective as a fertilizer.
Can I use fresh chicken manure on potato plants?
No, fresh chicken manure should not be used on potato plants as it can cause burning to the plant. It is best to compost it first or use it in moderation as a side dressing.
Does chicken manure burn plants?
Yes, fresh chicken manure can cause burning to the plant. It is important to compost it first or use it in moderation as a side dressing.
How do I compost chicken manure?
Chicken manure should be composted for at least six months before applying it in the garden. The compost pile should be kept moist and turned every few weeks to ensure the manure breaks down properly.
How often should I fertilize my potato plants?
It is best to fertilize your potato plants every 4-6 weeks, once the plants have reached 6 inches in height. This will help to ensure they get the nutrients they need to produce a healthy crop.
How much chicken manure should I use on my potato plants?
It is best to use a light side dressing of composted chicken manure around the plants. For every 10 square feet, use one cup of composted manure. This will help to provide the necessary nutrients for healthy growth and development.
When should I apply chicken manure to my potato plants?
It is best to apply composted chicken manure before planting potatoes or as a side dressing once the plants have reached 6 inches in height.
This will provide the necessary nutrients throughout the growing season for healthy growth and development.
Are there any risks to using chicken manure on potato plants?
Yes, it is important to be aware that fresh chicken manure can contain harmful bacteria such as E. coli and Salmonella.
Therefore, it is important to compost the manure before applying it in the garden or use it in moderation as a side dressing.
Additionally, there may also be some risk of nitrogen burn if too much is applied at once. Therefore, it is important to use a light side dressing and supplement with other organic fertilizers for additional nutrients.
Conclusion
Chicken manure is a great way to give your potato plants the nutrients they need to grow well.
It can provide the necessary nitrogen and other essential minerals, while being eco-friendly and free of chemical residues.
However, it is important to compost the manure first or use it in moderation as a side dressing to avoid any risks.
Finally, supplementing with other organic fertilizers can help to further boost plant growth and development.