Raising chickens can be an incredibly rewarding experience, whether you’re looking for fresh eggs, natural pest control, or simply the joy of keeping animals. However, to ensure that your chickens thrive and that your venture is successful, there are a few key considerations to keep in mind. From providing the right environment to understanding their diet, here are 7 essential tips for raising chickens that will help you build a happy, healthy flock.
1. Provide a Safe and Comfortable Coop
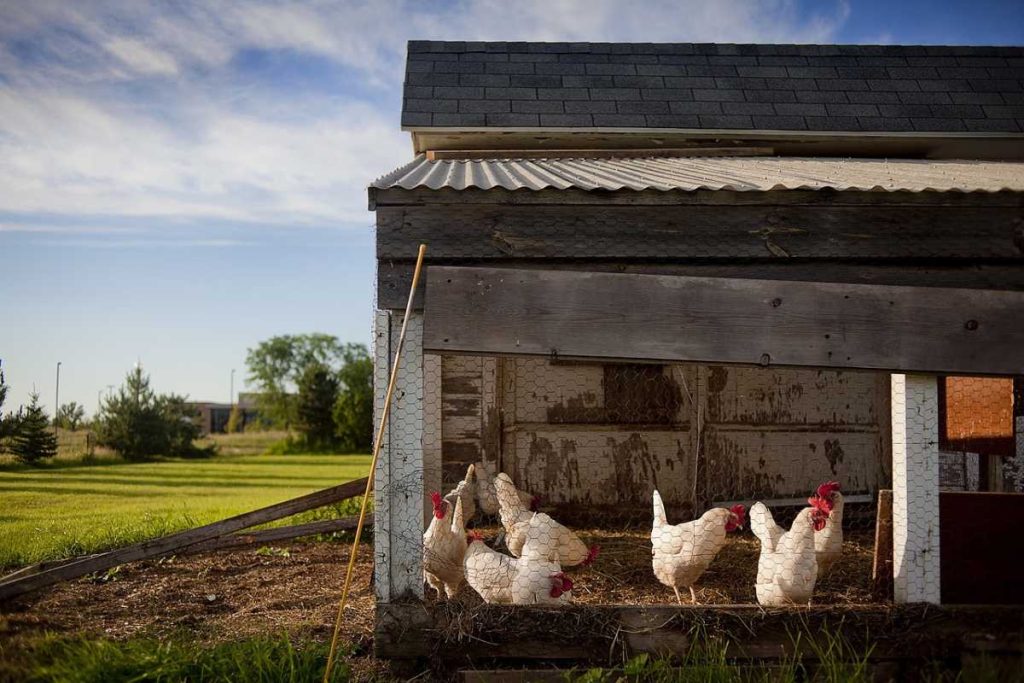
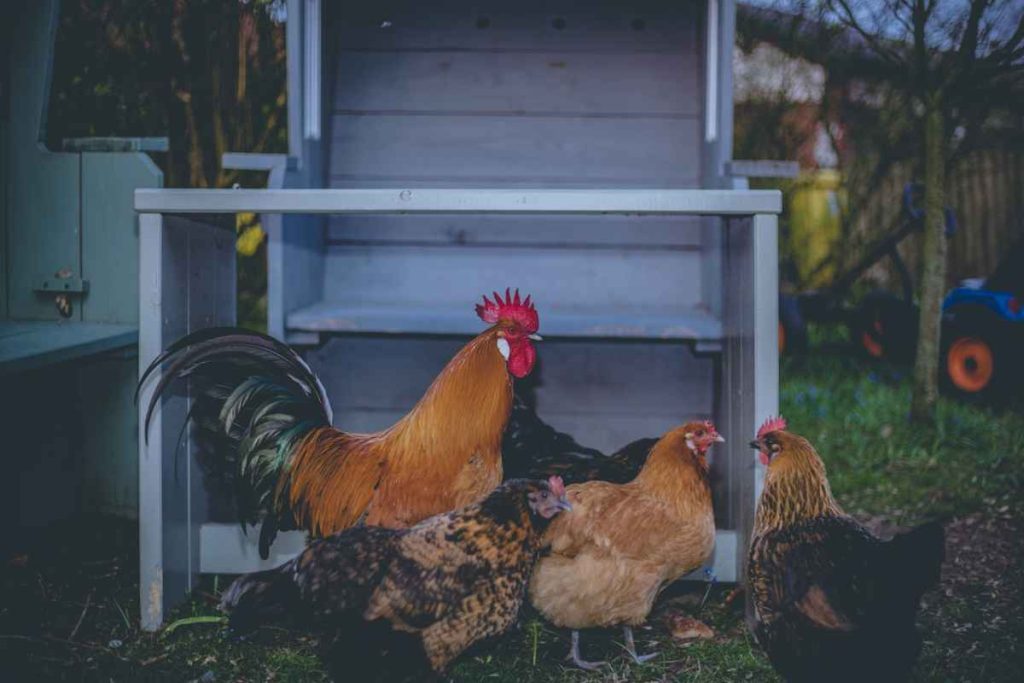
The foundation of a successful chicken-raising experience is a well-built, safe, and comfortable chicken coop. Your chickens will spend a significant portion of their time in the coop, especially at night, so it’s essential to ensure it meets their needs. Here’s how to create the perfect chicken coop:
- Space: Ensure there is enough room for each chicken to move comfortably. A good rule of thumb is at least 2-3 square feet per chicken inside the coop and 8-10 square feet in the outdoor run.
- Ventilation: Proper ventilation is crucial to avoid the buildup of moisture, ammonia, and heat. Consider windows or vents that can be opened to improve airflow.
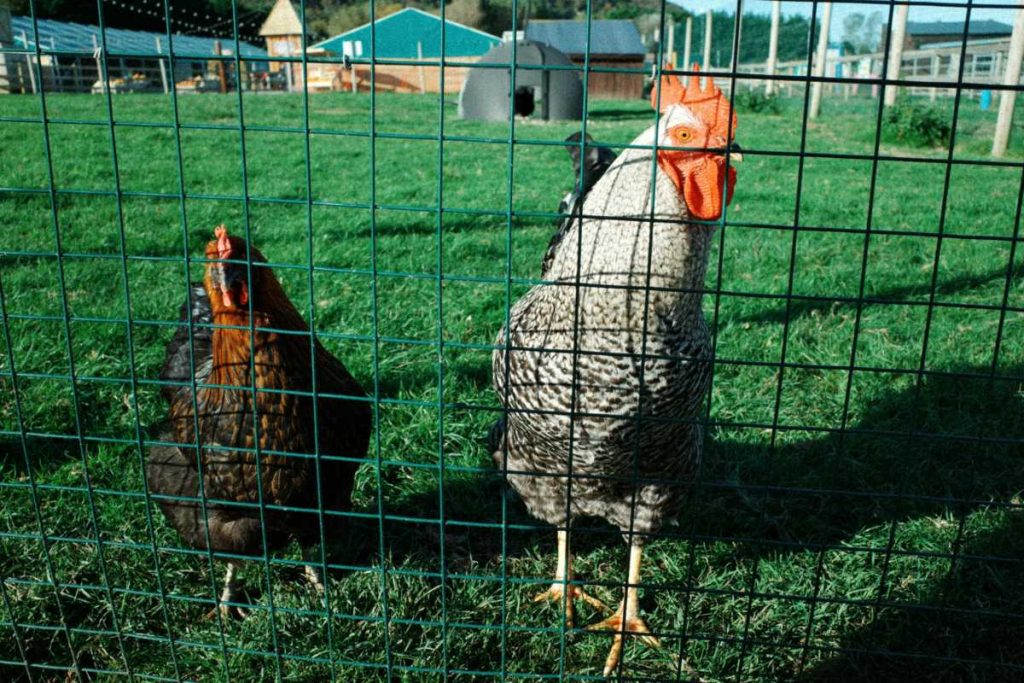
- Security: Protect your flock from predators such as raccoons, foxes, and hawks by making sure the coop is well-secured. Use hardware cloth or strong wire mesh, and check for gaps where predators could enter.
Bonus Tip: Make sure your coop is predator-proof, including a secure door, roof, and covered floor.
2. Feed Them the Right Diet
Chickens need a balanced and nutritious diet to stay healthy and productive. While they are excellent foragers and can find a lot of their food in your yard, you will still need to supplement their diet with commercial chicken feed.
- Layer Feed: Once hens start laying eggs (usually around 18-20 weeks), they need layer feed, which contains extra calcium for strong eggshells.
- Treats & Snacks: Offer treats like kitchen scraps, vegetables, and grains, but avoid foods that can harm chickens, such as onions, garlic, or citrus fruits.
- Free-Range Grazing: If you allow your chickens to free-range, they will forage for insects, seeds, and small plants, which enriches their diet.
Bonus Tip: Provide grit (small stones) to help chickens digest food properly, especially if they forage for a significant portion of their diet.
3. Ensure Access to Clean Water
Chickens need access to clean, fresh water at all times. Water is crucial for digestion, egg production, and overall health. Without enough clean water, chickens can become dehydrated, which can impact their health and laying capacity.
- Water Dispensers: Use clean, easily accessible water dispensers. These can be automatic or manual, depending on the size of your flock.
- Keep It Clean: Regularly clean the water containers to prevent bacteria build-up and algae growth.
Bonus Tip: In the winter months, you may need a heated waterer to prevent the water from freezing and to ensure your chickens always have access to hydration.
4. Create a Comfortable Nesting Area
If you’re raising chickens for egg production, you’ll need to provide them with a comfortable and quiet nesting area. A well-designed nesting box will encourage hens to lay their eggs in a specific location, preventing them from laying in hidden or inappropriate areas.
- Nesting Boxes: Provide one nesting box for every 3-4 hens. Each box should be around 12 x 12 inches and filled with clean straw or hay to make them soft and inviting.
- Cleanliness: Keep the nesting boxes clean and dry to avoid infections and pests. Replace the bedding regularly to ensure a comfortable and hygienic environment.
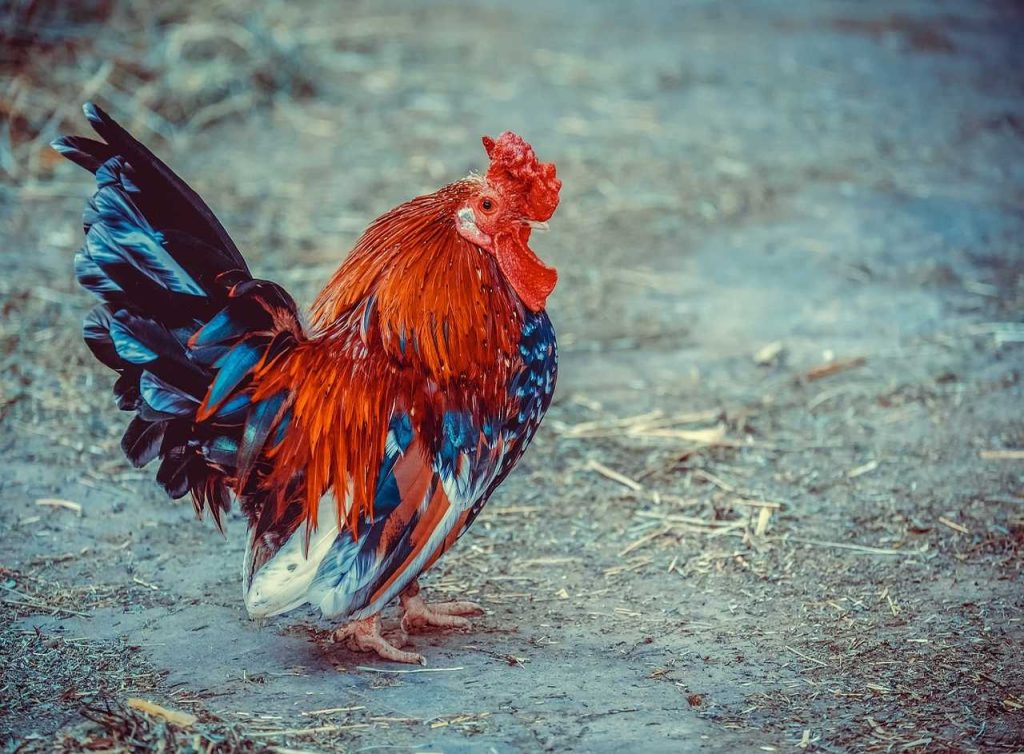
Bonus Tip: Place the nesting boxes in a quiet area of the coop, away from high-traffic zones and noisy roosters, to make the hens feel safe and secure when laying.
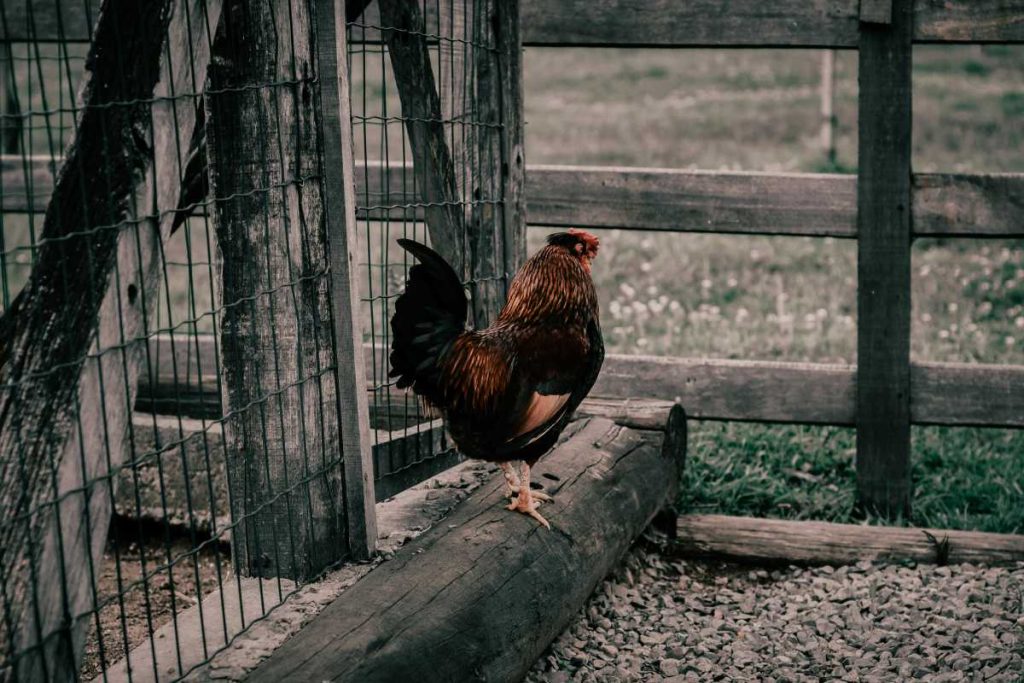
5. Offer Space to Roam and Forage
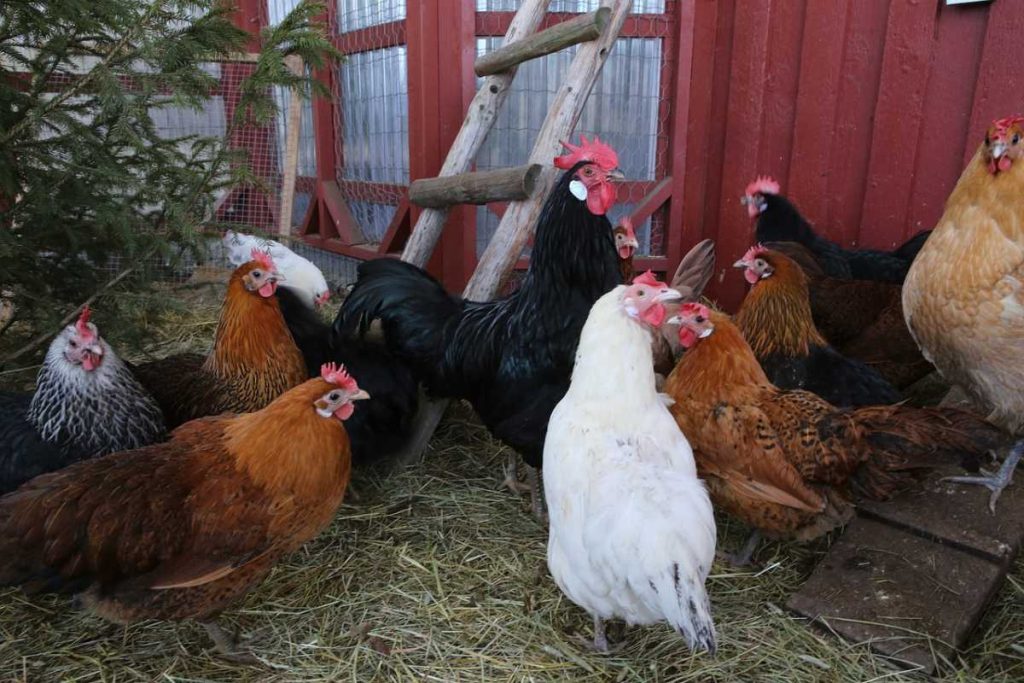
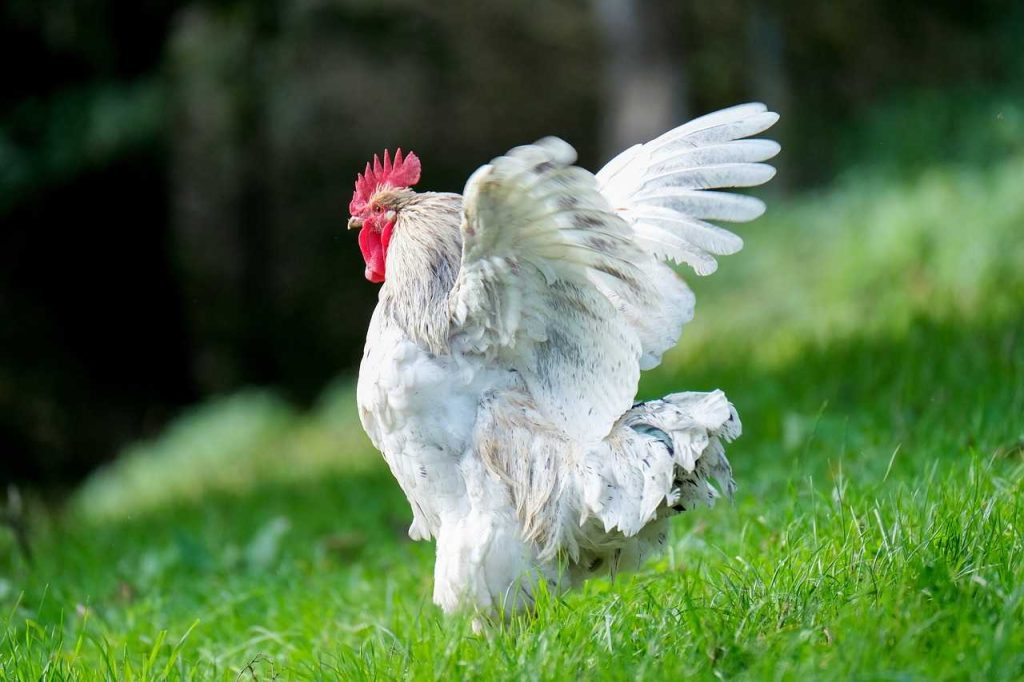
Chickens are naturally curious creatures and benefit greatly from having space to roam and forage. A secure outdoor run or free-range area will allow them to engage in natural behaviors like scratching, dust-bathing, and pecking, which is essential for their mental and physical well-being.
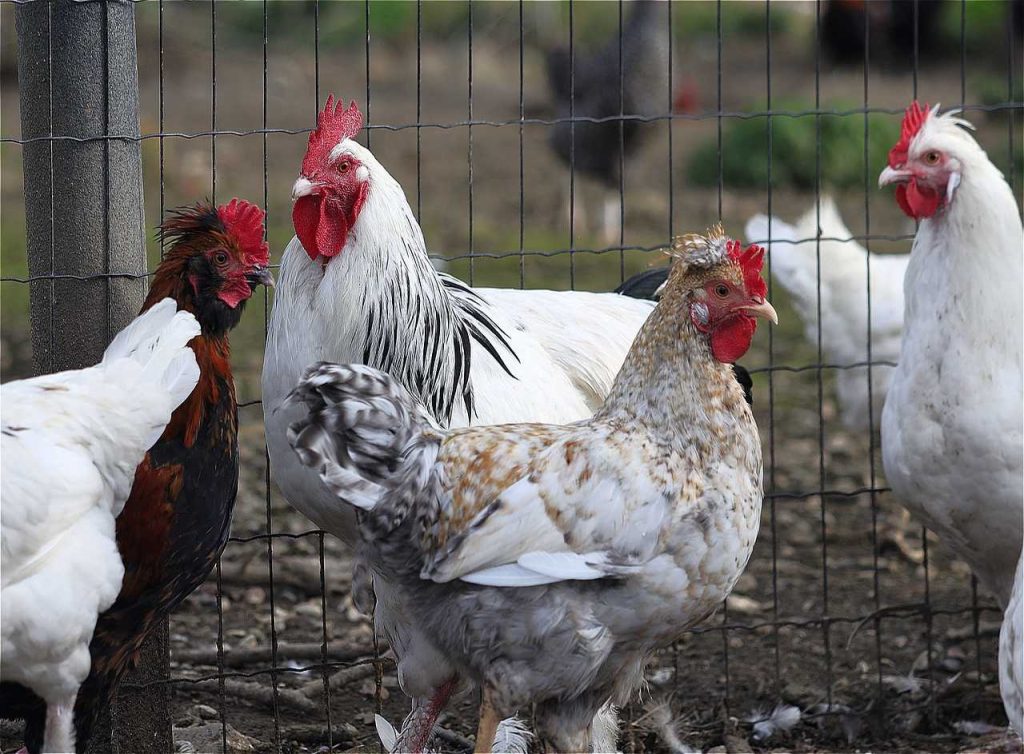
- Run Area: If you don’t want your chickens roaming freely, create a spacious, secure chicken run that is predator-proof. Make sure it’s large enough for your flock to exercise and stretch their wings.
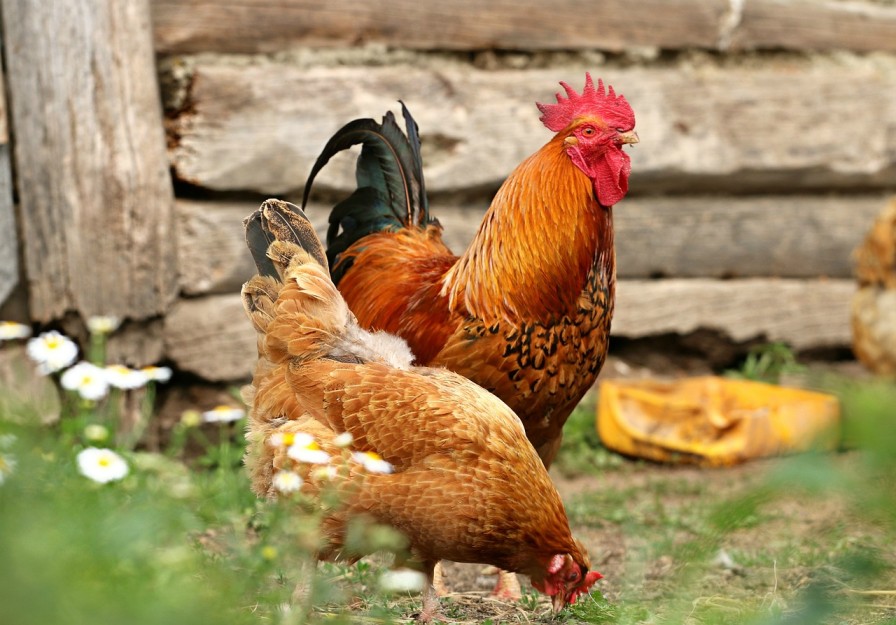
- Free-Range: If possible, let your chickens free-range during the day. This will help them access natural food sources like bugs and plants, and they’ll enjoy the fresh air and sunlight.
Bonus Tip: Rotate the chickens between different sections of your yard or pasture to avoid over-grazing and keep them active.
6. Regular Health Checks and Cleanliness
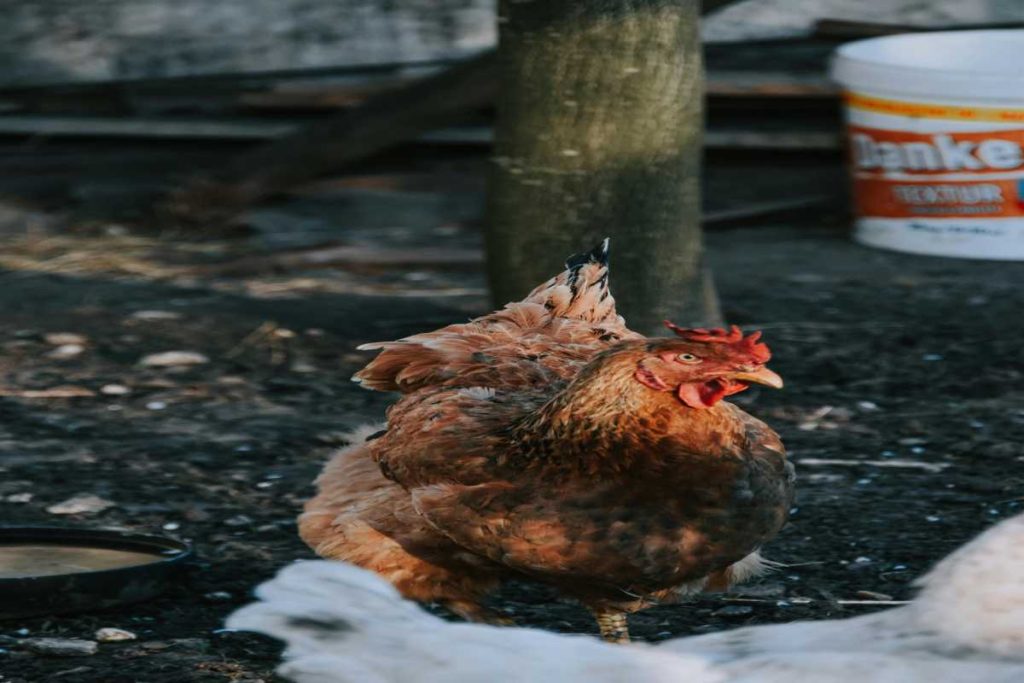
Maintaining a healthy flock is critical to ensuring their long-term productivity. Regular health checks will help you spot potential issues early, preventing serious problems down the line.
- Check for Parasites: Keep an eye out for common poultry parasites like mites, lice, and worms. Regularly check under their feathers and in the coop for signs of infestations.
- Vaccination and Vet Care: Depending on your location and flock size, you may want to vaccinate your chickens against common diseases. Schedule regular vet visits if necessary.
- Clean the Coop: Regularly clean the coop and replace bedding to reduce the risk of diseases and parasites. A clean coop also prevents foul odors and creates a healthier living environment.
Bonus Tip: Introduce dust baths in a sandy area for chickens to naturally help them rid themselves of parasites.
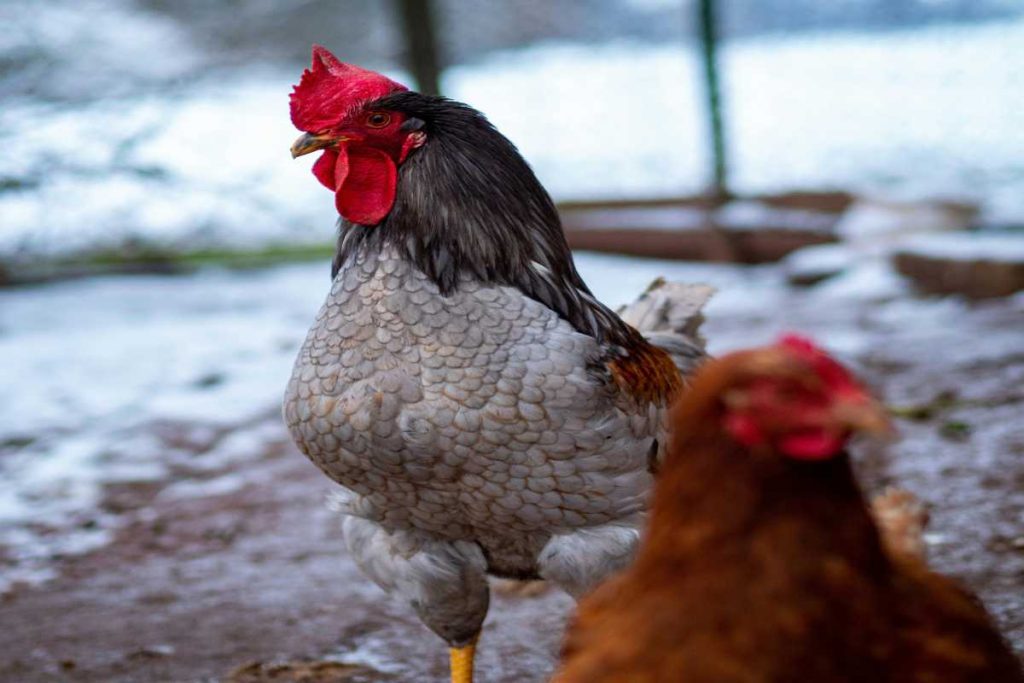
7. Prepare for Winter and Extreme Weather
Chickens are fairly hardy creatures, but extreme weather conditions, like cold winters or intense heat, can affect their health and egg production. Proper preparation can ensure your chickens stay comfortable year-round.
- Winter Care: In the winter, ensure the coop is well-ventilated but also insulated enough to protect your chickens from freezing temperatures. Add extra bedding for warmth and ensure water doesn’t freeze.
- Summer Care: In the summer, ensure your chickens have access to shade and plenty of water to stay cool. You can also add fans to the coop or provide misters to help regulate temperature.
Bonus Tip: If you live in an area with harsh winters, consider using a heat lamp (but always with caution to avoid fire hazards) or providing heated water bowls to keep water from freezing.
Conclusion
Raising chickens requires thoughtful planning and care, but by following these 7 essential tips for raising chickens, you can ensure that your flock thrives. From providing them with a safe, secure coop and nourishing their diet to offering space to roam and regular health checks, these steps will help you raise happy, healthy chickens that can provide you with fresh eggs and joy for years to come.
Whether you’re a beginner or an experienced chicken keeper, keeping these tips in mind will make your chicken-raising journey a success!