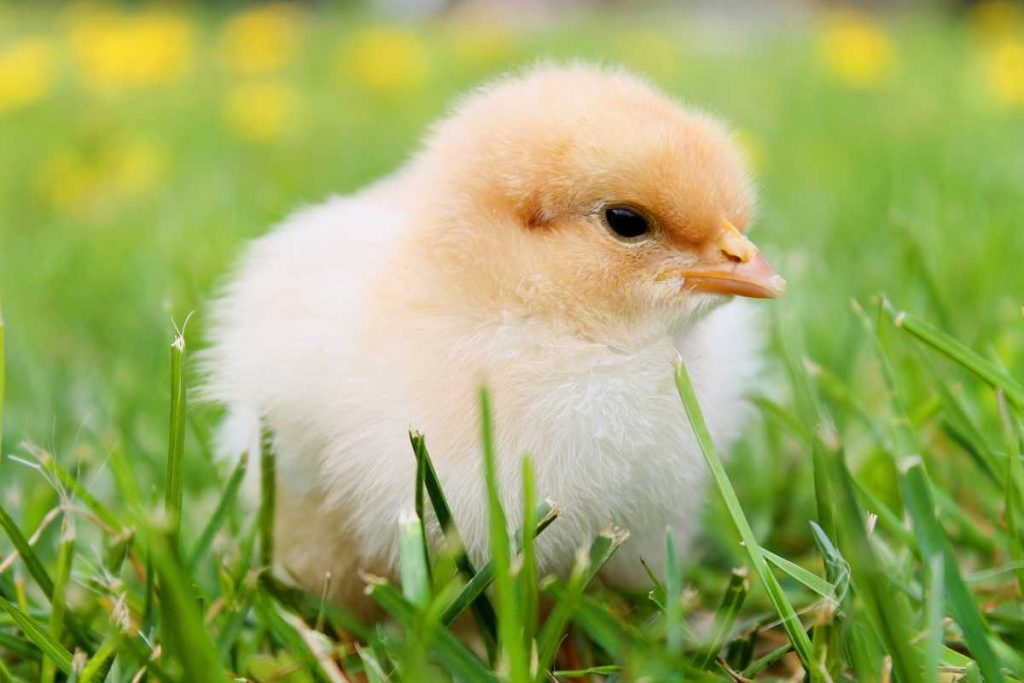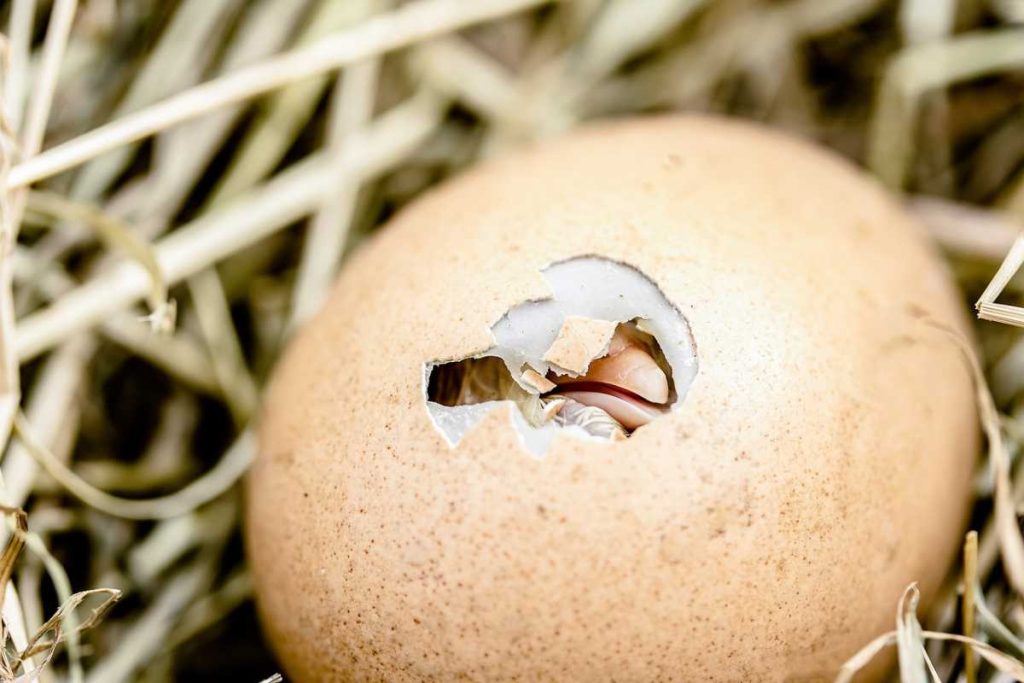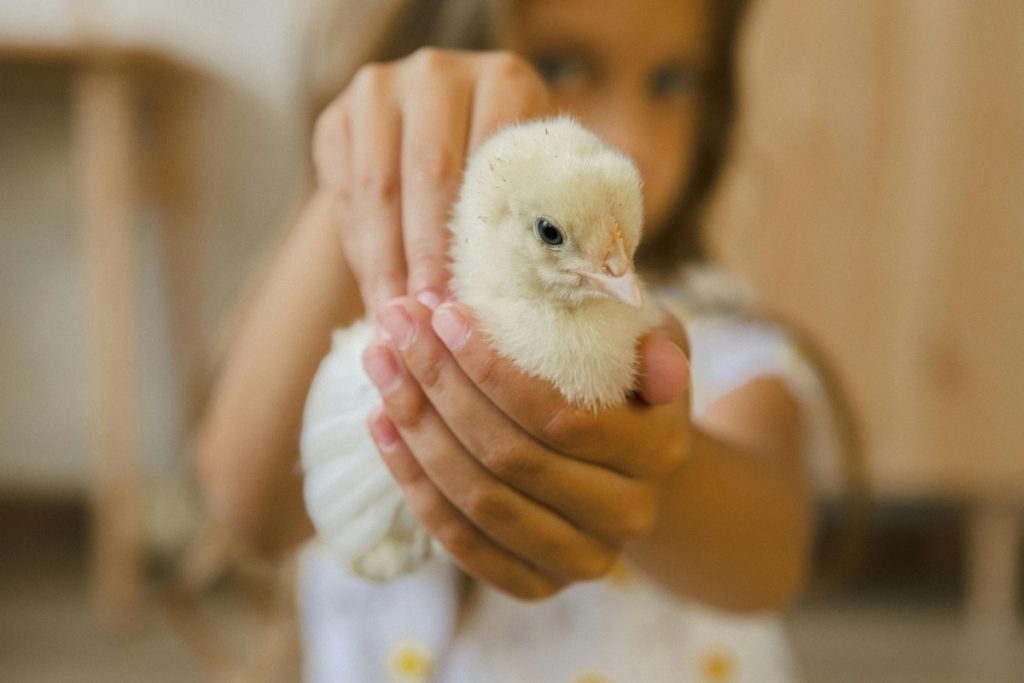
Raising chickens can be a rewarding and enjoyable experience, but beginners often make mistakes that can lead to health issues for their birds or even result in the loss of their flock. In this blog, we’ll discuss seven common mistakes that beginner chicken keepers make and how to avoid them, ensuring a happy and healthy environment for your chickens.
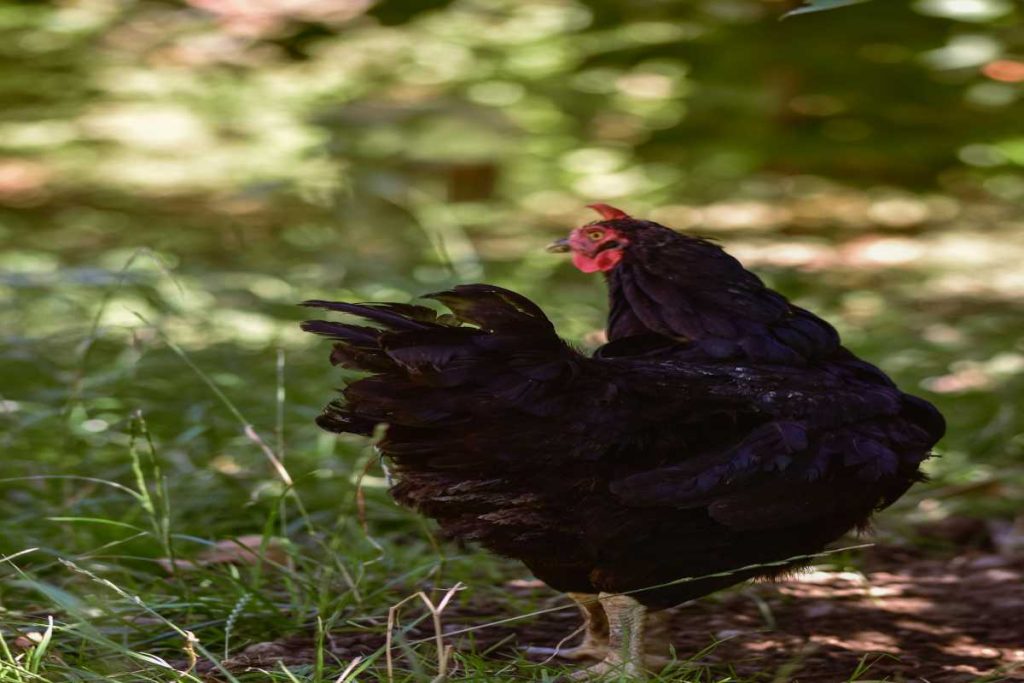
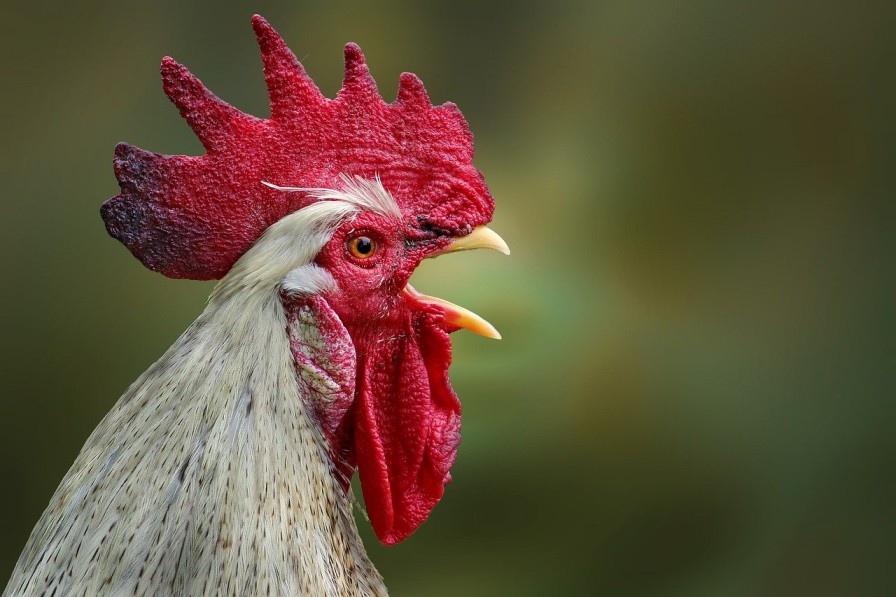
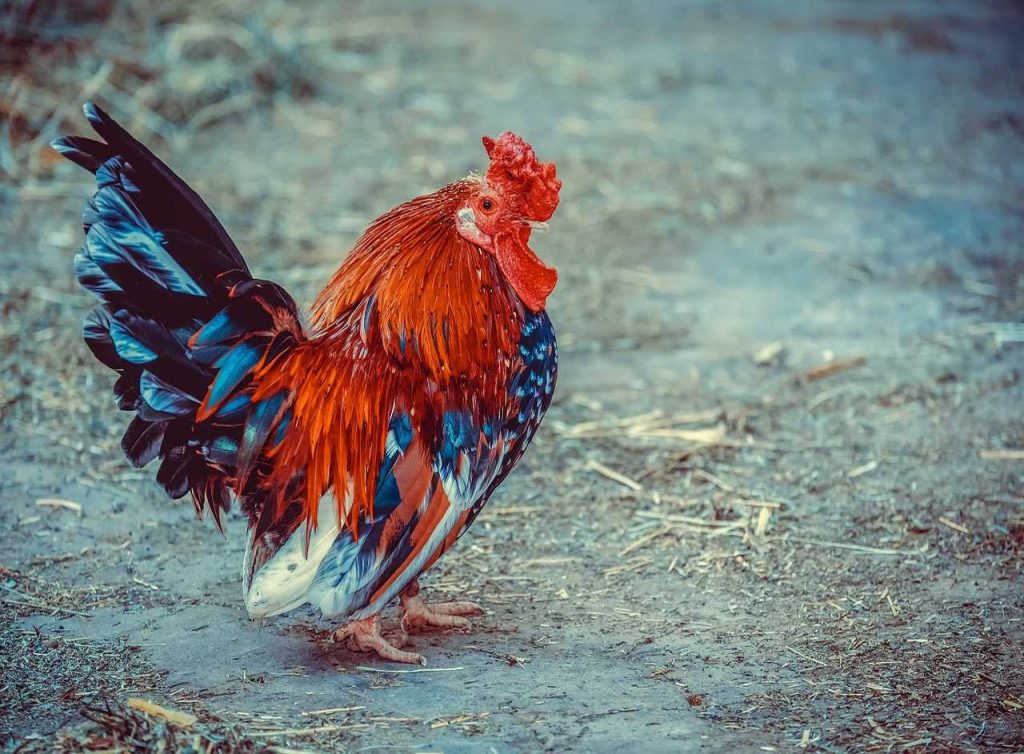
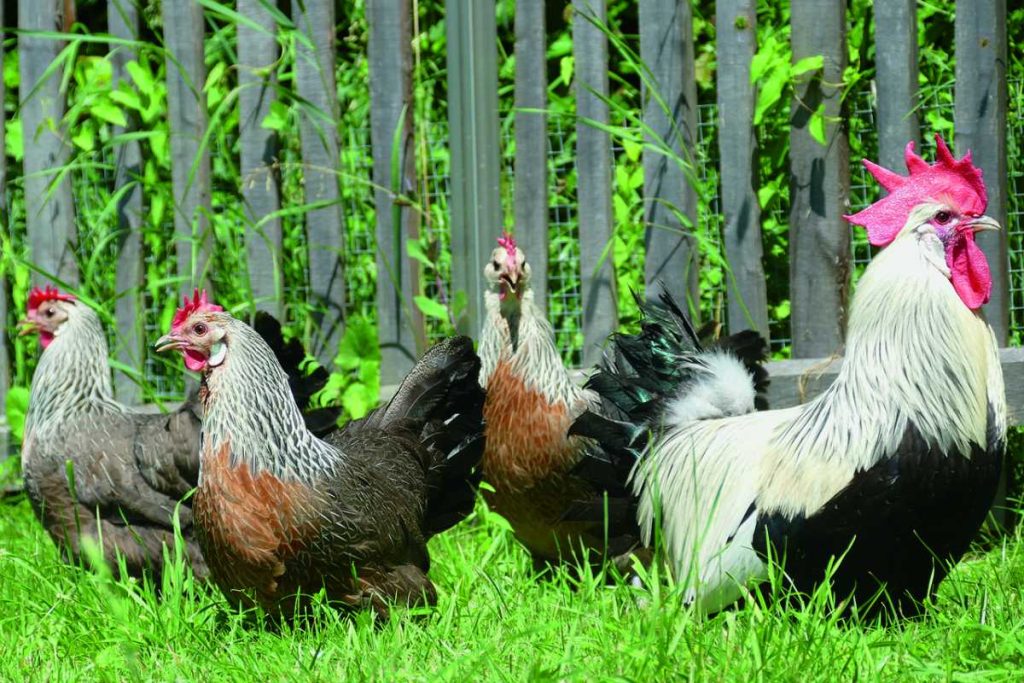
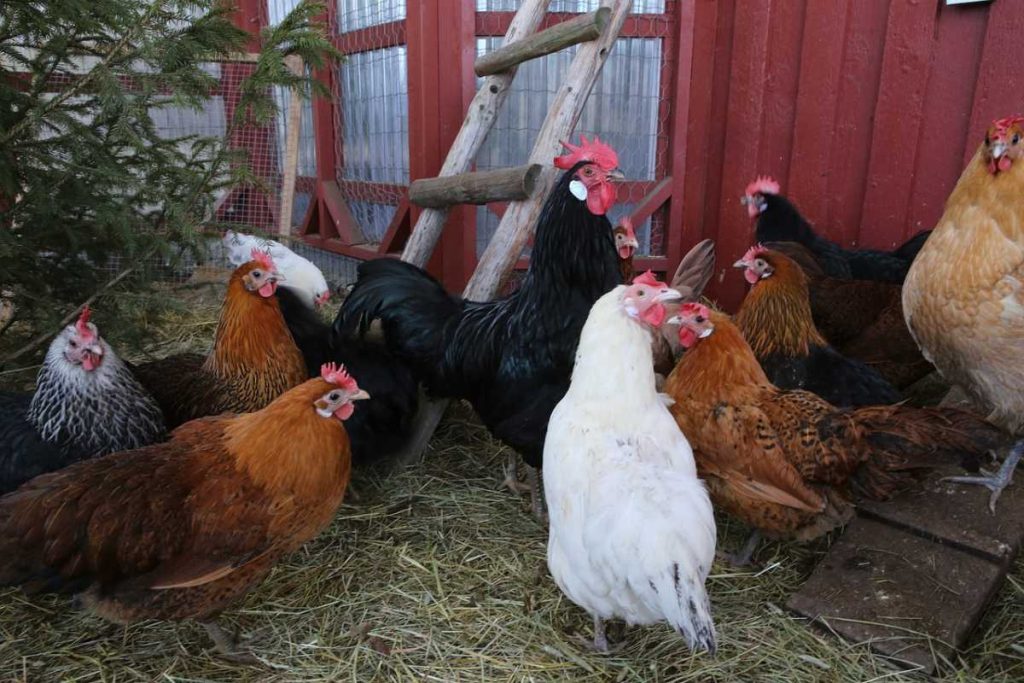
1. Choosing the Wrong Breed
Overview
Selecting the right breed is crucial for your chicken-keeping journey. Many beginners fail to consider factors like climate, purpose (egg production or meat), and temperament when choosing their chickens.
Common Mistakes
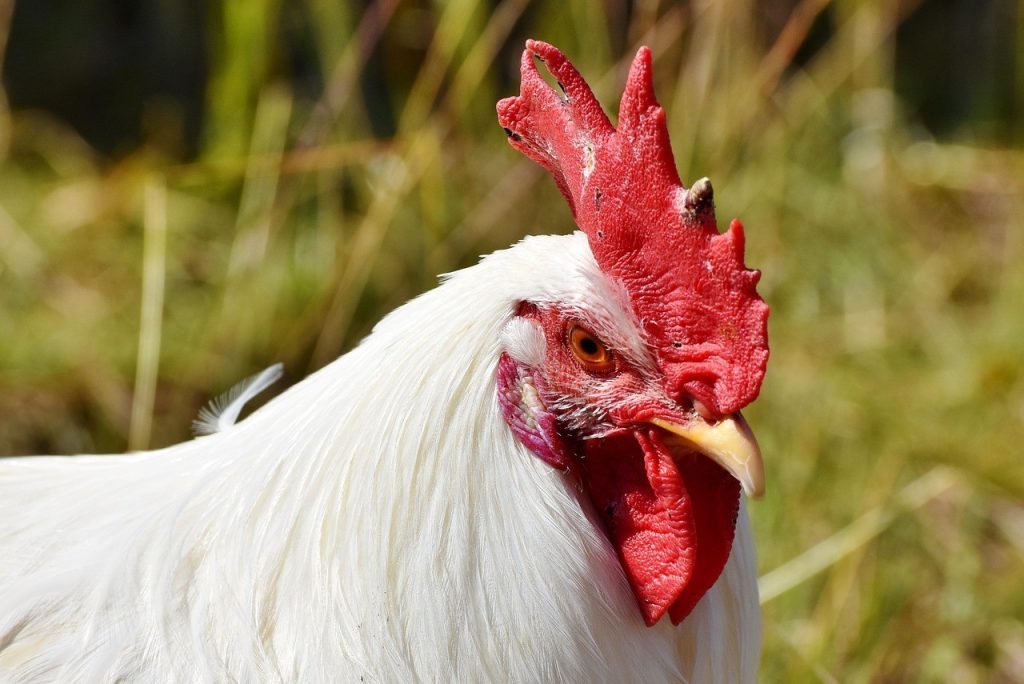
- Ignoring Climate Needs: Some breeds are more suited for specific climates. For instance, Brahmas and Cochins do well in cold climates, while Leghorns thrive in warmer temperatures.
- Not Considering Purpose: If you want egg-laying chickens, breeds like Rhode Island Reds or Leghorns are better choices than meat breeds like Cornish Cross.
Solution
Research various breeds before making a purchase. Look for breeds that suit your climate, space, and egg or meat production needs. Websites like the American Poultry Association provide resources on different breeds’ characteristics.
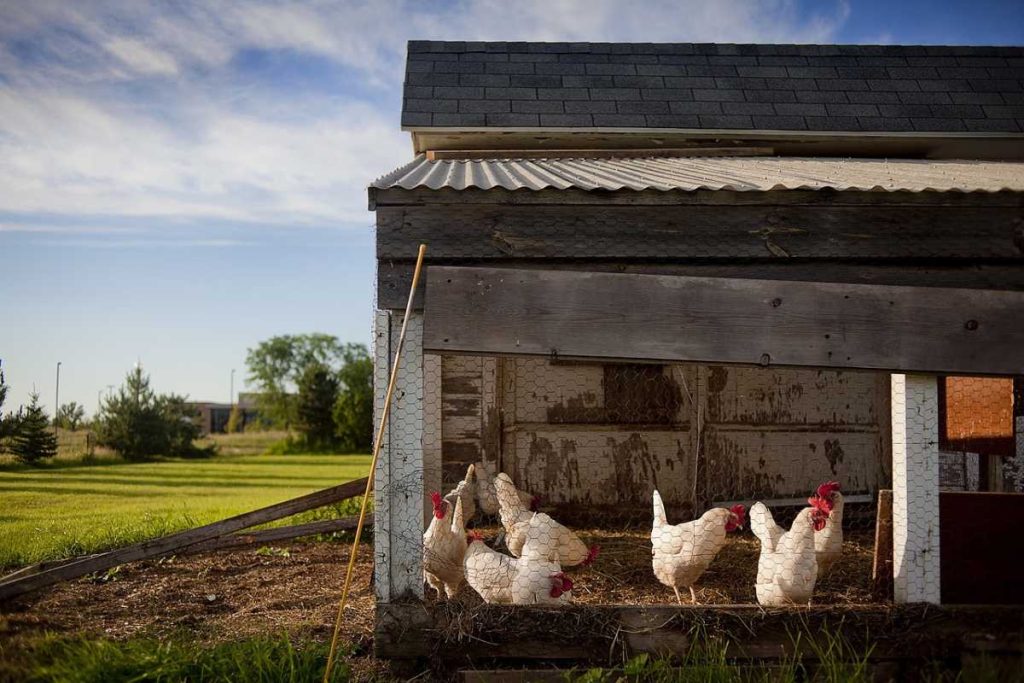
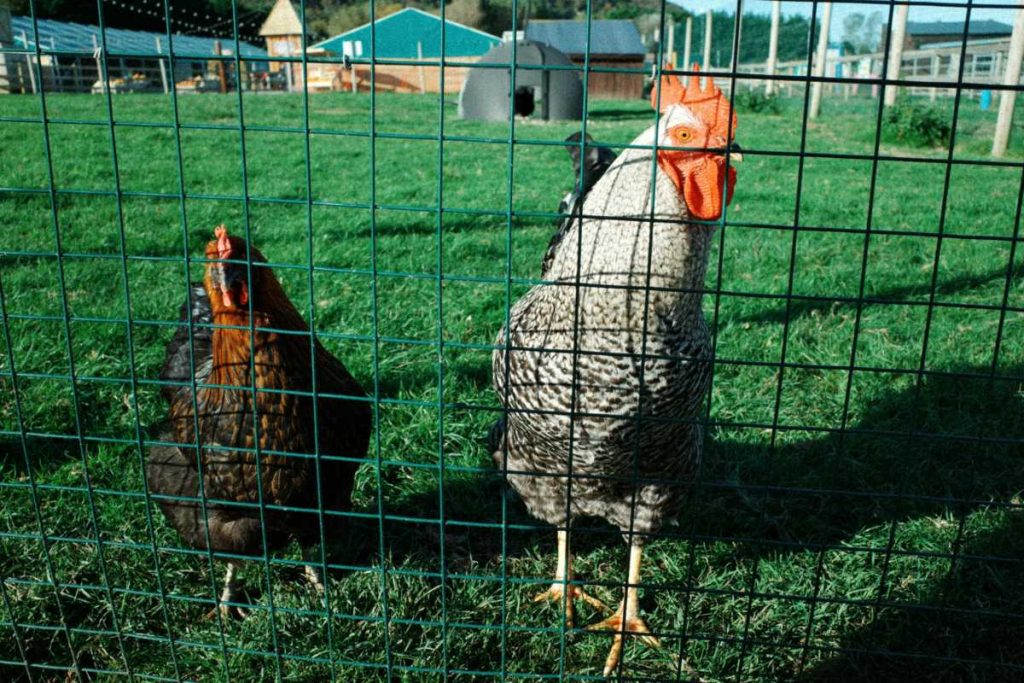
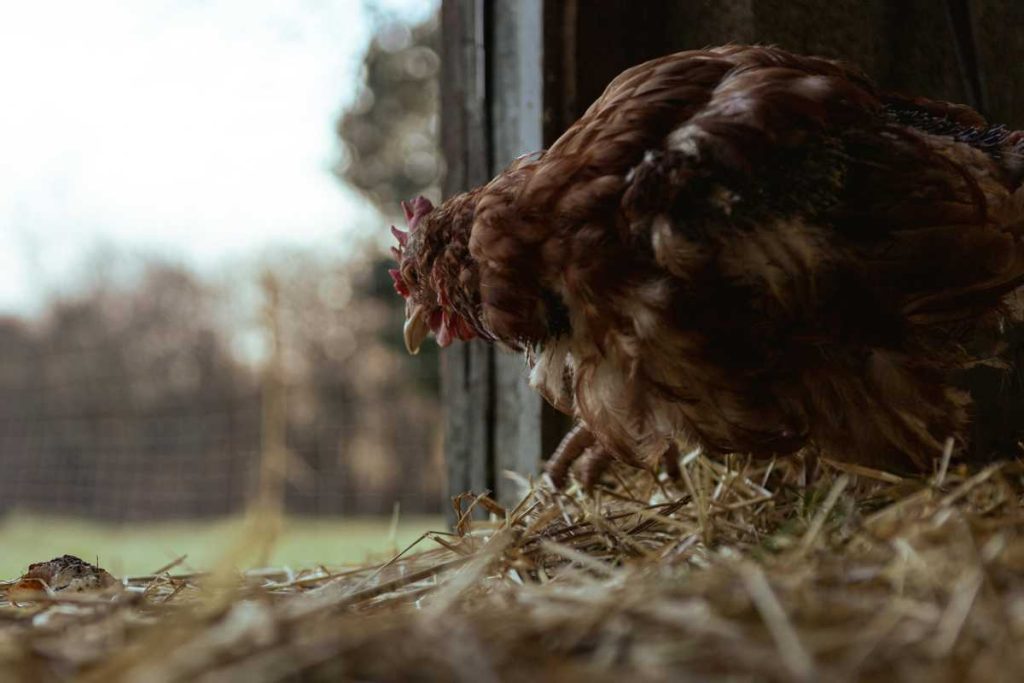
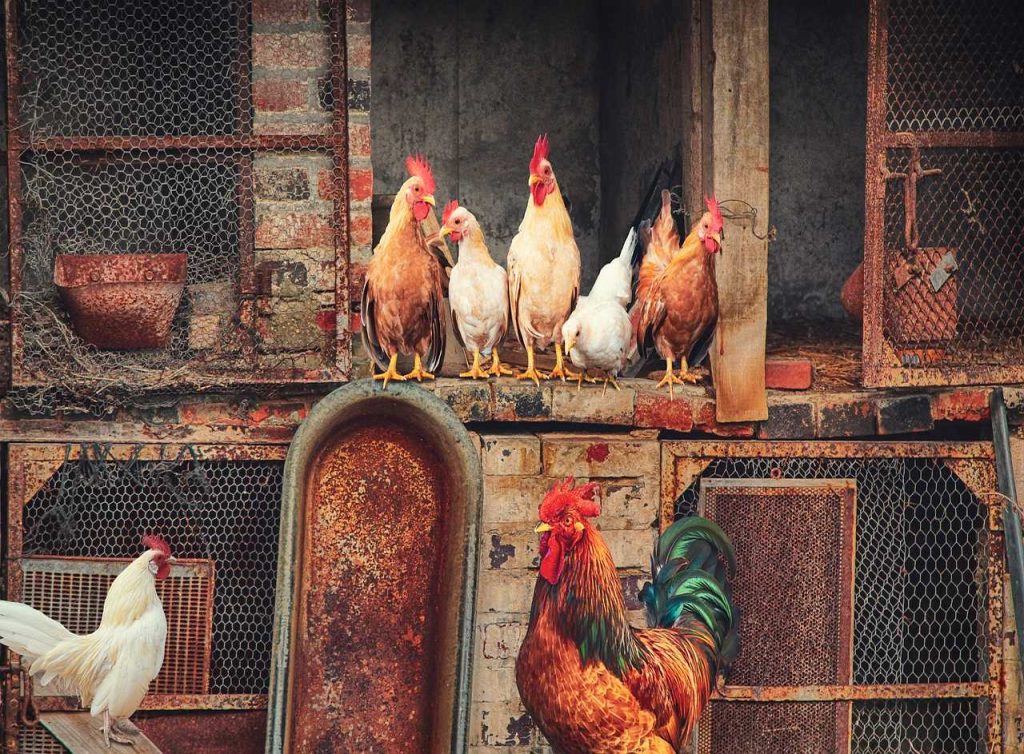
2. Poor Housing and Space
Overview
Many beginners underestimate the importance of proper housing and space for their chickens, leading to overcrowded conditions that can cause stress and health problems.
Common Mistakes
- Insufficient Space: Chickens require adequate space to roam, forage, and establish a pecking order. A general rule is at least 4 square feet per bird in the coop and 10 square feet per bird in the run.
- Neglecting Ventilation: Poor ventilation can lead to respiratory issues and ammonia buildup, which can be harmful to your chickens.
Solution
Plan your coop and run size according to the number of chickens you have. Ensure good ventilation in the coop and provide enough space for them to move comfortably.
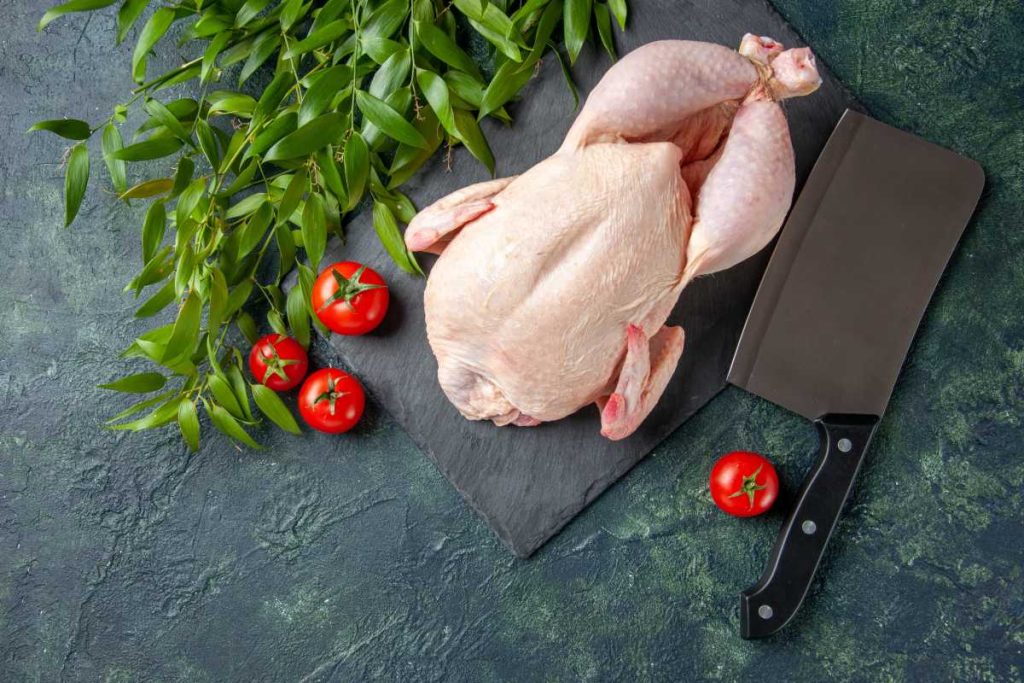
3. Feeding Inappropriately
Overview
Nutrition plays a critical role in the health and productivity of chickens. Many beginners make the mistake of feeding their birds an improper diet.
Common Mistakes
- Feeding Inconsistent Diets: Chickens need a balanced diet that includes commercial poultry feed, grains, and kitchen scraps. Inconsistent diets can lead to nutritional deficiencies.
- Not Providing Grit: Chickens require grit to aid digestion, especially if they are eating whole grains or kitchen scraps.
Solution
Feed your chickens a complete, high-quality layer feed or starter feed depending on their age. Supplement their diet with kitchen scraps, greens, and grains while ensuring they have access to grit for digestion.
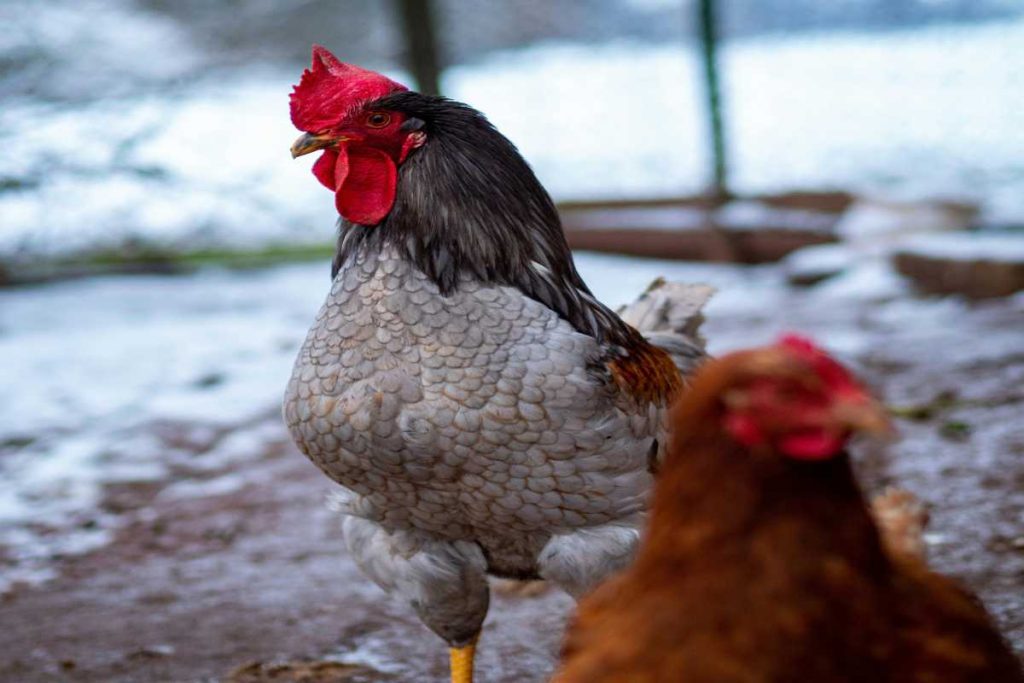
4. Ignoring Health and Biosecurity
Overview
Chickens can be prone to various diseases, and beginners often overlook health checks and biosecurity measures.
Common Mistakes
- Neglecting Regular Health Checks: Regularly inspecting your chickens for signs of illness or parasites is essential. Beginners often fail to notice subtle changes in behavior or appearance.
- Poor Biosecurity Practices: Failing to implement biosecurity measures can lead to the introduction of diseases from other birds or animals.
Solution
Establish a routine for health checks, looking for signs of illness, feather loss, or unusual behavior. Implement biosecurity measures such as keeping the coop clean, isolating new birds, and limiting contact with wild birds.
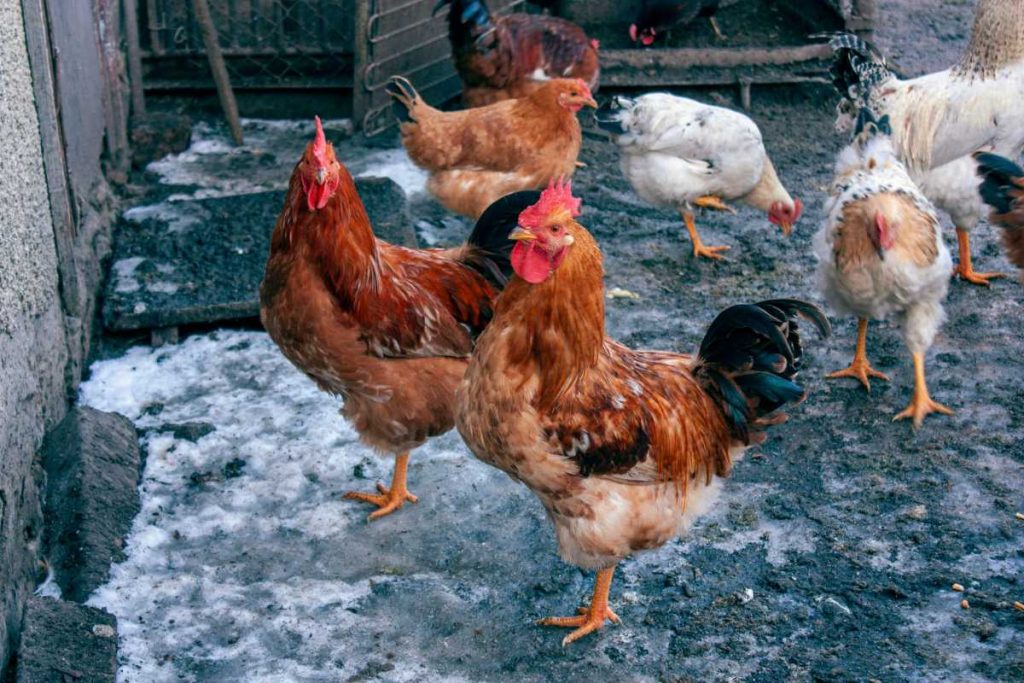
5. Overcrowding the Coop
Overview
Overcrowding is a common mistake that can lead to stress, aggression, and health issues among chickens.
Common Mistakes
- Underestimating Space Requirements: New keepers often think they can fit more chickens into a smaller space than is advisable.
- Not Providing Enough Resources: Failing to provide enough feeders, waterers, and nesting boxes can exacerbate competition and stress among chickens.
Solution
Follow the guidelines for space requirements and ensure there are enough feeders and waterers for all chickens. Providing at least one nesting box for every three hens can help reduce competition and stress.
6. Not Preparing for the Seasons
Overview
Many beginners fail to prepare their chickens for seasonal changes, which can lead to discomfort and health issues.
Common Mistakes
- Inadequate Winter Preparation: Failing to insulate the coop or provide heat sources can expose chickens to cold stress.
- Ignoring Summer Heat: Not providing shade, water, or cooling options can lead to heat stress and dehydration.
Solution
Prepare your coop for winter by insulating and providing heat sources as needed. In summer, ensure there are shaded areas and plenty of fresh water for your chickens. Consider using fans or misting systems to keep them cool.
7. Lack of Knowledge and Support
Overview
Many new chicken keepers jump into the experience without enough research or support, leading to avoidable mistakes.
Common Mistakes
- Not Educating Themselves: Beginners often underestimate the learning curve involved in raising chickens and may not seek out necessary information.
- Failing to Connect with Other Chicken Keepers: Newcomers may not realize the value of connecting with experienced chicken keepers for advice and support.
Solution
Take the time to educate yourself through books, online resources, and local poultry clubs. Engaging with other chicken keepers can provide valuable insights and help you avoid common pitfalls.
Conclusion
Raising chickens can be a fulfilling endeavor, but it comes with its challenges. By avoiding these common mistakes, beginner chicken keepers can create a healthier and more productive environment for their flock. Remember that education, preparation, and community support are key to successful chicken keeping. Enjoy your journey into the world of poultry!