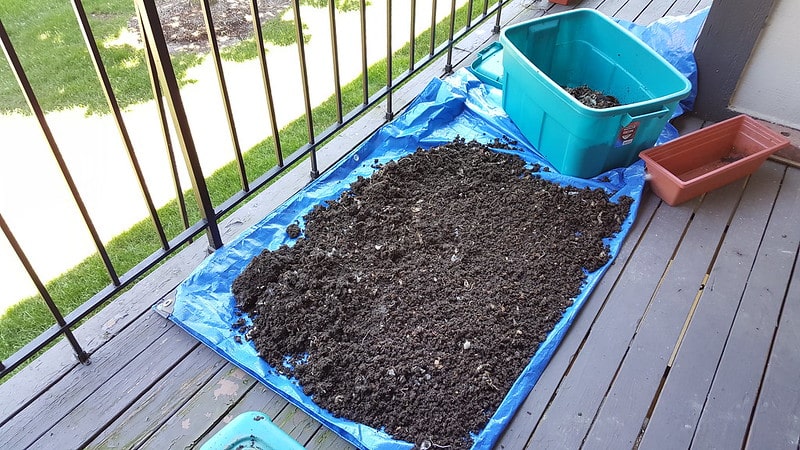
Finished compost is a valuable resource for gardeners and homeowners alike. After weeks or months of decomposing organic matter, compost transforms into a dark, crumbly substance that’s packed with nutrients, ready to enrich your plants and garden. But compost isn’t just for your vegetable garden—it has many creative uses that can improve your home and landscape. Here are 10 ways to put your finished compost to good work.
1. Enrich Garden Beds
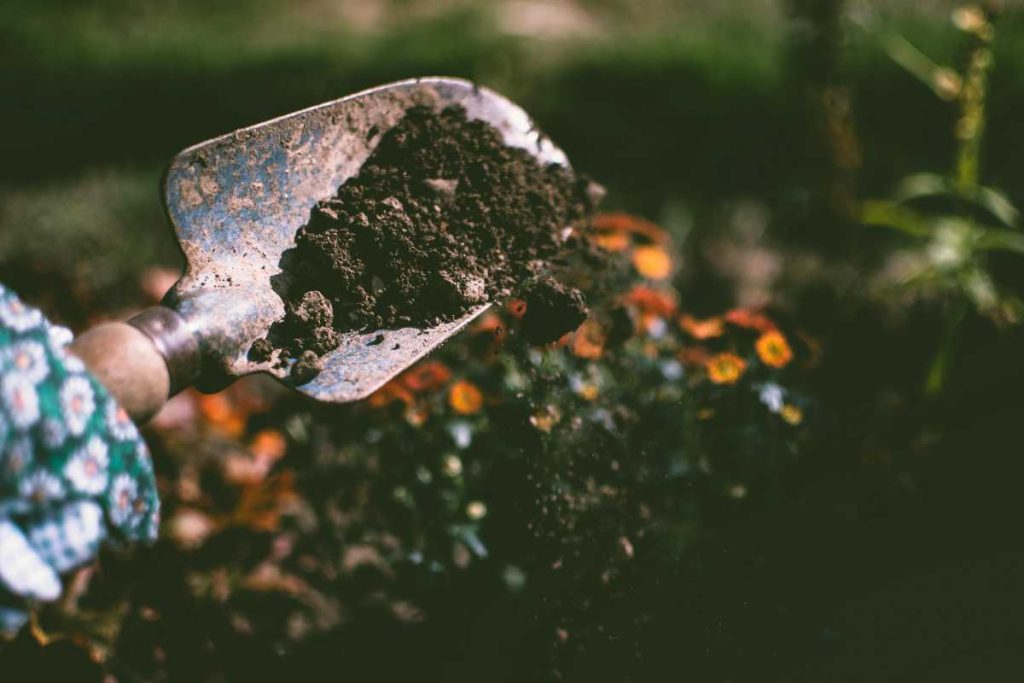
The most common use for finished compost is enriching garden soil. Compost improves soil structure, promotes healthy root development, and provides essential nutrients for plants.
- How it helps: By mixing compost into garden beds, you’ll improve drainage, aeration, and nutrient content, leading to healthier plants and better crop yields.
- Tip: Spread a 2-3 inch layer of compost on your garden beds and mix it into the soil before planting. For established beds, apply compost as a top dressing.
2. Create Compost Tea
Compost tea is a liquid version of compost, which can be used to fertilize plants, boost soil health, and encourage microbial activity in the soil.
- How it helps: The liquid is rich in nutrients and beneficial microbes, which can be absorbed quickly by plants.
- Tip: To make compost tea, add a shovelful of finished compost to a large container of water. Let it steep for 24-48 hours, then strain the liquid and use it to water your plants.
3. Mulch for Plants
Compost can serve as an excellent mulch, especially for vegetable gardens, flower beds, and shrubs. As it breaks down further, it will continue to enrich the soil.
- How it helps: Mulching with compost helps retain moisture, suppress weeds, and maintain a stable soil temperature.
- Tip: Apply a 2-3 inch layer of finished compost around plants to act as mulch. This will also prevent soil erosion during heavy rains.
4. Top-Dressing for Lawns
Finished compost can be used as a top-dressing for lawns to help improve soil health, reduce compaction, and promote a lush, green lawn.
- How it helps: Compost provides essential nutrients, reduces thatch, and helps with water retention in your lawn’s soil.
- Tip: Spread a thin layer of compost (about 1/4 inch) over your lawn. It will integrate into the soil naturally as you water or mow.
5. Improve Potting Mixes
If you’re repotting plants or creating your own potting mix, adding compost can help improve drainage, moisture retention, and nutrient levels.
- How it helps: Compost boosts the nutritional value of the soil and provides a balanced mix of minerals, perfect for supporting healthy root growth in potted plants.
- Tip: Mix about 20-30% compost into your potting mix or use it to supplement store-bought soil.
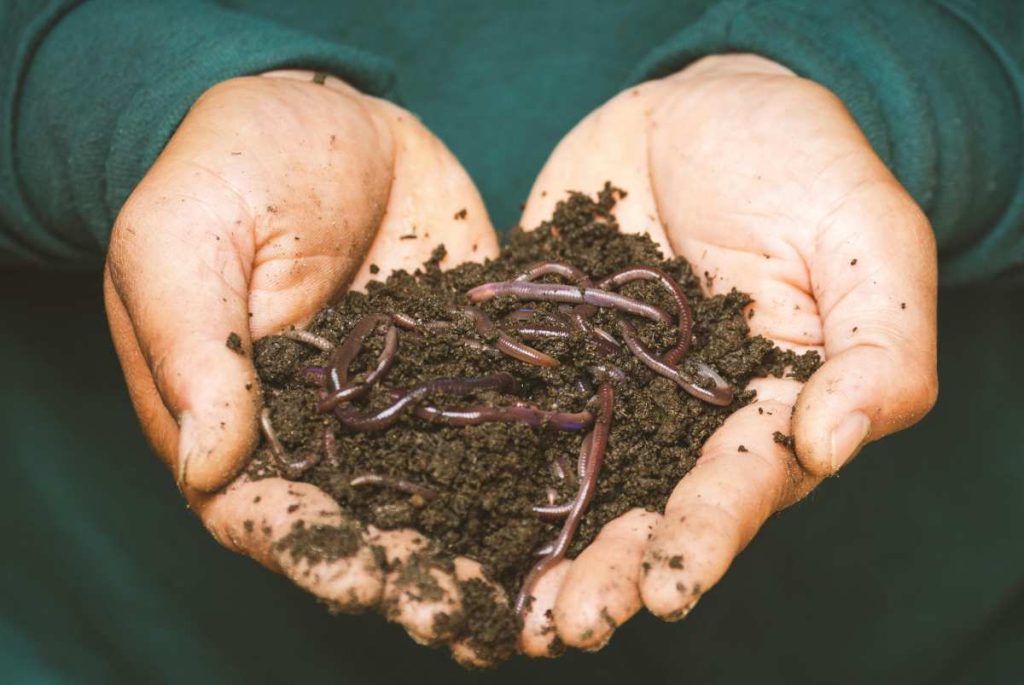
6. Boost Your Worm Bin
Finished compost can be added to your worm bin or vermiculture setup as a habitat for worms, and it can also help provide essential food for the worms.
- How it helps: The organic matter in compost is perfect for feeding worms, helping them thrive and produce nutrient-rich worm castings.
- Tip: Add finished compost to the top layer of your worm bin to enrich the environment for worms and improve the quality of the worm castings they produce.
7. Improve Raised Garden Beds
Raised garden beds can sometimes have poor soil structure or lack essential nutrients. Adding finished compost helps amend the soil, making it more fertile and easier to work with.
- How it helps: Compost helps to loosen compacted soil, improve drainage, and provide essential nutrients for plants, especially in raised beds where soil can become depleted quickly.
- Tip: Mix finished compost with the existing soil in raised garden beds to enhance soil fertility.
8. Compost for Indoor Plants
Finished compost is an excellent choice for indoor plants. You can mix it into your indoor plant soil or use it as a top dressing for houseplants.
- How it helps: It improves the nutrient availability and microbial activity in the soil, promoting healthier indoor plants.
- Tip: Add a thin layer of finished compost on top of the soil in your houseplants’ pots. It will slowly release nutrients over time.
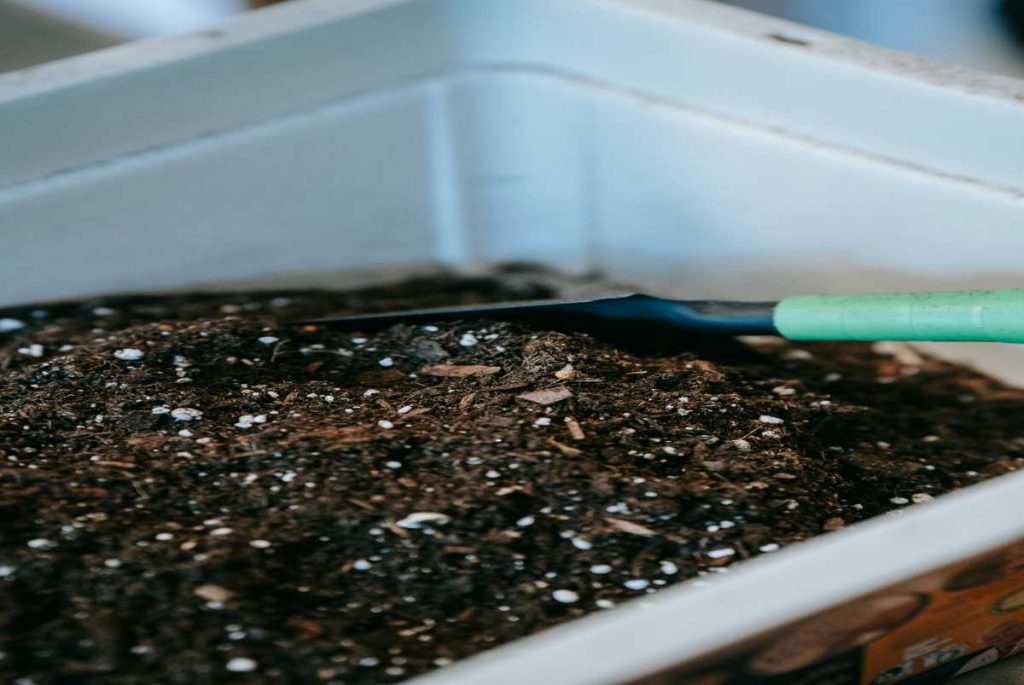
9. DIY Seed Starting Mix
Compost can be used to create a nutrient-rich seed starting mix that promotes strong, healthy seedlings for your garden.
- How it helps: A well-balanced seed starting mix made with compost offers a gentle start for seeds, providing them with the nutrients they need without overwhelming them.
- Tip: Mix compost with other materials like peat moss and perlite for a well-draining and nutrient-rich seed starting mix.
10. Fertilizer for Fruit Trees
Finished compost is ideal for feeding fruit trees, as it provides a slow-release form of nutrients that can improve tree health, increase fruit production, and encourage strong root development.
- How it helps: Compost adds essential nutrients like nitrogen, phosphorus, and potassium to the soil, helping trees grow stronger and bear more fruit.
- Tip: Apply a layer of finished compost around the base of your fruit trees in the early spring and fall. Be sure not to pile it up against the tree trunk.
Conclusion
Finished compost is a versatile and valuable resource that can enhance your garden, improve soil health, and benefit a variety of plants and landscaping projects. By using it in different ways—whether as mulch, a potting mix additive, or even in a worm bin—you’re maximizing the nutrients from your compost and supporting sustainable gardening practices. With these 10 creative uses, you can make the most of your finished compost and watch your plants thrive.