Weed control is a constant challenge for landowners, farmers, and gardeners alike. Traditionally, chemicals, herbicides, and manual labor have been the go-to solutions, but these methods often come with environmental concerns, high costs, and potential harm to soil health. Enter goats—the natural, eco-friendly solution to managing weeds! Goats are excellent foragers and have become a popular choice for sustainable weed control.
In this blog, we’ll explore the many benefits of using goats for weed management, how they contribute to a healthier environment, and why they might be the perfect addition to your land management plan.
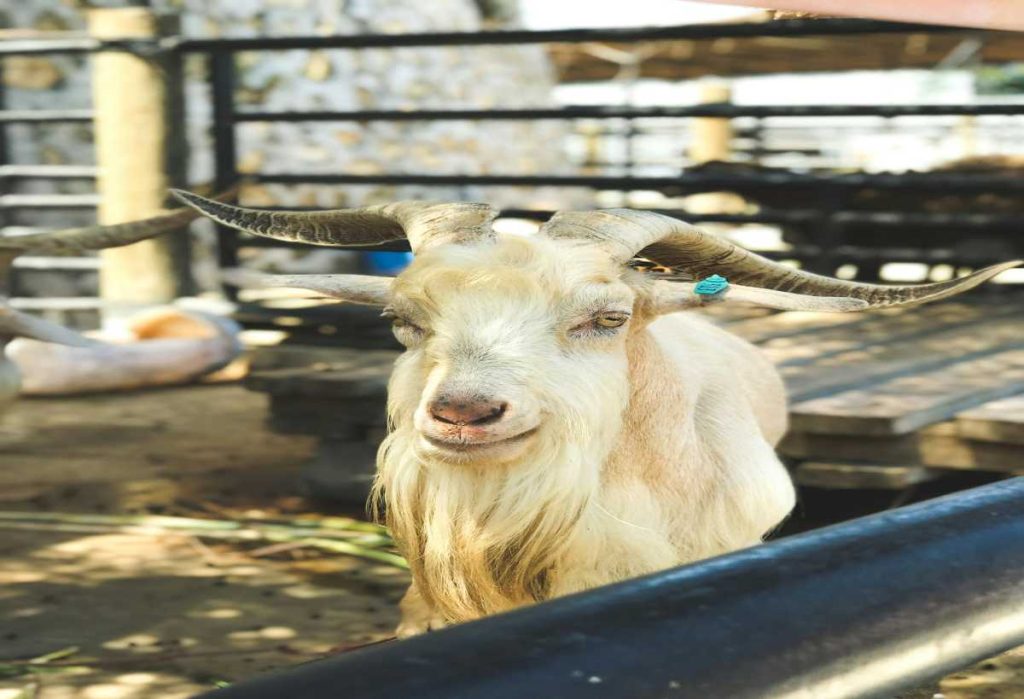
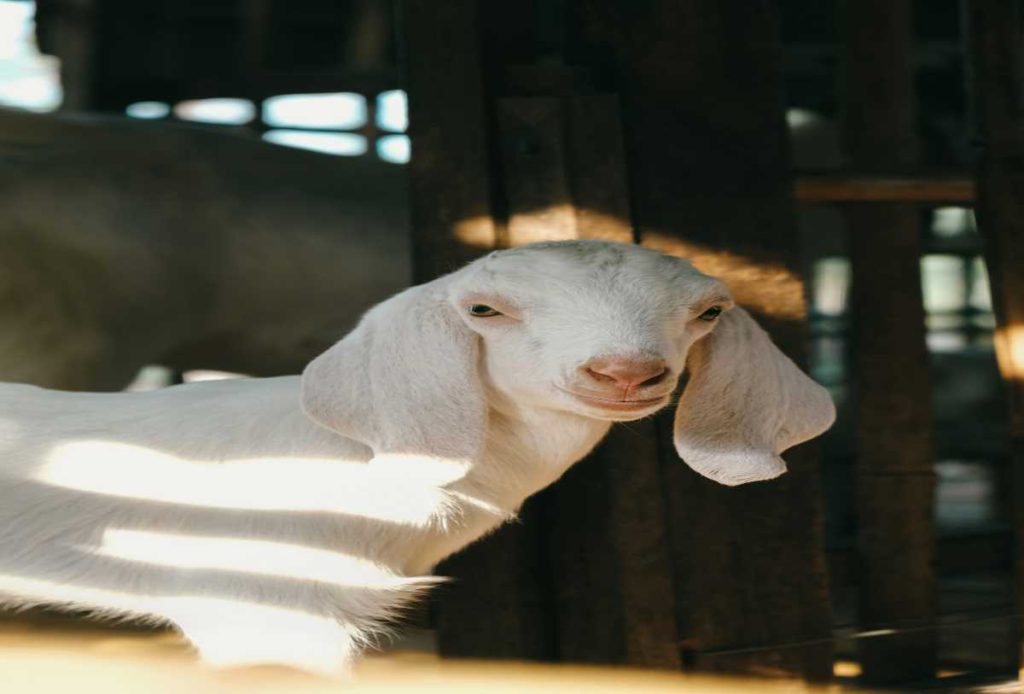
1. Goats Are Natural Weed Eaters
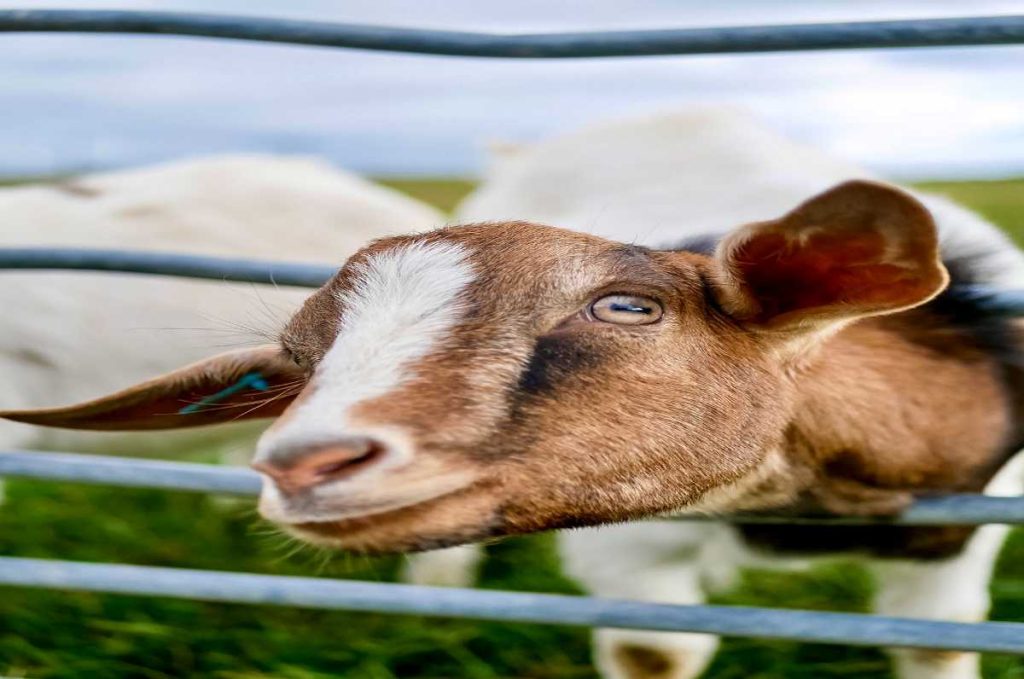
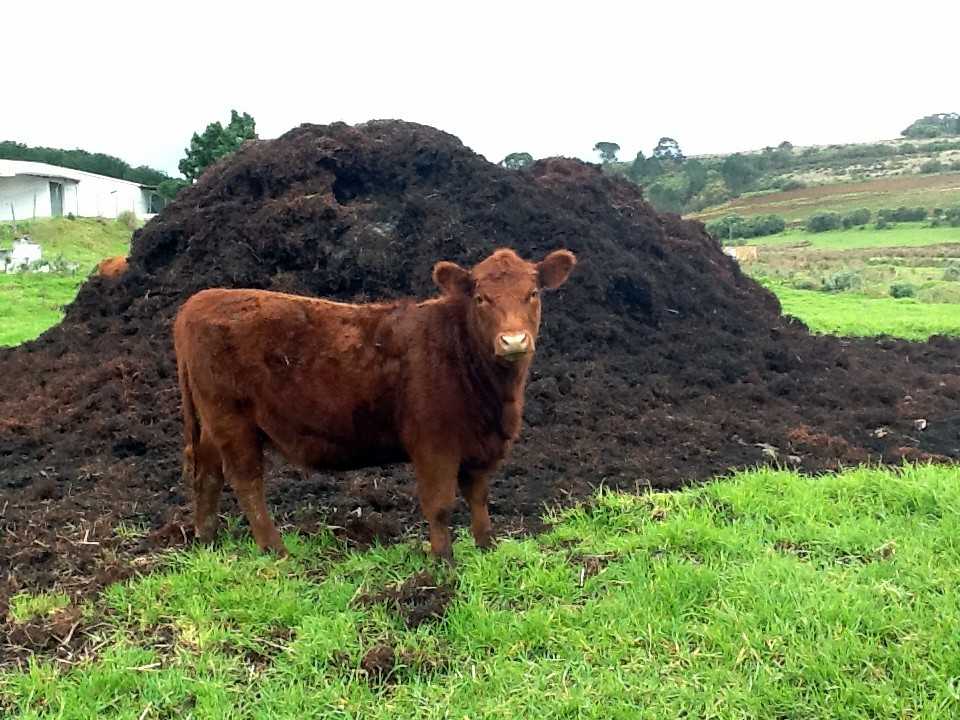
Goats are known for their love of browsing and foraging. Unlike cows, which primarily graze on grass, goats will eat a wide variety of plants, including many invasive and undesirable weeds that other animals ignore. Some of their favorites include:
- Thistles
- Poison ivy
- Kudzu
- Brambles and blackberries
- Vines, brush, and small shrubs
Because of their varied diet, goats are a perfect solution for clearing overgrown land or pastures without the use of harsh chemicals. Goats target weeds at all stages of growth, preventing them from spreading and taking over the landscape.
Why It Matters:
Using goats for weed control helps reduce reliance on herbicides, which can be harmful to the environment, soil, and other plant life. It’s a cost-effective, eco-friendly solution that keeps your property healthy and thriving.
2. Sustainable and Environmentally Friendly
One of the biggest advantages of using goats for weed control is the sustainability they offer. Unlike chemical treatments or mechanical methods like mowing, goats provide an all-natural way to manage unwanted vegetation. This method has several environmental benefits:
- No Chemicals: Goats eat weeds without the need for pesticides or herbicides, which can contaminate soil and water sources.
- No Fuel: Goats work for free and don’t require fuel or electricity, reducing your carbon footprint compared to machinery-based methods like lawnmowers or tractors.
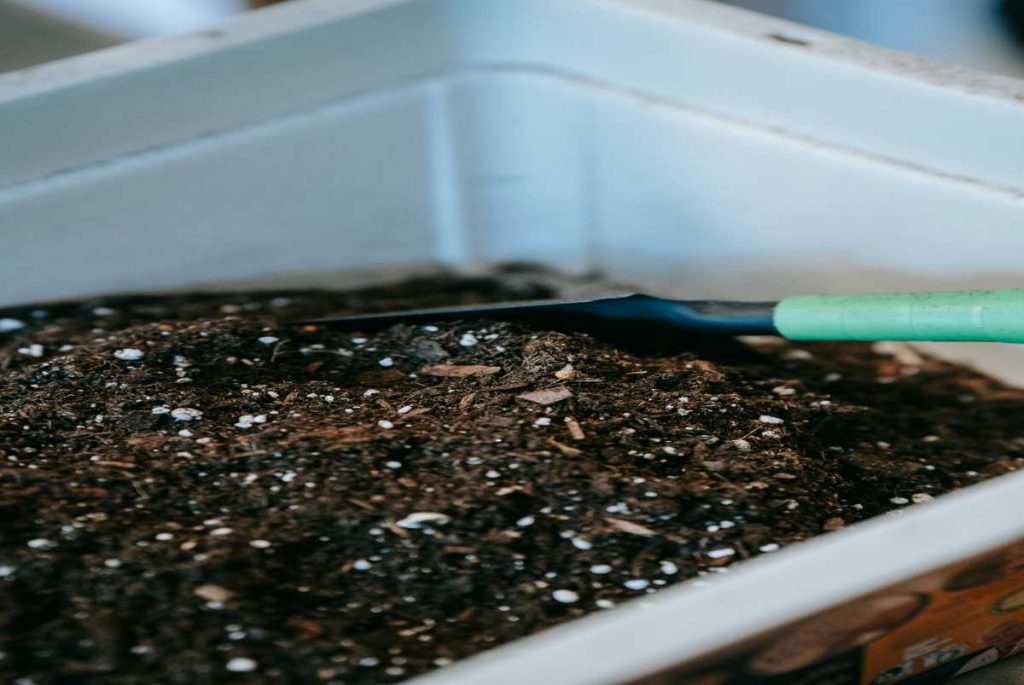
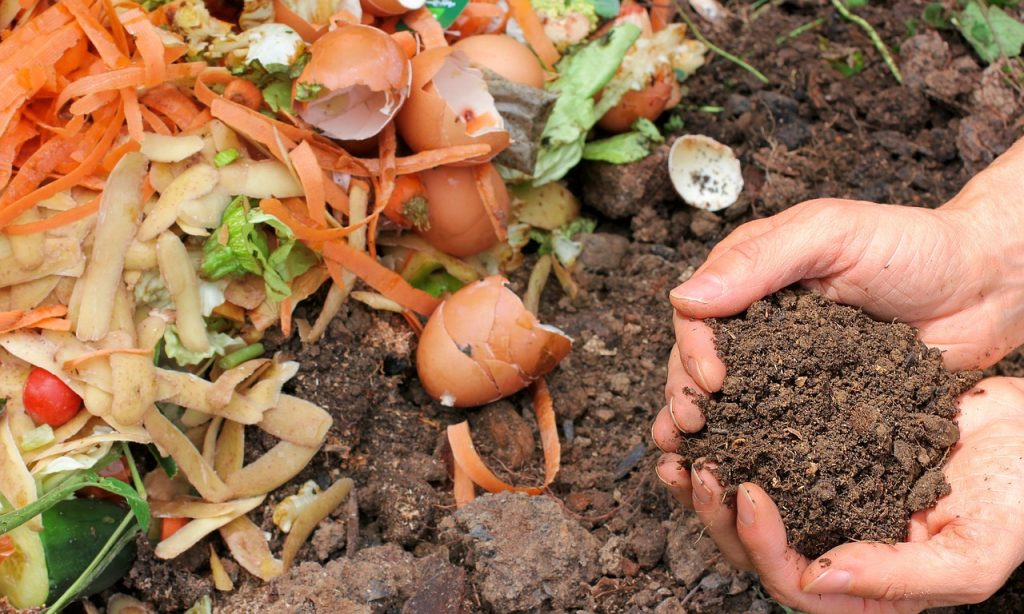
- Soil Health: Goats’ hooves help to aerate the soil, which can improve water infiltration and promote healthy soil structure. Their droppings also act as natural fertilizer, enriching the soil.
Why It Matters:
Sustainable land management practices are essential for the health of our planet. By choosing goats for weed control, you are actively contributing to reducing chemical use and protecting the environment.
3. Cost-Effective Weed Management
Traditional weed control methods can be expensive—especially if you’re using chemicals or equipment. Hiring laborers to manually remove weeds or continuously applying herbicides adds up over time. Goats, on the other hand, provide a more affordable and efficient alternative.
Cost Benefits:
- Minimal Setup Costs: Goats require basic shelter and fencing, but once they are set up, they work for free.
- Reduced Chemical Costs: Goats naturally eat a wide variety of weeds, eliminating the need for costly herbicides.
- Less Labor-Intensive: Goats do the work themselves, reducing the time and money spent on manual labor or renting equipment.
Why It Matters:
If you’re looking for a way to save money on weed management without sacrificing effectiveness, using goats is an excellent, cost-efficient solution. Over time, you’ll notice a reduction in overall weed management costs.
4. Effective on Difficult Terrain
Goats are known for their ability to navigate difficult terrain. Unlike tractors or mowers, they can access steep slopes, hilly areas, and overgrown fields with ease. Goats can effectively clear brush, weeds, and shrubs in areas that would otherwise be challenging to manage using conventional tools.
Benefits for Hard-to-Reach Areas:
- Hilltops and Slopes: Goats can easily access steep areas where mowing or spraying would be difficult or dangerous.
- Brushy or Overgrown Land: Goats are well-suited for clearing thick vegetation, including invasive shrubs, vines, and thorny plants.
Why It Matters:
Goats offer a solution to areas that are otherwise hard to reach with machinery, helping to maintain the aesthetic and health of your entire property. Their ability to work in various environments makes them a versatile option for large or rugged landscapes.
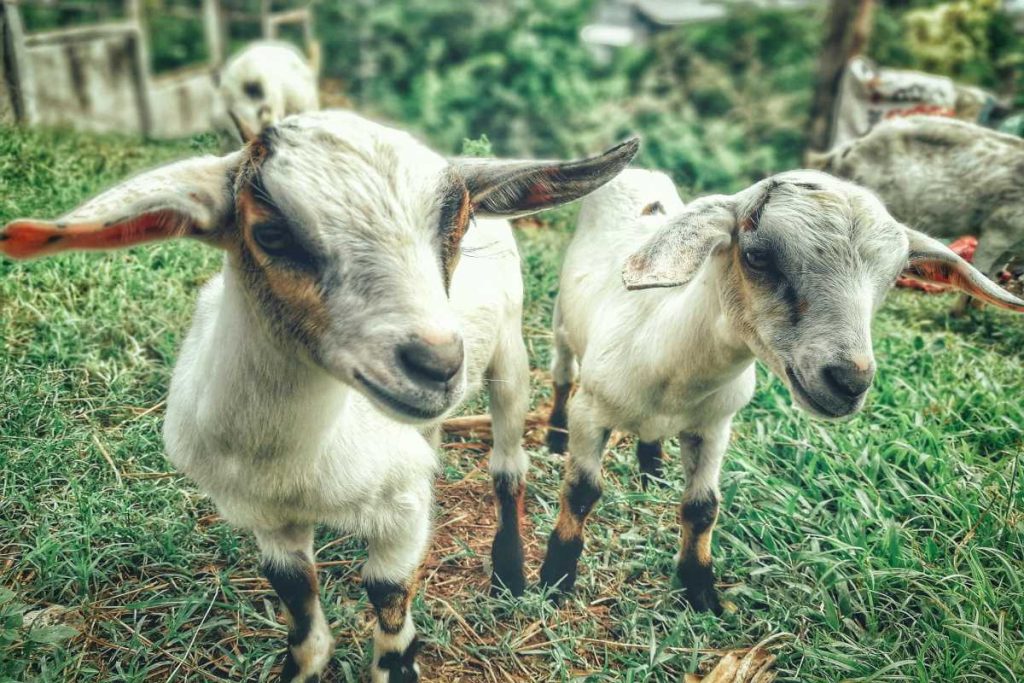
5. Promotes Biodiversity
Goats can help promote biodiversity on your land by naturally managing plant life. While they do eat a wide range of plants, they typically avoid grasses and desirable plants like flowers and trees (unless they are very hungry!). This helps maintain a healthy balance in the ecosystem, allowing native plants to thrive while controlling the growth of invasive species.
How Goats Encourage Biodiversity:
- Weed Control: Goats naturally reduce the spread of invasive species, giving native plants a chance to grow and flourish.
- Improved Plant Health: By keeping weeds in check, goats help maintain healthy plants and soil, creating a more balanced environment.
- Increased Wildlife Habitat: A well-managed landscape encourages a variety of wildlife species to thrive by creating natural habitats.
Why It Matters:
Biodiversity is crucial for maintaining resilient ecosystems. By using goats for weed control, you help create a more diverse, balanced environment that benefits both plant and animal life.
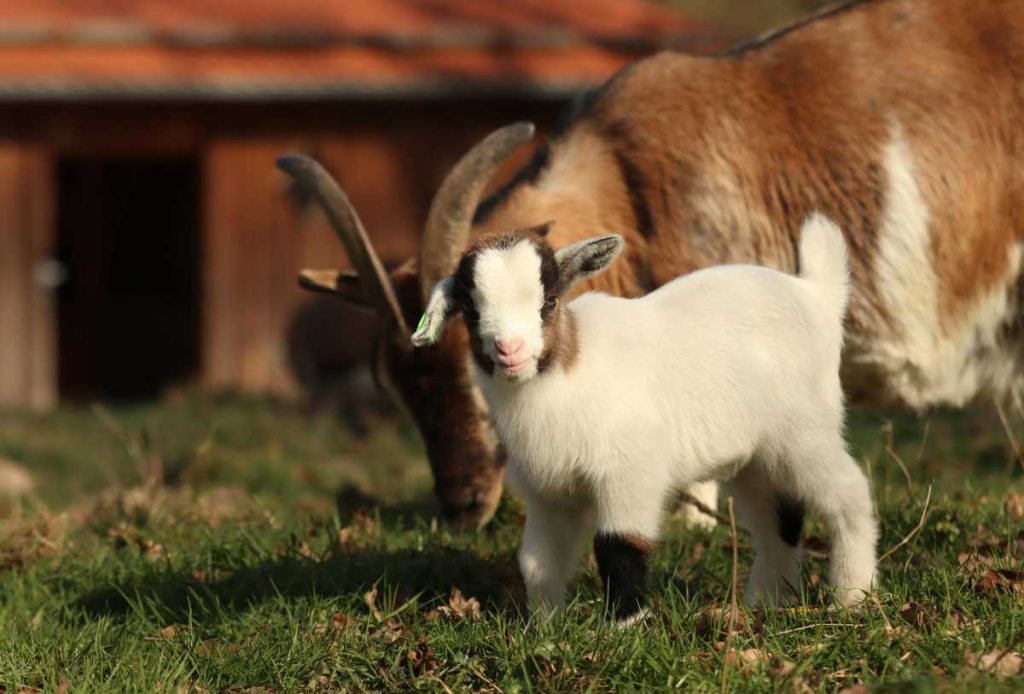
6. Goat Weed Control: Low Maintenance and Enjoyable
Once you introduce goats to your property for weed control, they require minimal maintenance. Goats are relatively low-maintenance animals, making them a convenient option for landowners who want to minimize labor and time spent on upkeep.
Low Maintenance Benefits:
- Self-Feeding: Goats will forage and graze on their own, which means you don’t have to worry about feeding them large amounts of supplemental feed (unless it’s winter or there’s not enough forage).
- Health Monitoring: Goats are relatively hardy, but you should still check on them regularly for signs of illness or injury.
- Enjoyable to Watch: Goats are fun to watch as they forage, climb, and interact with their environment. They provide an added bonus of enjoyment for farm owners and visitors alike.
Why It Matters:
In addition to their ability to manage weeds, goats also bring a level of enjoyment and companionship that can make land management a more rewarding experience.
7. How to Get Started with Goat Weed Control
If you’re considering using goats for weed control, here are some steps to get started:
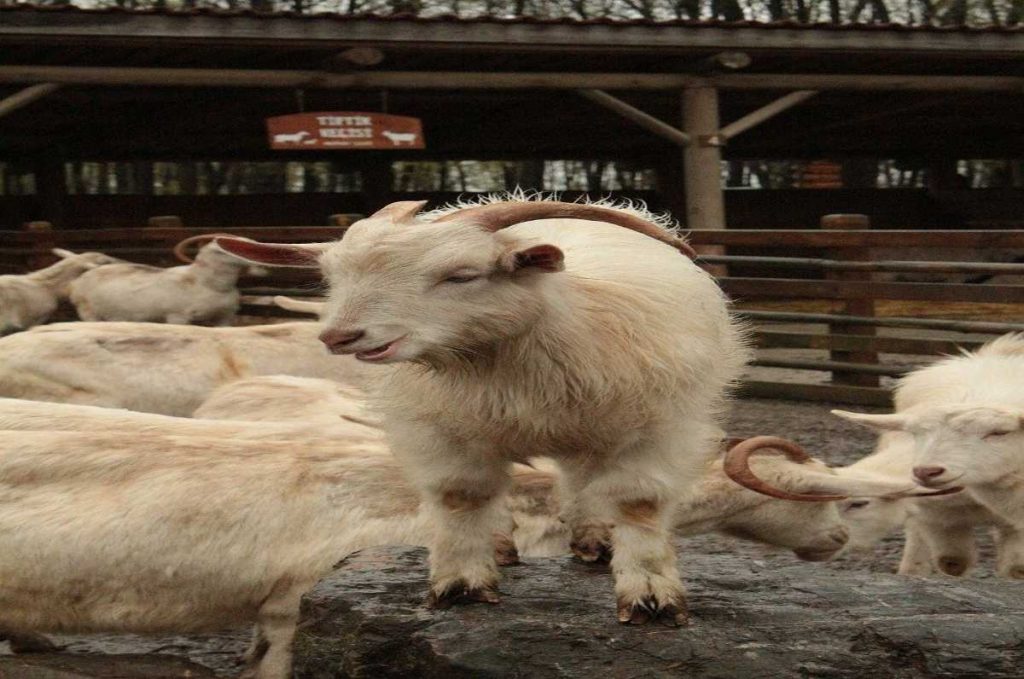
- Choose the Right Breed: Some breeds of goats are more suited for weed control than others. For example, the Boer, Kiko, and Spanish goats are known for their exceptional browsing habits.
- Prepare Fencing: Goats need secure fencing to prevent them from wandering. Make sure your fence is tall enough (at least 4-5 feet) to keep them contained.
- Provide Shelter: While goats are hardy animals, they still need access to shelter to protect them from extreme weather conditions.
- Rotate Grazing: For best results, rotate your goats through different areas of your property to prevent overgrazing in one location.
- Monitor Their Health: Ensure that goats have access to fresh water, a mineral supplement, and check for any signs of health problems regularly.
Why It Matters:
Proper planning and management will ensure that your goats stay healthy and effective at weed control. By taking care of your goats, you’ll also get the best possible results in managing unwanted vegetation.
Conclusion
Using goats for sustainable weed control is a natural, environmentally friendly, and cost-effective solution to managing unwanted vegetation. They help reduce the reliance on chemicals, save money, and work effectively in hard-to-reach areas. Goats also contribute to a healthier ecosystem by promoting biodiversity and improving soil health.
Whether you’re managing a small garden or large pasture, incorporating goats into your land management plan could be the perfect way to handle weeds sustainably. By giving goats the right environment and care, you’ll not only control weeds but also enjoy the many other benefits they bring to your property.