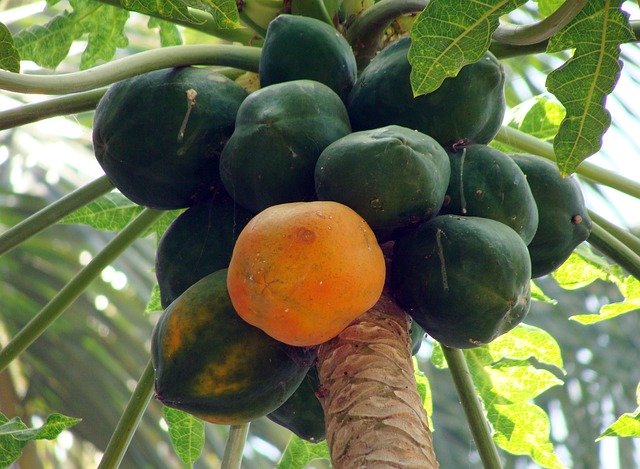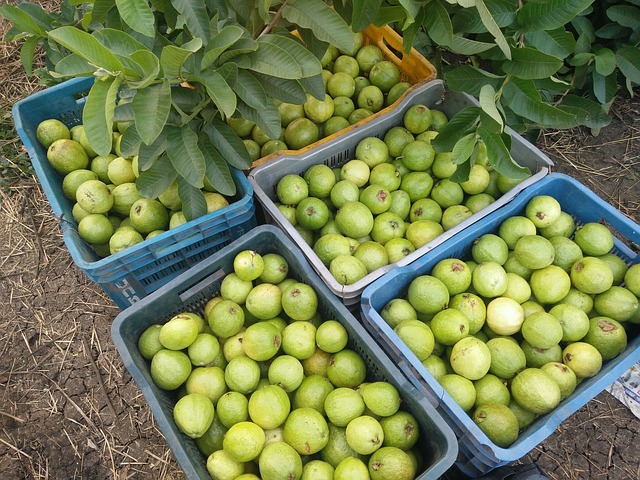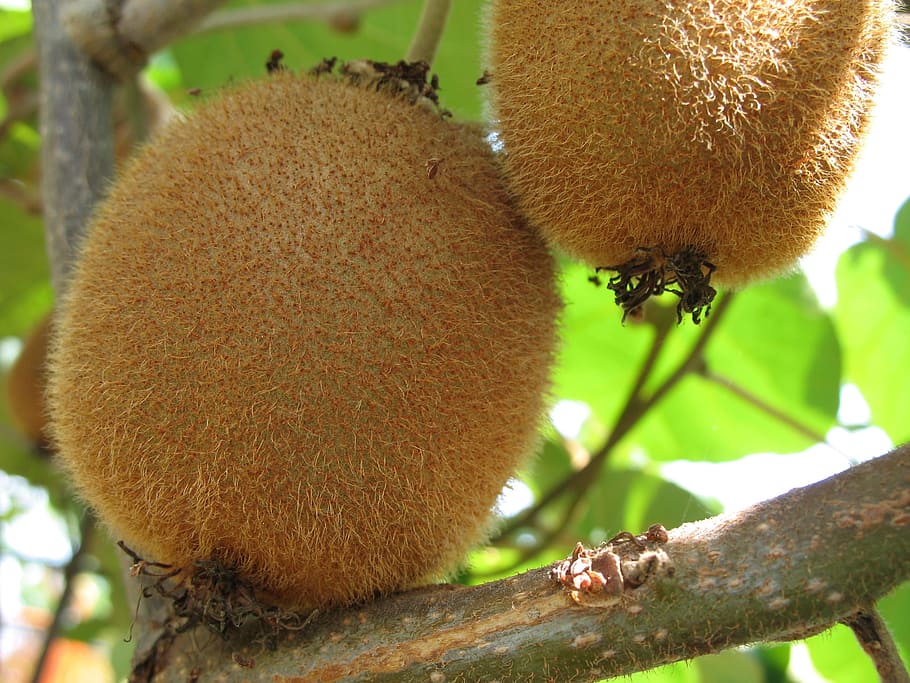
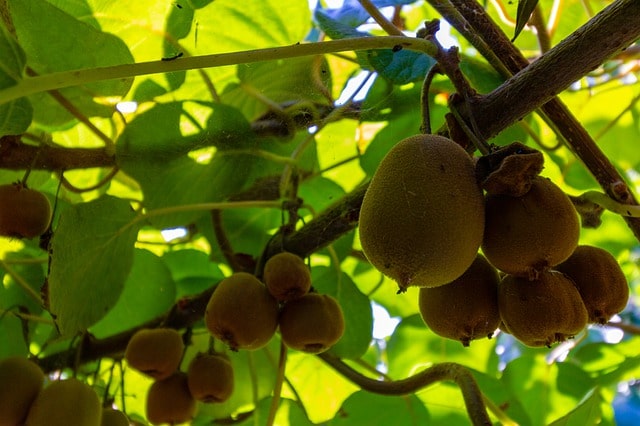
Kiwi farming is predominantly carried out in the USA, Japan, Italy, China, Chile, France, Spain, Australia, and New Zealand. Kiwi is also known as Chinese gooseberry is an edible berry that has high medicinal and nutritional value. Kiwi is a deciduous vine fruit which is oval in shape and it is about the size of a Chicken’s egg.
The fruit grows on a vine that is as high as 30 feet tall and is woody. The fruit has fibrous, thin, tart, and fuzzy edible skin. The fruit is similar to grapes as it is also grown in clusters. Kiwi has light green or golden colour flesh inside and has tiny black edible seeds. Kiwi is soft-textured and has a unique flavour.
Kiwi is rich in Vitamin C and vitamin B and other minerals such as calcium, phosphorus, and potassium. Kiwi can be consumed fresh or can be mixed with other fruits in desserts and salads. The kiwi fruit is also used in the preparation of wines and squash. In India, Kiwi farming is done in Kerala, Himachal Pradesh, Sikkim, Arunachal Pradesh, Uttar Pradesh, Meghalaya, and Jammu & Kashmir.
Health Benefits
Kiwi fruits are excellent antioxidants and anti-aging agent. Thus it aids in the improvement of the skin. The respiratory and cardiovascular system also benefits from the consumption of the fruit. The presence of serotonin is beneficial to treat sleep issues. Furthermore, the kiwi fruit also has antifungal and antibacterial properties.
Types of Kiwi Fruit
Hayward is a New Zealand variety that is grown globally. However, kiwi fruit is majorly available in three varieties: Hardy kiwifruit (Actinidiaarguta), Super-hardy kiwifruit (Actinidiakolomikta), and Grocery store kiwifruit (Actinidiadeliciosa).
Hardy kiwifruit is also known as ‘bowerberry’ and it grows on the trees that are as tall as 100 feet in Siberia, Korea, Japan, and China. This variety of kiwi fruit can tolerate low temperatures.
Super-hardy kiwi fruit is smaller but smooth-skinned. It can grow in temperature as low as -40°F. The fruit is also known as ‘arctic beauty kiwi fruit’.
Grocery store kiwi fruit is also known as fuzzy kiwifruit. This variety of kiwi is large in size and is the most common and edible variety.
The other types of kiwi fruit known are Tewi, Bruno, Monty, Tomuri, Elmwood, Saanicheton, Abbott, Chico, Gracie, Dexter, Matua, Allison, and Vincent.
Where do Kiwis Grow?
It is essential to cultivate a crop in a correct season and with ideal soil requirements. Kiwi fruit can be grown in well-drained, fertile, and moist soil. The presence of potassium, nitrogen, and phosphorus is essential during the vegetative stage of the fruit.
The best pH range of the soil should be from 6.3-7.3 to get maximum yield from the crop. The ideal kiwi fruit farming weather is low temperatures. However, kiwi needs protection from moisture throughout the year. The fruit should also be shielded against frosts. The ideal temperature for growing kiwis is below 38°C. A temperature higher than 38°C can cause sunburn to the crop.
Kiwi fruits can be grown where almonds, citrus, and peaches are abundant. However, the leaves are more susceptible to cold in comparison to the peach or orange trees. The young plant of kiwi fruit can be harmed if the temperature falls below -1°C while the vines that are mature can handle the temperature lower than -12°C. It is essential to protect the young flowering shoots from wind as it can damage the crop easily.
How to Grow Kiwi from Seed?
To grow kiwi from the seeds or planting a kiwi from seed is not a hard job. The first step is to collect the seeds of the kiwi fruit from the available ripe fruit. The gooey membrane needs to be separated from the seeds and thus seeds have to be placed in water and then blended. With the help of the colander, wash the seeds in the sink. The cleaned seeds can then be transferred to the paper towel.
A plastic ziplock is used to store the paper towel containing the seeds. The ziplock is later placed into warm container. The sprouting process takes around 2-6 weeks. Once the seeds start the sprouting or germinating, the paper towel is split into small pieces. The seedlings are then transplanted into the pit made on the small pot for 2-3 months. Keep the kiwi vines in adequate sunlight as the plant requires light.
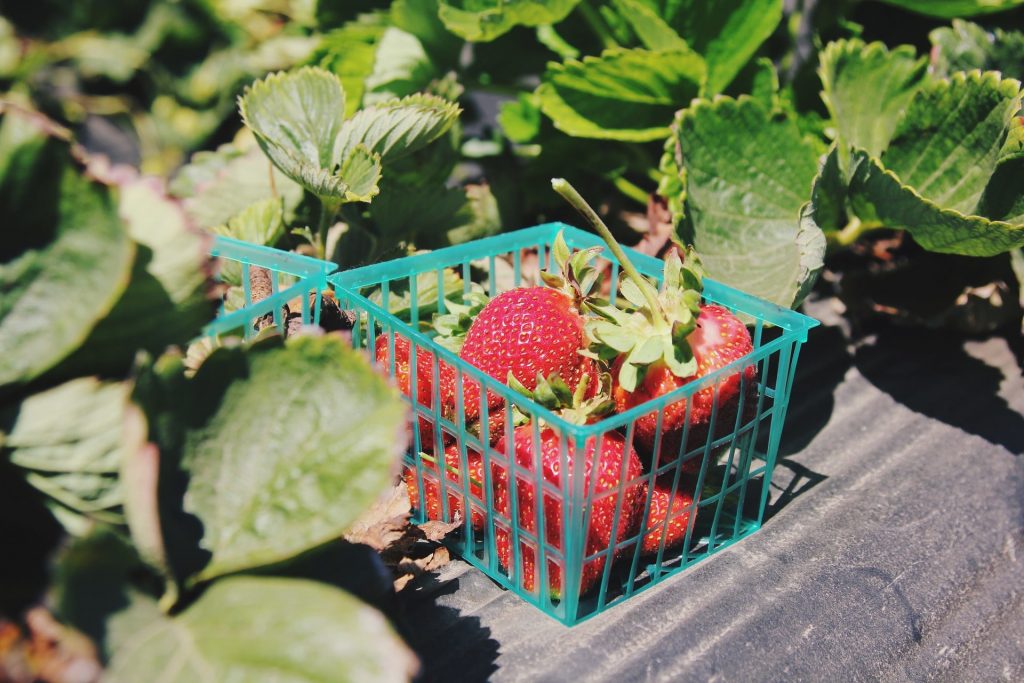
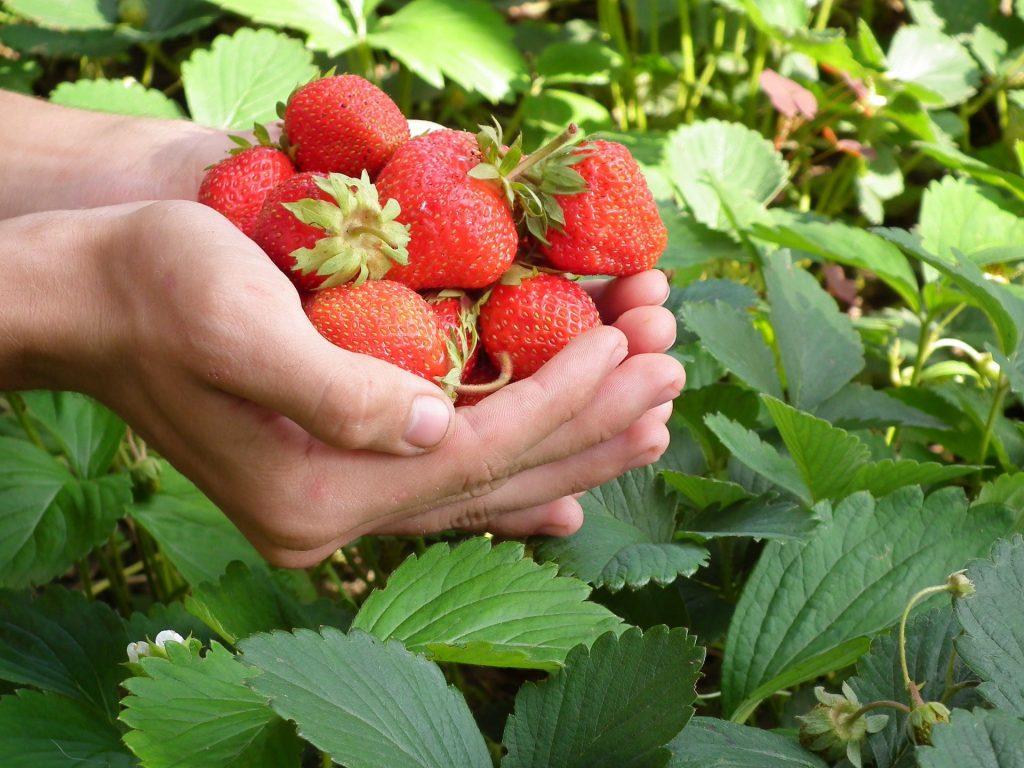
Also Read: Strawberry Farming – A business that promises a “delicious” future
Steps of Kiwi Fruit Germination
- Separate seeds out of a ripe and organic kiwi and then clean them by water rinsing. The easy way is to place the seeds in the cup, add water and then swish them. Later on, remove the water out of the cup. This process has to be repeated multiple times for proper cleaning.
- The small container or cup is then filled with lukewarm water and the kiwi seeds are transferred to it. The cup or container hasto be placed in the warm environment such on the warm window sill, in front of heater, or on the top of the computer. The seeds are to be kept in water for about a week or until they start separating. The water present in the cup has to be changed daily to inhibit the bacterial growth.
- As soon as the seeds begin to open, they are ready to get transferred to mini greenhouse. The paper towel is soaked in lukewarm water and placed on the plate on which the seeds are distributed. The distributed germinating seeds are then covered with plastic container and placed in the area getting sufficient sunlight. It is recommended to make small holes in the container to allow the air to flow smoothly. This is the ideal condition for the seed to germinate faster. The kiwi seeds would be ready for planting only after 2 days in the greenhouse.
- Once the seeds are germinated properly, it is the right time for the planting process. But before planting it is mandatory to prepare the container or pot. The soil in the pot should contain sufficient moisture and this should be done by transferring the soil in a bucket and then mixing water to the soil until it is damp in nature.
- The container should be completely filled with the moist soil. An inch of space should be left below the rim of the pot.
- Now the seeds are ready to be planted. The pots are then sprinkled with the seeds keeping few inches distance from each other. It is advisable to plant each seed in a separate tiny pot to make the transplanting process easy and smooth. Once the seeds are in the pot, spread a thin layer of soil over them. The seeds should be planted at a depth of around two times their length.
- Once planting is done, water the seeds using can or squirt bottle. Transfer the pot in a warm and sunny area to get sufficient light. Take care of the seeds by watering and feeding them regularly.
Nutritional requirements and Fertilizers for Kiwi Plant
A dose of fertilizer consisting of 0.5 kg NPK mixture with 15% N and 20 kg farmyard manure is suggested every year for the plant. High amount of chlorine is also required by the plant as its deficiency can negatively influence the development of roots and shoots of the plant.
Contrary, high level of sodium and boron can be very harmful to the plant. The two equal doses of nitrogen are applied. The young vines get the necessary nutrients of the fertilizer from the soil as the fertilizer is mixed to the soil. The entire soil surface is provided with fertilizer once the plant attains maturity.
Propagation in Kiwi Farming
On the commercial level, the crop is propagated by planting vegetative cuttings or via grafting technique.
Spacing in Kiwi Farming
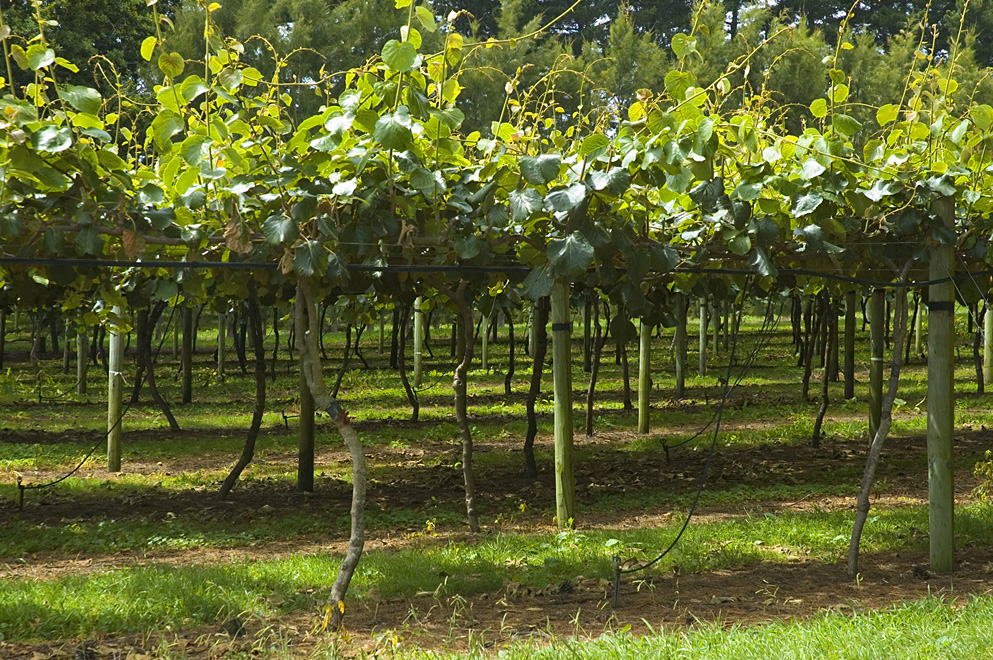
Planting the crop at a sufficient distance is essential to get maximum yield out of the crop. The distance varies depending on the propagation method used. For the commercial plantation of kiwi, Pergola Training system or T-bar training system are used. In the Pergola system, the row to row distance is about 6m and the plant-to-plant distance is 5-6m. In case of T-bar training system, row-to-row spacing is 3.5m whereas plant-to-plant distance is approximately 6m.
To increase the pollination rate, male plants should also be planted in the garden and the ratio should be 1 male to 6-8 female plants. Insects are also a useful vehicle for pollination of the crop as this fruit plant aren’t self-pollinating plants.
Intercropping in Kiwi Crop
The initial kiwi farming can get the benefits if vegetables and leguminous crops are planted together with the kiwi crop.
Diseases and Pests in Kiwi Plants
Rots in the roots of the plant can be caused by Phytophthora soil fungi and majorly in the soil containing water. The humid conditions results in the development of Botrytis cinera rot that causes infestation in young fruit.
Irrigation in Kiwi Fruit Farming
Watering the plant at regular intervals is essential for the setting of crop as well as fruit. The complete growth cycle of the crop requires adequate amount of water. The hardy kiwi crop gets ready for harvesting in 3-4 years. Thus, this crop is in need of water for at least 3 yearsin the field.
However, it is essential not to over water the crop. Once the crop gets the necessary water content, it spreads its foliage to the surface of the soil resulting in the mulch formation. The process of mulching lowers the water requirement of the plant by reducing the evaporation rate. Mulching also aids in controlling the weeds.
A kiwi crop needs a regular water supply mainly during the drought and hot conditions. The commercial farming of kiwi requires irrigation in around 10-14 days’ interval is preferred for best yield. Providing the water as per the need of the plant is one of the best ways to get the maximum production.
Harvesting and Yielding of Kiwi Fruit
The plant starts producing fruit after 4-5 years. The initial yield is small but it increases gradually as the plant attains maturity. The ripening season of kiwi fruit is September and October. If there is presence of frost, the plant needs to be harvested before the fruit ripens. The ripening process can be done in refrigeration. Once the skin of the kiwi fruit starts to turn brown in colour, it can be snapped from the stalk. The other method to check whether fruit is ready for harvesting is to observe black seeds in the sample kiwi fruit.
Due to the difference in temperature, the fruit matures later at high altitudes and early at lower altitudes. After the harvesting is done, the stiff hairs present on the surface of the fruit are removed by rubbing the fruit against coarse cloth. The fruits that are hard are sent to the market and within two weeks they become edible.
The yield of the crop relies on various attributes such as method of irrigation, soil type, tree age, variety, and climatic conditions. On an average, approximately 100 kgs of fruit can be collected per harvesting season.
Storage of Kiwi Fruit
The harvested fruits can be stored in the cool place for approximately two months. This storage doesn’t require refrigeration.