Composting is an eco-friendly way to turn kitchen scraps and yard waste into nutrient-rich soil for your garden. However, composting requires careful attention to ensure safety for both you and your plants. Improper composting can lead to unpleasant odors, pests, or even harmful pathogens that may impact plant health. By following a few key safety practices, you can maintain a healthy composting process and garden.
Here are the top 5 composting safety tips to keep your garden thriving:
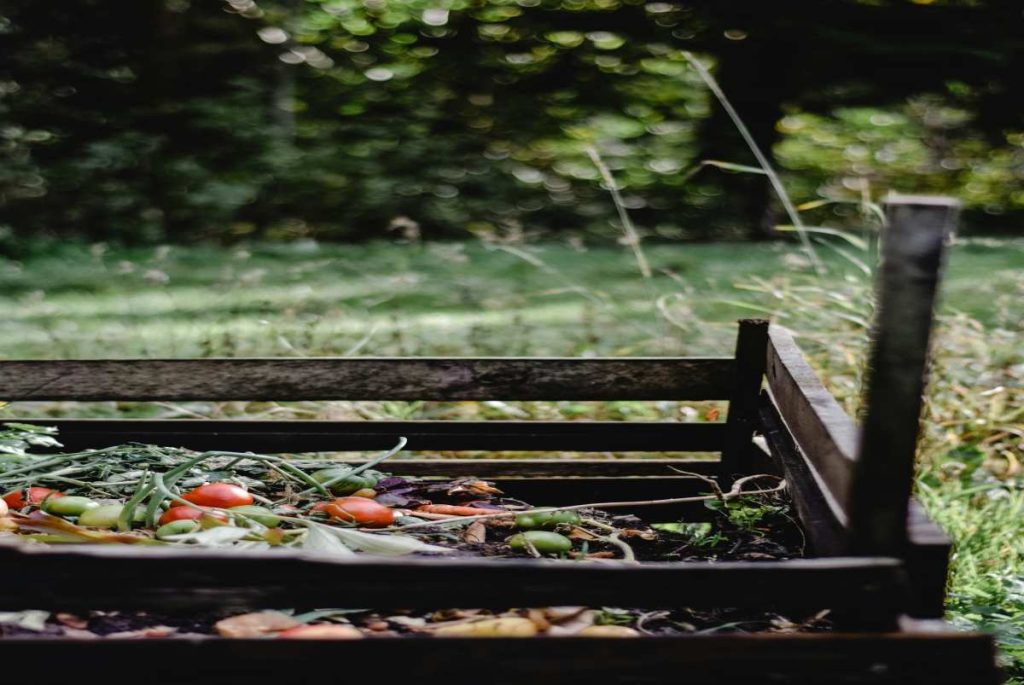
1. Avoid Adding Harmful or Non-Compostable Materials
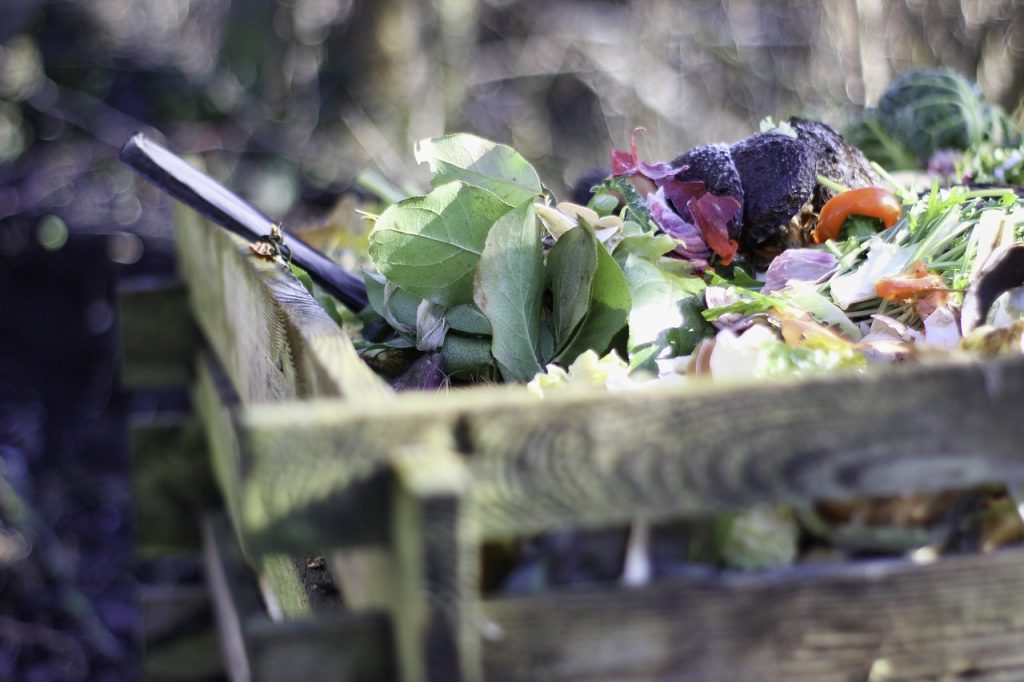
Not all materials are suitable for composting. Adding certain items can disrupt the composting process, introduce harmful pathogens, or attract unwanted pests. For example, meat, dairy, oily foods, and pet waste should be avoided as they decompose slowly and create unpleasant odors. Additionally, non-biodegradable materials like plastics and chemically treated wood should never go into the compost pile.
Safe Composting Practices:
- Stick to organic, plant-based waste such as fruit and vegetable scraps, leaves, grass clippings, and coffee grounds.
- Avoid adding invasive plants, as their seeds might survive and sprout in your garden later.
- Exclude diseased plant materials to prevent spreading infections to your garden soil.
Pro Tip: Maintain a proper balance of “greens” (nitrogen-rich materials) and “browns” (carbon-rich materials) for efficient decomposition.
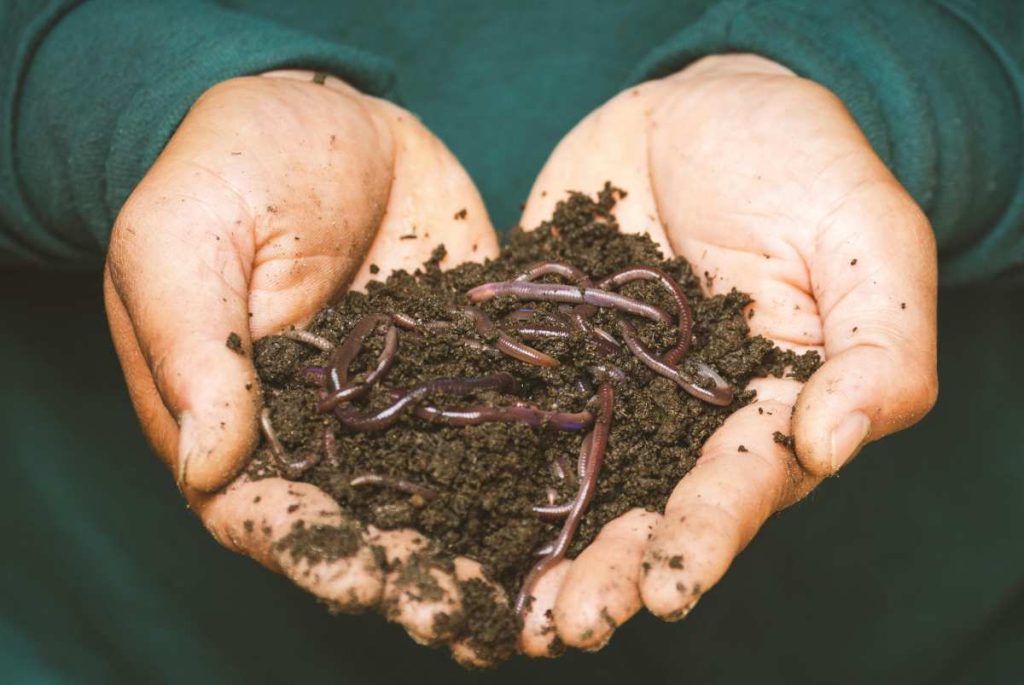
2. Handle Compost Carefully to Avoid Pathogens
Improperly managed compost can harbor harmful bacteria like E. coli or salmonella. These pathogens can pose risks to your health if you come into direct contact with the compost or consume produce grown in contaminated soil. To minimize this risk, ensure your compost heats up sufficiently to kill pathogens.
Safe Composting Practices:
- Use a thermometer to monitor your compost temperature. Aim for 135°F to 160°F (57°C to 71°C) for several days to effectively kill pathogens.
- Always wear gloves when handling compost, especially when turning or harvesting it.
- Wash your hands thoroughly after handling compost or garden soil.
Pro Tip: Avoid using compost as a top dressing for edible plants; mix it well into the soil instead.
3. Maintain Proper Moisture Levels
Too much or too little moisture can disrupt the composting process and lead to safety concerns. Excessively wet compost piles can become anaerobic (oxygen-deprived), producing foul odors and attracting pests. Dry compost piles, on the other hand, may fail to decompose efficiently, leaving organic waste vulnerable to contamination.
Safe Composting Practices:
- Keep your compost as damp as a wrung-out sponge to maintain the right moisture balance.
- Add water during dry periods and mix in dry materials, like shredded newspaper, during wet conditions.
- Cover your compost pile with a tarp or compost bin lid to protect it from heavy rains.
Pro Tip: Turn your compost pile regularly to promote aeration and prevent excess moisture buildup.
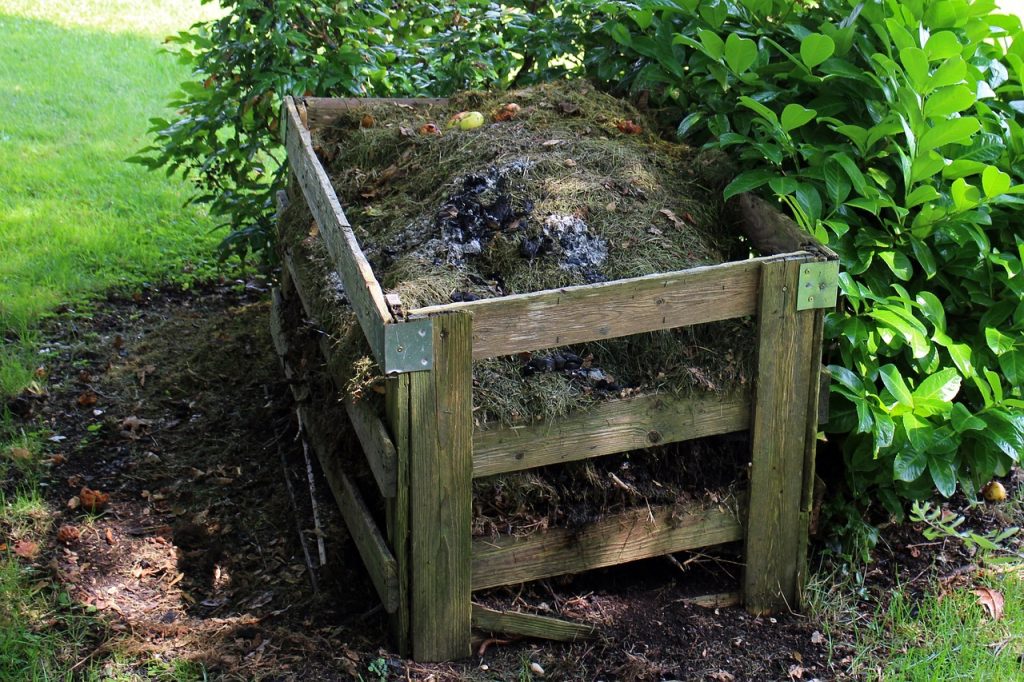
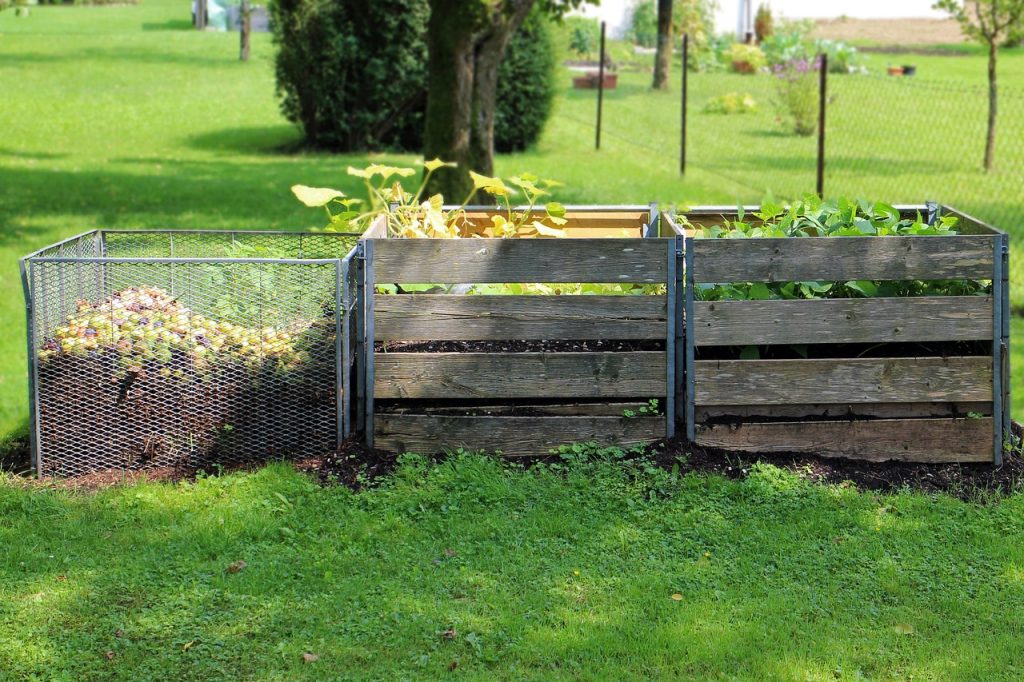
4. Use a Secure Compost Bin to Keep Pests Away
Unsecured compost piles can attract pests like rodents, raccoons, and insects. These pests may spread diseases or damage your garden. Using a secure compost bin or properly managing an open pile can deter pests and ensure a safe composting environment.
Safe Composting Practices:
- Choose a compost bin with a tight-fitting lid or one designed to prevent pest access.
- Avoid composting meat, fish, or dairy products that might attract animals.
- Bury food scraps under a layer of “browns” to minimize odors that could lure pests.
Pro Tip: Surround your compost area with natural pest deterrents like mint or lavender plants.
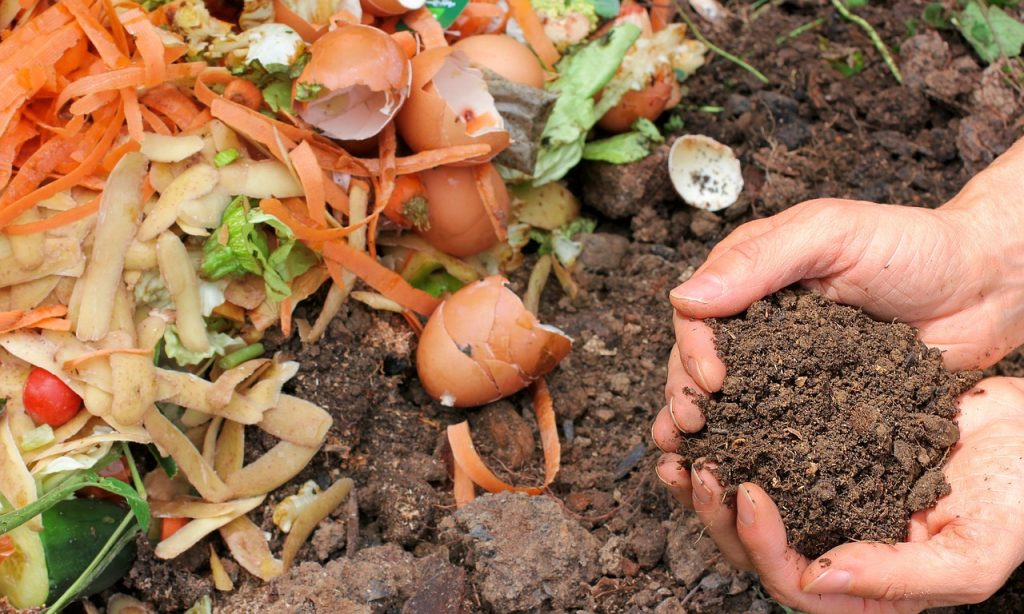
5. Monitor for Signs of Unsafe Compost
Even with proper care, compost piles can sometimes develop issues that affect safety. Unpleasant odors, visible pests, or slimy textures are signs that something is wrong. Monitoring your compost regularly ensures you can address problems before they escalate.
Safe Composting Practices:
- If your compost smells bad, add more carbon-rich materials (browns) like dry leaves or straw to balance it out.
- If pests are present, check for food scraps on the surface and cover them immediately.
- Avoid using compost that looks or smells unfinished, as it may harm your plants or harbor pathogens.
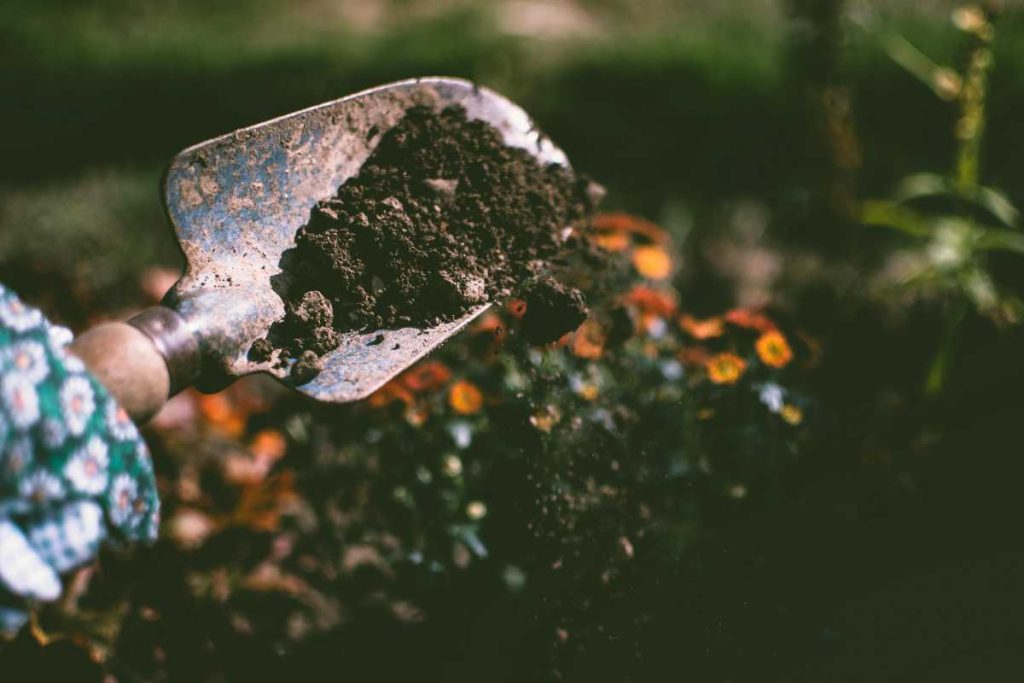
Pro Tip: Compost should smell earthy and look dark and crumbly when it’s ready to use.
Conclusion
By following these 5 essential composting safety tips, you can ensure a safe and effective composting process for your garden. Avoid harmful materials, handle compost carefully, maintain the right moisture levels, secure your pile against pests, and monitor for signs of issues. With these precautions, your compost will turn waste into gold, enriching your garden while promoting a sustainable lifestyle. Start composting safely today and watch your garden thrive!