What is Compost Tea?
Compost tea is a liquid fertilizer created by steeping compost in water, allowing beneficial nutrients and microorganisms to infuse the water. It acts as a powerful, natural fertilizer that enriches soil, strengthens plants, and boosts their resistance to pests and diseases.
Used as a soil drench or foliar spray, compost tea delivers concentrated nutrients directly to plants, offering quicker results compared to traditional compost. It’s a sustainable and cost-effective way to maximize the benefits of compost.
Benefits of Compost Tea
- Enhances Plant Growth: Rich in nutrients like nitrogen, phosphorus, and potassium, compost tea helps plants grow faster and healthier.
- Improves Soil Health: It introduces beneficial microbes to the soil, enhancing its structure and fertility.
- Protects Against Pests and Diseases: When sprayed on leaves, compost tea can act as a natural deterrent to pests and pathogens.
- Environmentally Friendly: Reduces the need for synthetic fertilizers and pesticides, promoting sustainable gardening practices.
- Boosts Nutrient Uptake: The liquid form allows plants to absorb nutrients more quickly and efficiently.
How to Make Compost Tea
Making compost tea at home is simple and requires only a few materials. Follow these steps to create a nutrient-rich brew for your garden.
What You’ll Need:
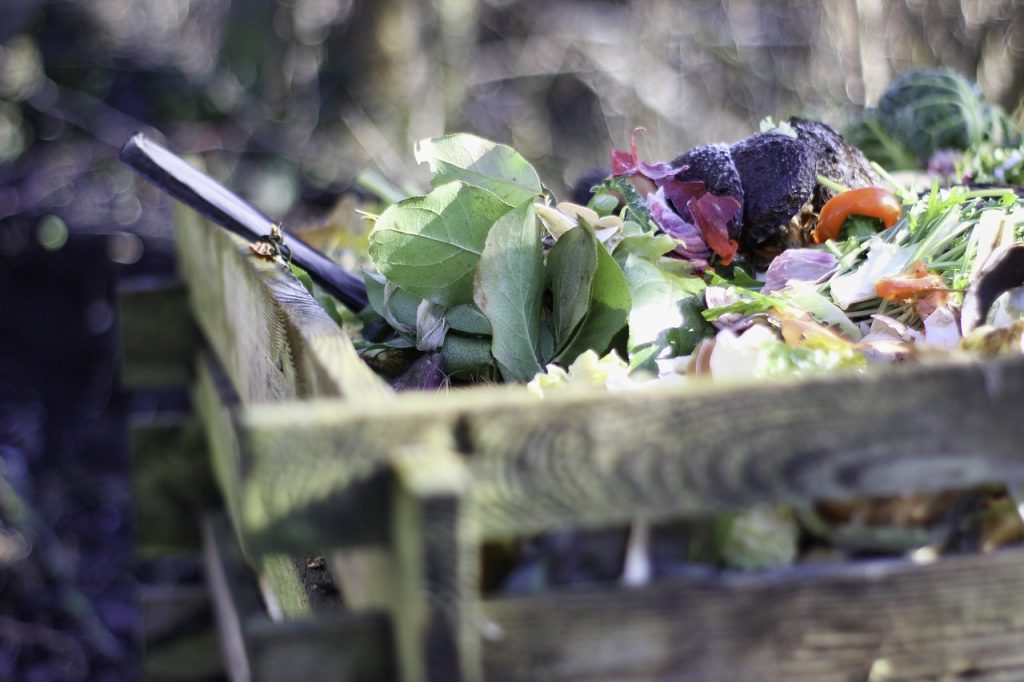
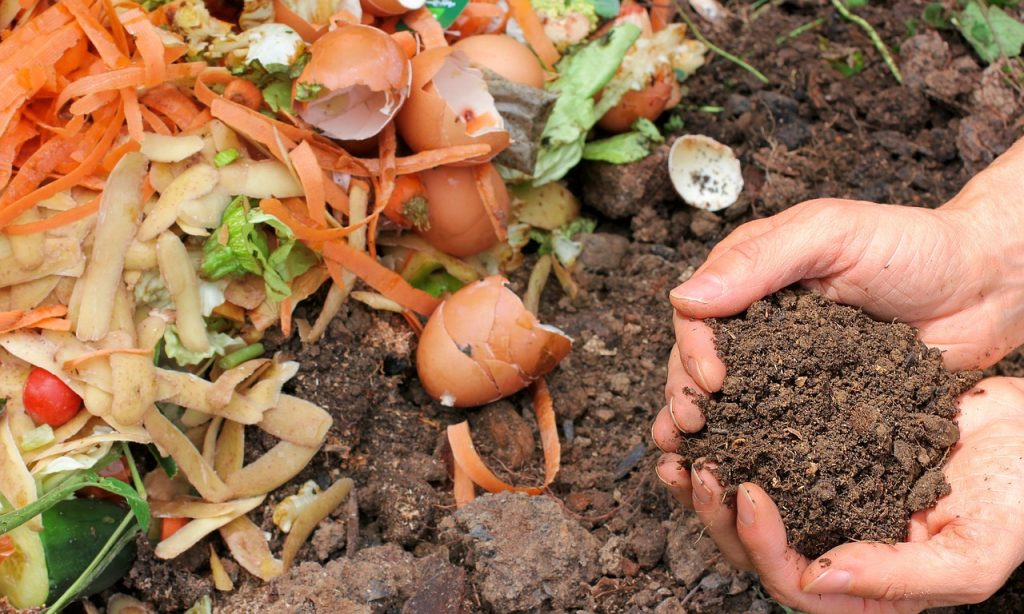
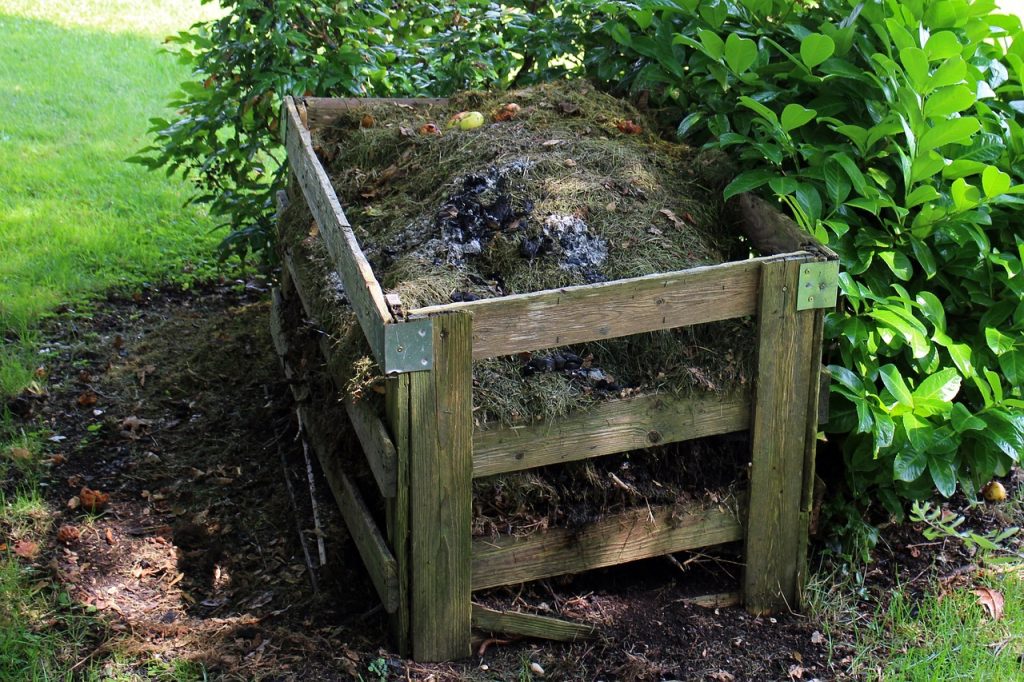
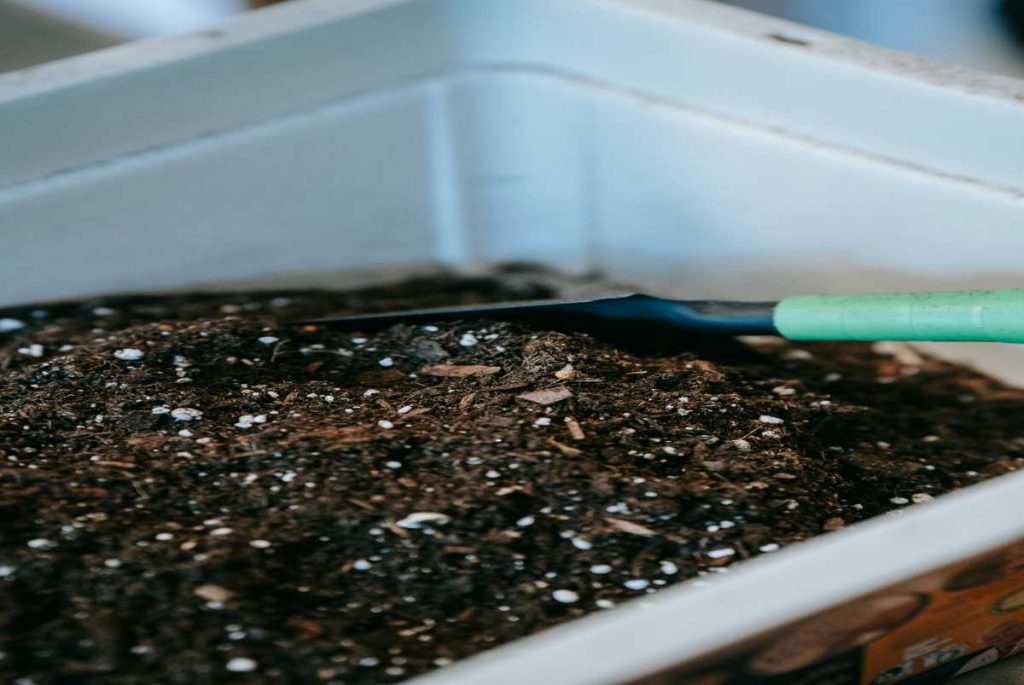
- High-quality compost: Use mature, organic compost free of chemicals.
- Water: Non-chlorinated water is best (rainwater or dechlorinated tap water).
- Bucket: A 5-gallon bucket works well for most gardens.
- Aeration system (optional): An aquarium pump or air stone can help increase oxygen levels.
- Cheesecloth or fine mesh bag: For holding the compost, creating a “tea bag.”
- Stick or rod: For stirring the mixture.
Step-by-Step Guide to Making Compost Tea
1. Select High-Quality Compost
Choose compost that is rich in organic matter and microorganisms. It should have an earthy smell and be free of visible contaminants. Vermicompost (compost made with worms) is an excellent choice for making compost tea.
2. Prepare Your Water
If using tap water, allow it to sit uncovered for 24 hours to let chlorine dissipate. Chlorine can harm the beneficial microbes in compost tea.
3. Create the Tea Bag
Place 1–2 cups of compost into a cheesecloth, old pillowcase, or fine mesh bag. Tie the top securely to prevent compost particles from escaping.
4. Steep the Compost
- Fill your bucket with 4–5 gallons of water.
- Submerge the compost bag into the water.
- For aerated tea, place an aquarium pump or air stone in the bucket to circulate oxygen. This helps beneficial microbes multiply.
5. Let It Brew
- Allow the compost to steep for 24–48 hours.
- Stir the mixture occasionally if you’re not using an aeration system.
6. Strain the Tea
Remove the compost bag and squeeze out any excess liquid. You can strain the tea further if needed to remove particles. The leftover compost can be added back to your garden or compost pile.
7. Use Immediately
Compost tea is most effective when used fresh. Apply it to your plants within 24 hours to ensure maximum microbial activity.
How to Use Compost Tea
- As a Soil Drench:
- Pour the compost tea directly onto the soil around your plants.
- This enriches the soil with nutrients and beneficial microbes, improving root health.
- As a Foliar Spray:
- Use a sprayer to mist the tea onto plant leaves.
- This can help deter pests and improve disease resistance.
- Ensure the spray reaches both the tops and undersides of leaves for maximum effectiveness.
Tips for Success
- Avoid Over-Brewing: Brewing for more than 48 hours can result in the growth of harmful anaerobic bacteria.
- Use Fresh Tea: Compost tea is alive with microbes, so use it immediately after brewing.
- Don’t Contaminate: Clean your equipment thoroughly before and after brewing to avoid introducing harmful pathogens.
- Test Small Areas First: Before applying to your entire garden, test the tea on a small area to ensure your plants respond positively.
Common Mistakes to Avoid
- Using Chlorinated Water: Chlorine kills beneficial microbes, reducing the tea’s effectiveness.
- Brewing in Hot Sunlight: High temperatures can kill microbes. Brew in a shaded area.
- Skipping Quality Compost: Poor-quality compost may introduce unwanted pathogens or lack essential nutrients.
Conclusion
Compost tea is a versatile and eco-friendly tool for gardeners seeking to boost plant health and improve soil fertility. By understanding how to make and use it effectively, you can harness its full potential for your garden. With just a little effort, you’ll be rewarded with thriving plants, healthier soil, and a more sustainable approach to gardening.
Start brewing your compost tea today and see the difference it makes in your garden!