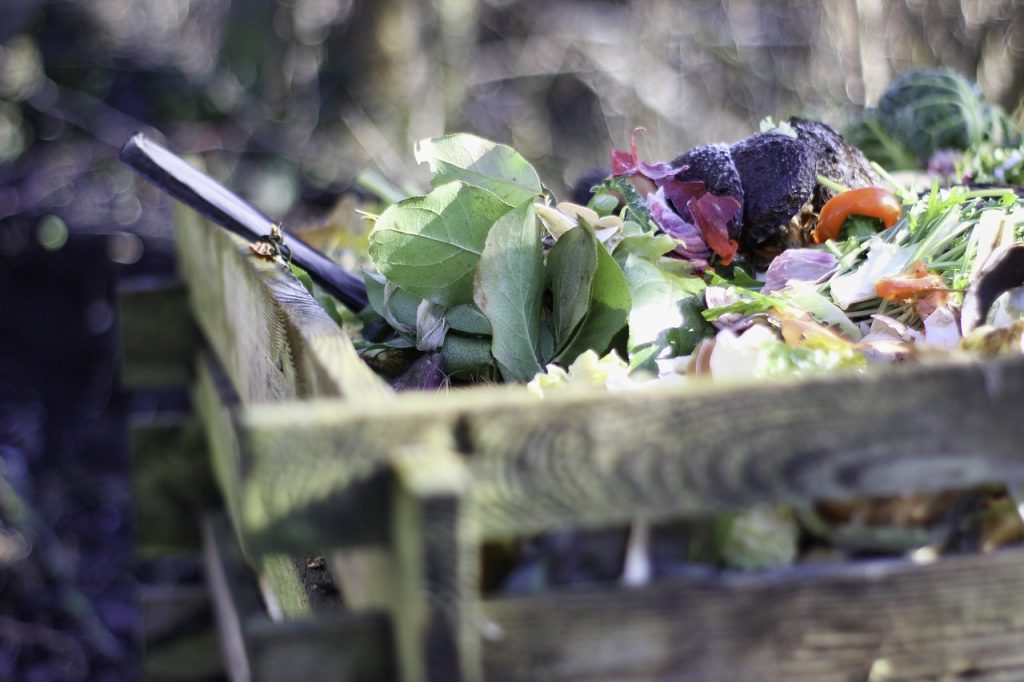
Composting is a natural process that transforms organic waste into nutrient-rich compost, a powerful tool for improving soil health and reducing waste. But what makes this process so effective? The answer lies in the tiny, unseen world of microorganisms. Often called nature’s recyclers, microorganisms break down organic matter, speeding up decomposition and recycling nutrients back into the environment.
This article delves into the critical role of microorganisms in composting, their types, and how to create optimal conditions for them to thrive.
What Are Microorganisms in Composting?
Microorganisms are microscopic living organisms, including bacteria, fungi, actinomycetes, and protozoa, that drive the composting process. These organisms decompose organic matter into smaller, more manageable components, eventually forming humus—a nutrient-rich, stable organic material.
Key Functions of Microorganisms in Composting:
- Breaking down complex organic molecules (e.g., proteins, fats, and cellulose).
- Recycling essential nutrients like nitrogen, phosphorus, and potassium.
- Producing heat during decomposition, which accelerates the composting process and kills pathogens.
Types of Microorganisms in Composting
1. Bacteria: The Primary Decomposers
Bacteria are the most abundant and active microorganisms in composting. They are the first to attack organic waste, breaking down simple compounds like sugars and proteins.
Key Roles:
- Produce enzymes to digest organic materials.
- Generate heat during aerobic decomposition, maintaining compost pile temperatures.
Types of Bacteria:
- Psychrophilic Bacteria: Thrive in temperatures below 55°F (13°C). These bacteria kickstart the composting process in cooler conditions.
- Mesophilic Bacteria: Operate in moderate temperatures (55–77°F or 13–25°C), rapidly breaking down organic matter.
- Thermophilic Bacteria: Dominate at high temperatures (above 113°F or 45°C), breaking down tough materials like cellulose and killing harmful pathogens.
2. Fungi: Breaking Down Tough Materials
Fungi, including molds and yeasts, play a significant role in decomposing complex organic compounds like lignin and cellulose, which bacteria cannot easily digest.
Key Roles:
- Extend hyphae (thread-like structures) to break down woody materials.
- Continue decomposition when moisture levels are lower, complementing bacterial activity.

3. Actinomycetes: The Middle Ground
Actinomycetes are a group of bacteria that look like fungi and thrive in high pH conditions. They are responsible for breaking down complex organic materials, including chitin and cellulose, into simpler compounds.
Key Roles:
- Decompose hard-to-break-down substances.
- Give compost its characteristic earthy smell.
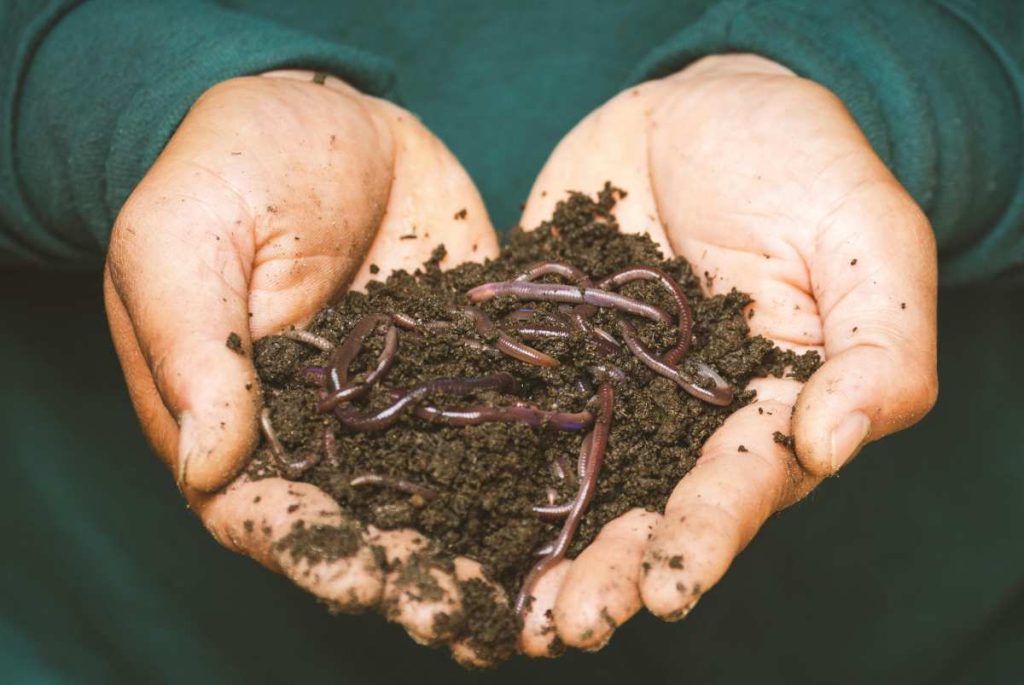
4. Protozoa: The Predators
Protozoa are single-celled organisms that feed on bacteria, fungi, and other organic particles, helping to regulate the microbial population.
Key Roles:
- Maintain balance in the microbial ecosystem.
- Break down organic matter into smaller particles for bacteria and fungi to process.
How Microorganisms Work in Composting
The composting process can be divided into three primary phases, driven by microorganisms:
1. Initial Phase (Mesophilic Stage)
- Duration: First few days.
- Microorganisms: Psychrophilic and mesophilic bacteria.
- Activity: Decompose easily degradable materials like sugars and proteins.
- Temperature: Low to moderate (50–113°F or 10–45°C).
2. Active Phase (Thermophilic Stage)
- Duration: Weeks to months.
- Microorganisms: Thermophilic bacteria dominate.
- Activity: Break down tough organic materials like cellulose and lignin. Pathogens and weed seeds are destroyed at high temperatures.
- Temperature: High (113–160°F or 45–71°C).
3. Curing Phase (Maturation Stage)
- Duration: Several weeks to months.
- Microorganisms: Mesophilic bacteria, fungi, and actinomycetes.
- Activity: Stabilize the compost, breaking down remaining organic matter.
- Temperature: Low to moderate (50–113°F or 10–45°C).
Creating Optimal Conditions for Microorganisms
To maximize the efficiency of microorganisms in composting, maintain the following conditions:
- Aeration: Provide oxygen through regular turning of the compost pile to support aerobic decomposition.
- Moisture: Keep moisture levels between 40–60%. Compost should feel like a damp sponge.
- Temperature: Monitor temperatures to ensure the compost pile remains within the thermophilic range for pathogen elimination and efficient decomposition.
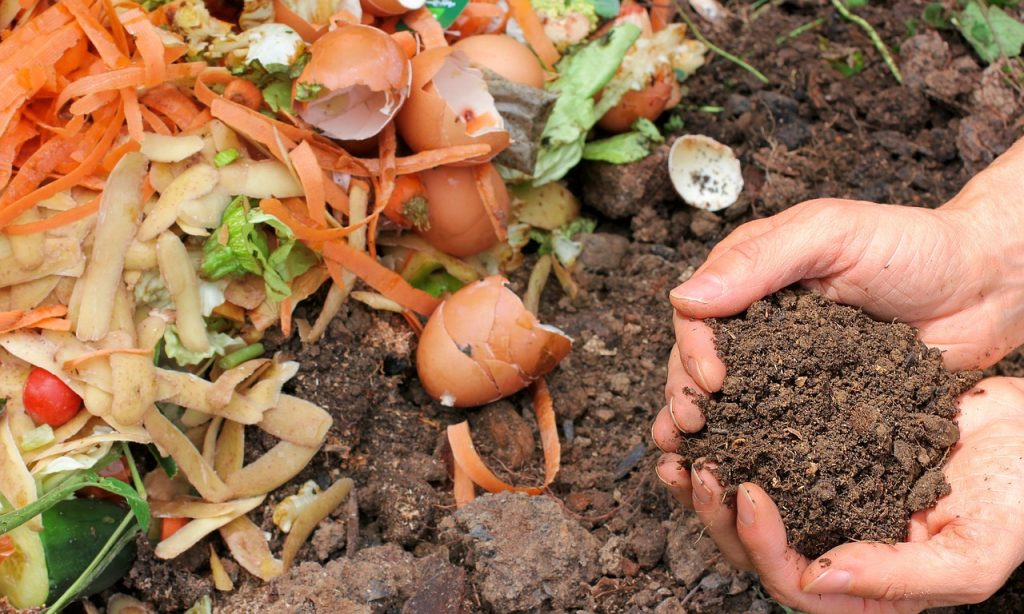
- Carbon-to-Nitrogen Ratio: Aim for a Cratio of 25–30:1. Add green materials (e.g., fruit scraps, grass clippings) for nitrogen and brown materials (e.g., leaves, straw) for carbon.
- Particle Size: Shred materials into smaller pieces to increase the surface area for microbial activity.
The Environmental Impact of Microorganisms in Composting
Microorganisms not only aid in waste management but also contribute to environmental sustainability by:
- Reducing methane emissions from landfills.
- Recycling nutrients into the soil, reducing dependence on synthetic fertilizers.
- Improving soil health and carbon sequestration.
Conclusion
Microorganisms are the unsung heroes of composting, transforming organic waste into nutrient-rich compost that benefits soil and plants. By understanding their roles and creating optimal conditions, you can harness their power to recycle waste efficiently and sustainably. Whether you’re composting at home or on a larger scale, nurturing these tiny recyclers is the key to successful composting and a healthier planet.