Composting may seem like a small, everyday activity, but its impact on climate change is significant. As an environmentally-friendly process that recycles organic waste into nutrient-rich compost, it offers a variety of ways to reduce greenhouse gas emissions, enhance soil health, and promote sustainability. By embracing composting on a larger scale, individuals, farmers, and communities can help mitigate the effects of climate change. Here’s how composting contributes to climate change mitigation and why it’s an important practice for a sustainable future.
1. Reduces Methane Emissions from Landfills
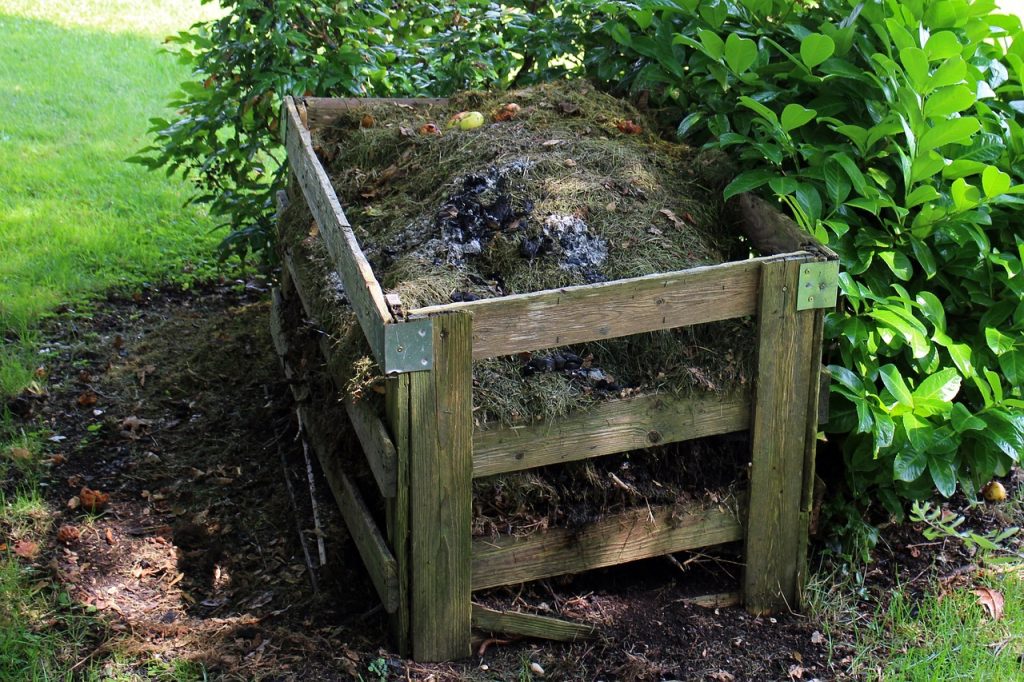
One of the most significant ways composting helps combat climate change is by reducing the amount of organic waste that ends up in landfills. When organic materials like food scraps and yard waste decompose anaerobically (without oxygen) in landfills, they produce methane, a potent greenhouse gas. In fact, methane is over 25 times more effective at trapping heat in the atmosphere than carbon dioxide.
How Composting Helps:
- Composting organic waste aerobically (with oxygen) prevents methane emissions by allowing the waste to break down in a controlled environment.
- By diverting organic materials from landfills, composting helps reduce overall methane production, making a significant contribution to climate change mitigation.
Pro Tip: Reduce your carbon footprint by composting at home or in your community to ensure organic waste stays out of landfills.
2. Enhances Carbon Sequestration in the Soil
Carbon sequestration is the process of capturing and storing carbon from the atmosphere into the soil. Composting plays a vital role in this process by converting organic materials into stable forms of carbon that can be stored in the soil for long periods.
How Composting Helps:
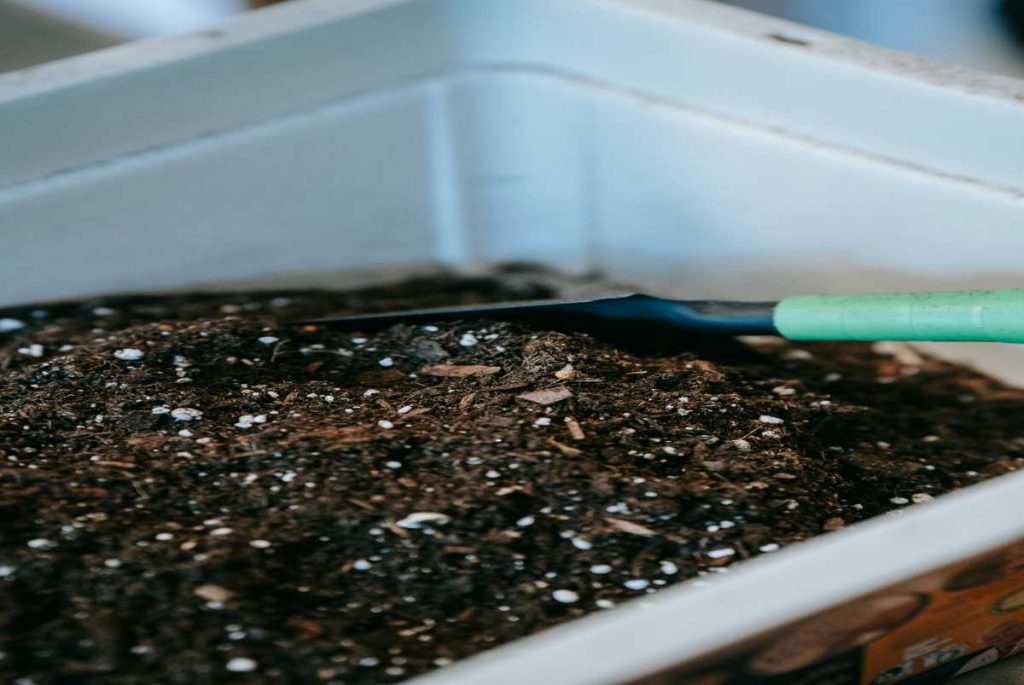
- Compost is rich in organic carbon, which improves soil structure and increases its ability to store carbon.
- When compost is added to the soil, it enhances its carbon content, effectively locking carbon in the ground and preventing it from re-entering the atmosphere.
Pro Tip: Regularly adding compost to your garden or farm not only benefits plant health but also contributes to long-term carbon storage, helping to offset greenhouse gas emissions.
3. Reduces the Need for Chemical Fertilizers
The production and use of synthetic fertilizers contribute to greenhouse gas emissions in various ways, from manufacturing to transportation and application. Fertilizer use also disrupts soil health, leading to more carbon emissions and the release of nitrous oxide, a potent greenhouse gas.
How Composting Helps:
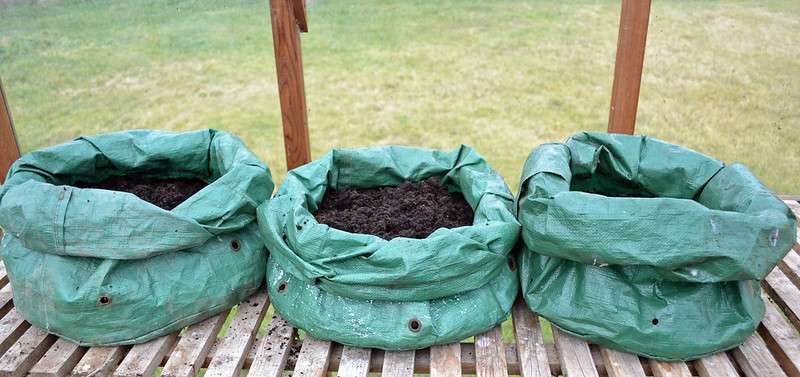
- Compost is a natural, organic alternative to chemical fertilizers, providing essential nutrients to plants without the environmental cost.
- By using compost to fertilize plants, you can reduce your reliance on chemical fertilizers, decreasing the associated emissions.
Pro Tip: Use compost in your garden or farm to reduce the need for synthetic fertilizers, saving both money and resources while reducing your carbon footprint.
4. Enhances Soil Health and Resilience
Healthy soil is one of the most effective tools in the fight against climate change. Soils that are rich in organic matter are better able to absorb and retain water, which is crucial for preventing drought and flooding—two extreme weather events exacerbated by climate change. Composting enhances soil health by improving its structure, water-holding capacity, and nutrient content.
How Composting Helps:
- Compost increases the soil’s ability to retain moisture, which reduces the need for irrigation and makes crops more resilient to drought.
- Compost improves soil structure, making it less prone to erosion and better able to withstand heavy rains, which are becoming more common due to climate change.
Pro Tip: Adding compost to your garden or farm helps build long-term soil resilience, ensuring that the land can better cope with extreme weather events.
5. Reduces the Carbon Footprint of Organic Waste
When organic waste is sent to landfills, it contributes to significant carbon emissions. Not only do landfills release methane, but they also require energy and resources to manage. By composting organic waste locally, you can reduce the carbon footprint of transporting waste to landfills and eliminate the associated environmental impact.
How Composting Helps:
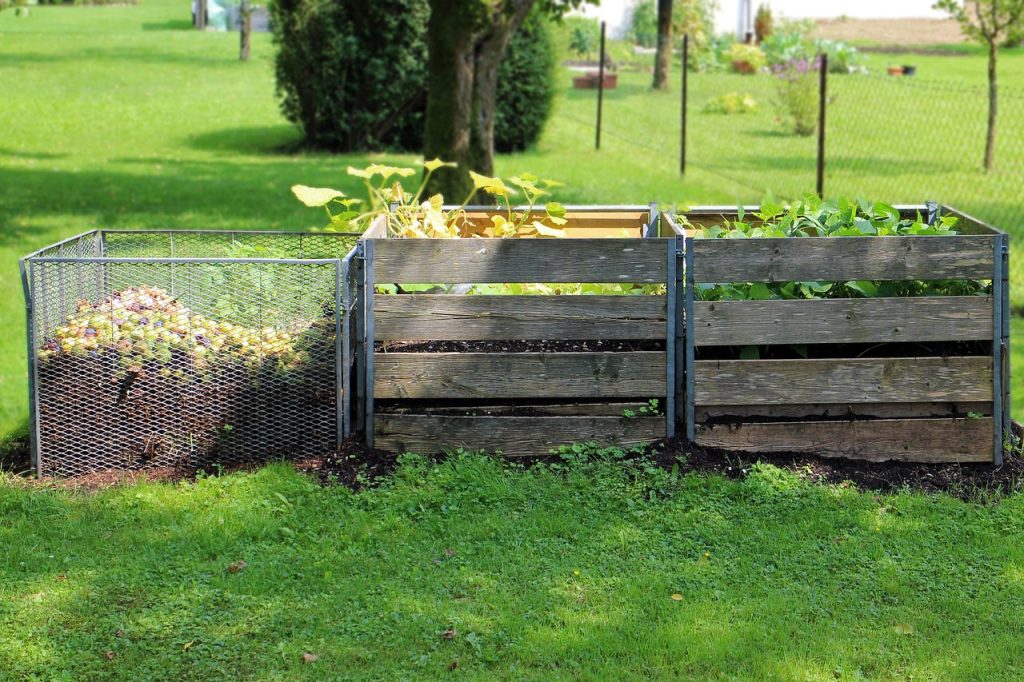
- Composting organic waste at home or in local composting centers reduces the need for transportation, which in turn cuts down on fuel consumption and emissions.
- By processing waste on-site, composting eliminates the energy-intensive processes associated with landfills and waste management.
Pro Tip: Start composting your kitchen scraps, yard waste, and other organic materials at home to reduce the environmental impact of waste disposal.
6. Reduces the Need for Pesticides and Herbicides
Pesticides and herbicides are commonly used in conventional farming practices, but they come with a heavy environmental cost. The production and application of these chemicals contribute to carbon emissions, and they can harm beneficial soil organisms, which can reduce soil carbon storage and health.
How Composting Helps:
- Composting promotes healthy soil ecosystems, including beneficial microbes and insects, that help naturally control pests and weeds.
- By reducing the need for chemical pesticides and herbicides, composting supports a more sustainable and climate-friendly farming approach.
Pro Tip: Use compost to build healthy, biodiverse soils that naturally suppress pests and encourage organic farming practices.
7. Supports Sustainable Agriculture and Food Systems
Sustainable agriculture practices are essential for mitigating climate change. Composting is an integral part of these practices, as it supports soil health, reduces the reliance on external inputs, and encourages the use of local resources.
How Composting Helps:
- Composting turns organic waste into a valuable resource, closing the loop in agricultural systems and reducing the need for synthetic chemicals.
- By using compost on farms, growers can improve soil fertility and productivity while minimizing the environmental impact of industrial agriculture.
Pro Tip: Support sustainable agriculture by purchasing products from farms that use composting and other eco-friendly practices to reduce their carbon footprint.
8. Reduces the Need for Landfilling and Incineration
Landfills and incinerators are major sources of greenhouse gas emissions. The decomposition of organic waste in landfills produces methane, while incineration releases carbon dioxide and other pollutants into the atmosphere. Composting, by contrast, is a zero-emission alternative that helps prevent these harmful outcomes.
How Composting Helps:
- Composting reduces the amount of organic waste that ends up in landfills or incinerators, preventing methane and carbon emissions.
- By diverting organic waste, composting reduces the need for waste disposal, minimizing the environmental footprint of waste management.
Pro Tip: Advocate for community-wide composting initiatives to help reduce the strain on landfills and encourage sustainable waste management practices.
Conclusion
Composting may seem like a small practice, but its benefits for combating climate change are vast. From reducing methane emissions in landfills to sequestering carbon in soil, composting plays a crucial role in mitigating climate change and supporting a sustainable future. By composting at home, on the farm, or within communities, we can collectively reduce greenhouse gas emissions, improve soil health, and promote more eco-friendly practices.
Embrace composting today and be part of the solution to climate change, helping to create a healthier, more sustainable planet for future generations.