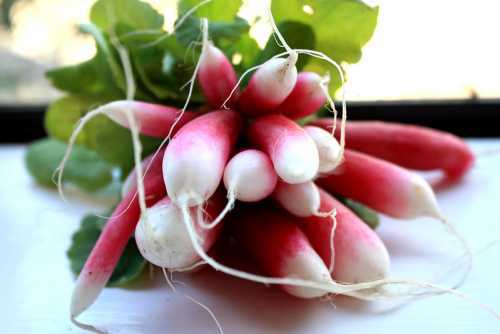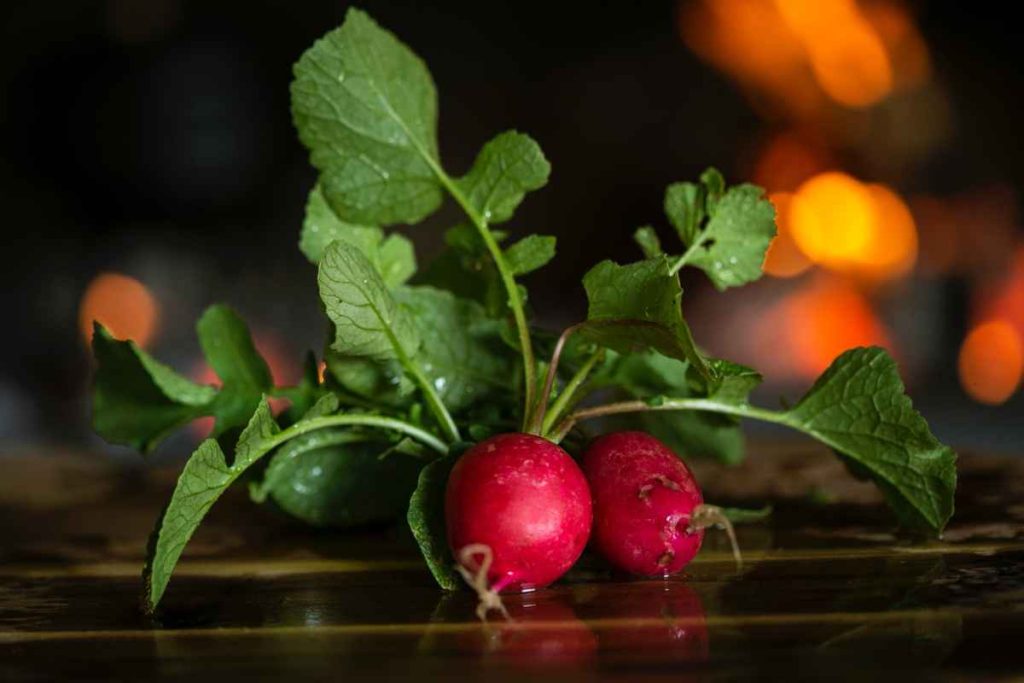
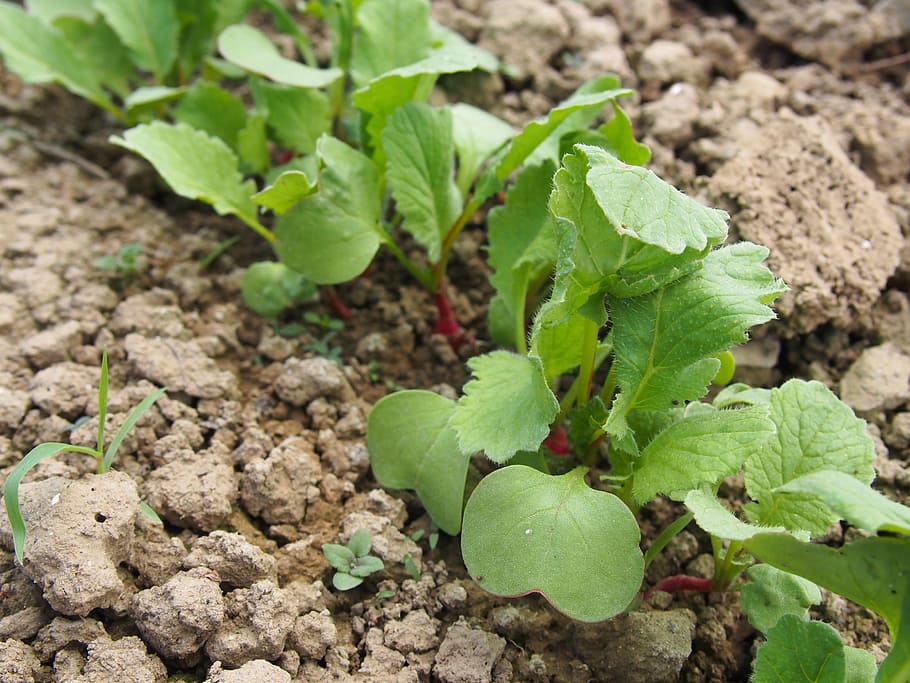
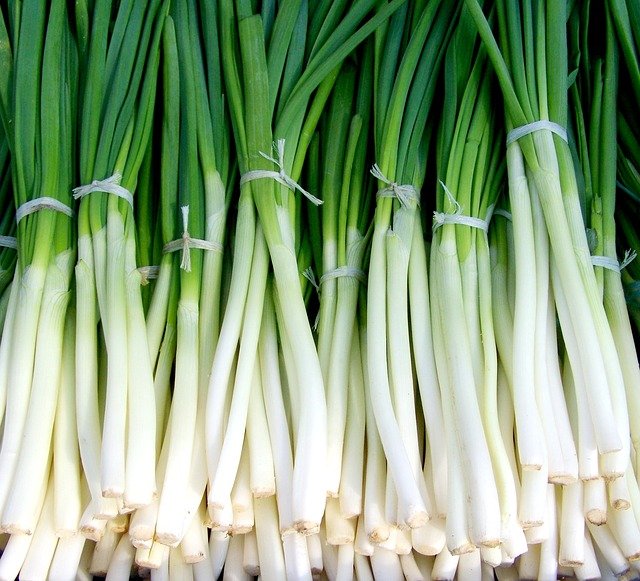
Radish ( Raphanus ) is a well known crop of both tropical and temperate regions. It is a quick growing crop and hence can be easily grown as intercrop along with other vegetables.
The roots of these crops are the edible parts that are fusiform and the color ranges from white to red. There are two different genetic groups of this crop. These are the Asiatic variety and the other is the European variety.
Firstly the Asiatic variety is a tropical crop that produces edible roots in the first season whereas seeds in the second season are biennial crops. However in the European variety, roots are produced in the plains of tropical as well as subtropical climate and the seeds are produced in the hills of temperature climate.
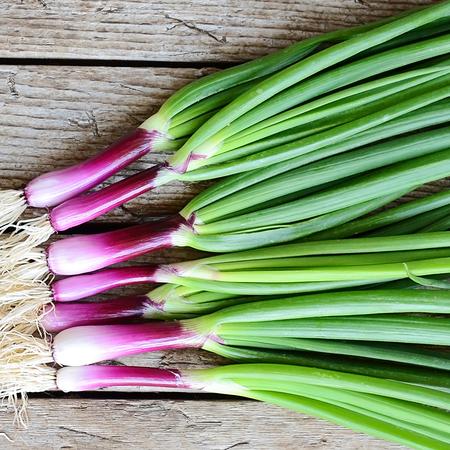
Different types of Radish:
There are different types of Radish plants for example watermelon radish, French breakfast radish, zlata radish, cherry Belle etc. Let’s discuss in detail about some varieties of radish.
● Watermelon Radish:
This variety of radish is moderately sweet and less spicy. It shows mainly three different shades of color that are light green, white and beige. However like it’s name it’s color reminds of a watermelon. After plantation it matures in about 50-60 days. For proper growth there must be a minimum 3 inch of distance between them.
● French breakfast radish:
It is our next variety of radish, red in color and is more elongated than the round radish that has round tip white in color. Along with it’s pleasant crispy taste it has a reflection of sourness. This variety of radish matures very early and within 25-30 days after plantation and seeding is ready for harvest.
● Zlata Radish:
It is quite different from the other varieties due to its yellow brown color and oval shape, it looks much similar to potato. This variety of radish is ready to harvest in probably 30 days. Zlata radish has small green leaves that can be used for salads as well as can be used for other green recipes.
● Cherry Belle:
It is dark pink in color and round in shape. It tastes sweet and crispy. It is mostly eaten as salads. This variety of radish also matures very early within 25-27 days after germination.
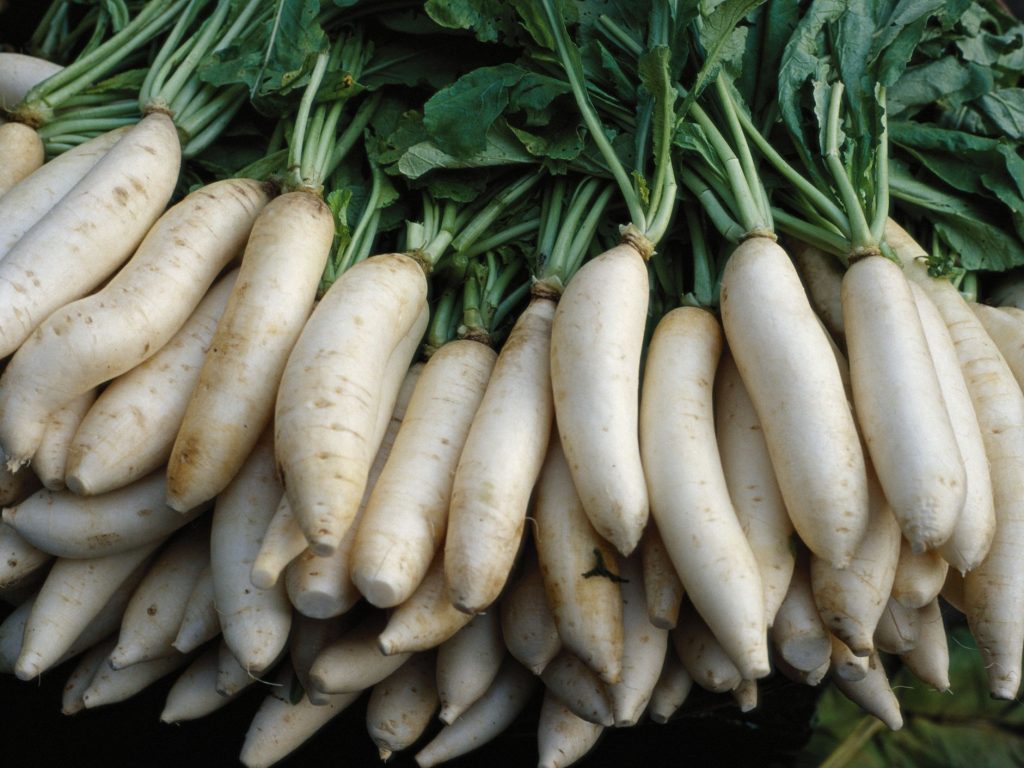
● Daikon radish :
This is a large sized radish about 14 inches long. It can be picked after about 60 days of germination and plantation. It has a delight and crispy flavor with a little bit of sweetness. It needs at least 4 inches of space to grow properly
● White Icicle:
This is our next variety of Radish which is cylindrical in shape and about 5-6 inches long. Fresh white icicles taste the best. It can be harvested in about 30-40 days after plantation.
● Round Black Radish:
Similar to it’s name it is black in color and has a very unique taste. It is spherical in shape. Though it’s black in color from out but it’s flesh is white and creamy with a strong flavor.
● Chinese Rose:
This variety of radish has a broadened shape. Its color is red-purple from outside and has white and pink colored veins inside. This variety matures in early autumn. It has a very particular taste. In the beginning it’s taste is delicate but suddenly the taste buds will sense a surprising pungent sensation.
● Horseradish:
This is the radish that doesn’t leave a bitter taste. Winters are best for plantation of horseradish and they mature in springs and can be refrigerated too.
● Easter Egg Radish:
They are named so because of their shape, its shape is like that of an egg. Easter Egg Radish is available in a number of colors like white, pink, red, lavender and purple colors. They should be harvested when their diameter measures 1 inch as harvesting at this stage can avoid it from turning hard or bitter.
● Lady Slipper:
It is news because of its unique shape. It has a bright and shiny pink color that is very attractive to eyes. It is white from inside and is sweet and crispy.
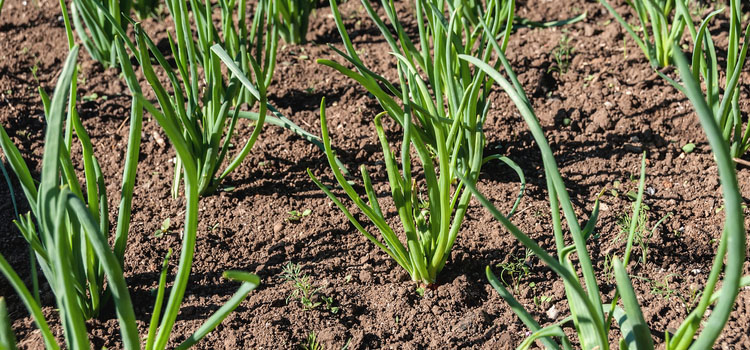
Plantation of Radish:
The seeds of radish germinate within 5-8 days according to the moisture levels. These are very easy to grow and can be grown in pots as well as containers.
One can grow these at home on balconies or backyards or on the terraces. It matures in 4-5 weeks and is ready for the first harvest. These regenerate from the roots and can be grown from scraps too. Cooler climates are more suitable for it’s growth but also need sunlight.
Overcrowding can be a problem and the radishes may not grow properly. Radish requires Sandy soil that is fertile, well drained and has good organic manures. If these are grown in a pot or containers then adding compost can be useful. Radish needs about 1 inch water every week but one should not over water it or let it dry completely.
Leaving them on the ground for a long time can cause the radish to split. A well balanced N:P:K ( nitrogen, phosphorus, potassium) is also a main requirement of radish along the other micronutrients.
Land preparation:
Firstly the soil has to be ploughed 30-40 cm deep and it should be prepared properly so that there are no clots left. Any undecomposed matters should not be present in the soil as it can cause forking of the root. Adding farmyard manures or garden compost can help to enrich the soil with organic manures and provide good yield. A pH range of 6-7.5 of the soil is appropriate for radish.
Also Read: Turnip Farming Information Guide
Soil sterilization:
The soil can be sterilized maine by two methods that are physical and chemical methods
In physical methods, the soil can be sterilized by heat treatments like it’s treatment with steam or with solar energy. However in chemical methods the soil is treated with herbicides or fumigation. Soil solarization is another method of soil sterilization in which a transparent plastic mulch film is used for the purpose.
During this process the the solar radiations passes through the plastic film and then is absorbed by the soil and then the absorbed rays gets converted into heat energy and due to which the temperature of the soil increase and hence it’s helpful in killing the soil borne diseases that includes pests as well as pathogens. For one hectare of land piece, about 10-12 kg of seeds would be enough. It is also found that for stimulating the germination of radish seeds naphthalene acetic acid can be proved helpful. For this the seeds have to be soaked in Naphthalene acetic acid (NAA)
Best time for sowing:
Radish is a winter crop cultivated in plains. The sowing process can be done in early winter however the sowing period can differ from place to place as it’s different for plains and hills.
Radish is generally grown on the ridges for good production. It can be grown as both single as well as companion crop. The minimum distance between the rows should be 45cm on the other hand the minimum distance between each plant should be 8cm. The depth at which the seed is sown is 1.15cm . There are 2 main methods of seed sowing: line sowing and broadcasting method
Line sowing method:
In this method the seed has to be mixed up with the soil in 1:4 ratio and then placed in a row with hands over the ridges. After this it has to be covered by a layer of soil.
Broadcasting: In this the seed is mixed up with the soil in the same way as done before and then it is scattered all over the field evenly. After this planking is done.
Radish crops need uniform watering to maintain moisture in the soil. It should be watered For first 4 to 5 days and then irrigated at intervals of 3-4 days. If the soil is dry then the radish may taste bitter However on the other hand over watering can rot or split the roots. Irrigation also depends on the season ( rainfall conditions) or the moisture levels of soil.
Manuring:
Mixing the farmyard manures or garden compost entirely while land Preparation can be helpful for a good crop. However doses of other fertilizers like potassic phosphatic should also be added in the soil before sowing the seeds. As radish is a fast growing crop so the soil rich in the plant nutrients can prove to be more helpful.
Weed control:
Weeding is a process that is a very important part of cultivation of almost every crop, and so is for radish. Regular weeding has to be done to keep a check on weeds so that our crops get proper and sufficient nutrients.
Especially in the rainy season two weedicides are needed so that weeds don’t suckup all the nutrients. Tok E -25( nitrofan 25%) keeps a check on both monocot and dicot weeds. Earthing up and weeding both should be carried out at least once in the early stages. Earthing up should be carried out as it ensures the quality of roots. Once after the initial stages earthing up should be again done during the flowering and fruiting.
Diseases :
Clubroot is a Radish plant disease marked by the swelling or malformation of roots or the lateral parts.
This can be controlled by raising the pH of soil with heavy dressing of lime and keeping the field free from mustard.
Plantation tips:
1. Seeding process should be carried out in early spring.
2. The seeds should be planted half an inch deep and at a distance of 1 inch from each other.
3. Keep your garden free from weeds for good quality.
4. Keep the soil from crusting around the plants as this helps the radish to become large.

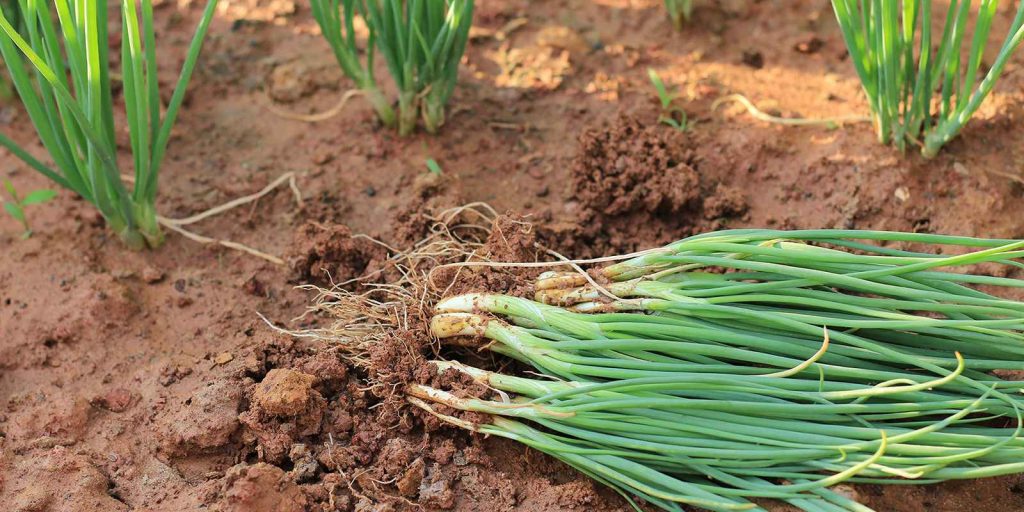
Harvesting:
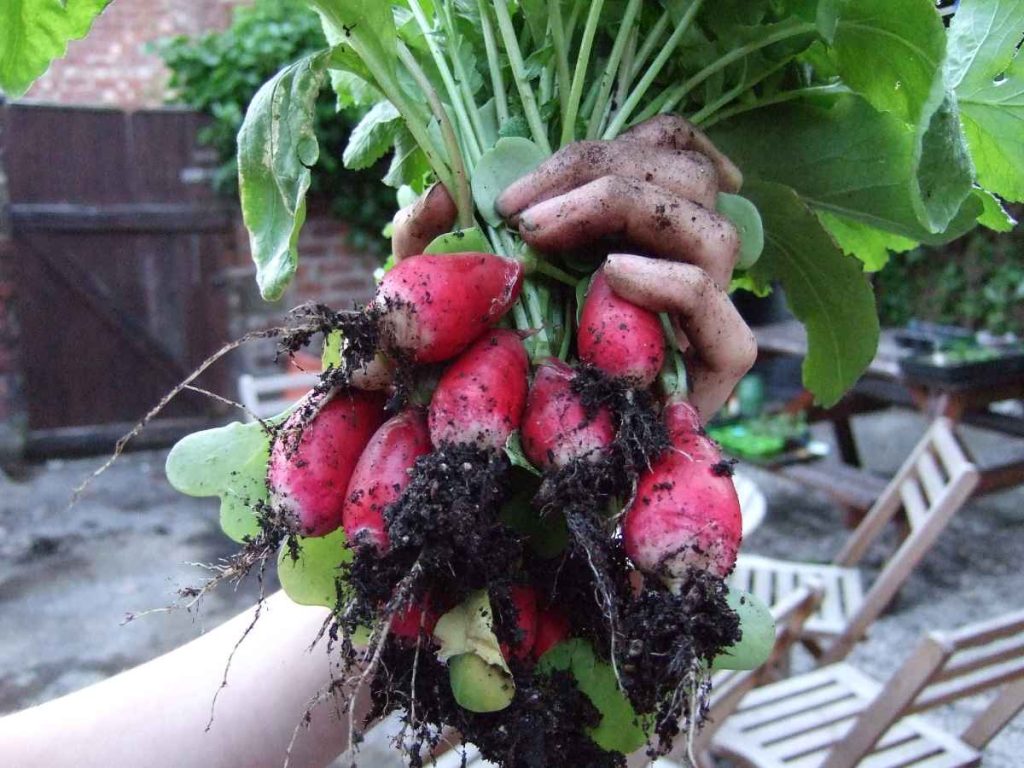
Harvesting is one of the important phases of radish cultivation as if you leave it unharvested for a long time it becomes inedible. Generally the crop needs to be harvested after completion of 3 weeks after sowing.
How do I know that the crop is ready to harvest: Radish is ready to harvest when the leaves about the ground become large and 2-3 cm wide at the top.
Then pull out the mature radish from the ground separate off the green part on the top. The harvested radish can be refrigerated but has to be used within a week. If you want to save the seeds for next season then leave the radish in the ground for flowering.
Must Read: Sweet Potato Farming Information Guide
Yield: The temperate varieties of radish produce 10-12 tonnes of radish per hectare within a month whereas the Asiatic variety produces 14-15 tonnes within one and half month or less. It is a very profitable business with
Marketing of the crop: Mainly the transport of the crop is carried out with trucks to the local areas
Conclusion:
Radish is a crop that is grown and eaten throughout the world. It has a number of varieties namly pink radish, Malaga violet, white hailstone radish, cherry Belle l, watermelon Radish etc etc . It can be eaten in a number of ways, may be raw or in salad or cooked but salad is one of the most common ways to eat radish.
All these different varieties have their own flavor and tastes , some of them have a bit of bitterness in them. Along with different tastes these different varieties have different maturation time, some mature very early on the other hand some take time to mature. Radish crops germinate in a short time and also don’t take much longer to mature.


![How to Grow Ginger [Step by Step Guide]](https://farmingpedia.com/wp-content/uploads/2020/11/root-1927138_640-min.jpg)