Composting is an excellent way to recycle kitchen scraps and yard waste into nutrient-rich material for your garden. Building your own DIY composting bin is not only cost-effective but also a fun and rewarding project. Whether you’re a seasoned gardener or a composting newbie, creating a custom composting bin lets you control its size, materials, and design to suit your needs.
Here’s a step-by-step guide to help you build a DIY composting bin in 2024, tailored for simplicity and effectiveness.
Why Build a DIY Composting Bin?
A DIY composting bin is an eco-friendly solution for handling organic waste, reducing your carbon footprint, and improving soil health. Here are a few reasons why you should consider building one:
- Cost-effective: Store-bought bins can be expensive. A DIY bin allows you to use affordable or repurposed materials.
- Customizable: You can design the bin to fit your space and composting needs.
- Sustainable: By building a bin, you’re recycling materials and reducing waste.
- Satisfying: It’s rewarding to create something useful and contribute to a greener planet.
7 Easy Steps to Build Your DIY Composting Bin
Step 1: Choose Your Materials
The first step in building your composting bin is selecting the materials. You can use items that are affordable, durable, and easy to work with. Common options include:
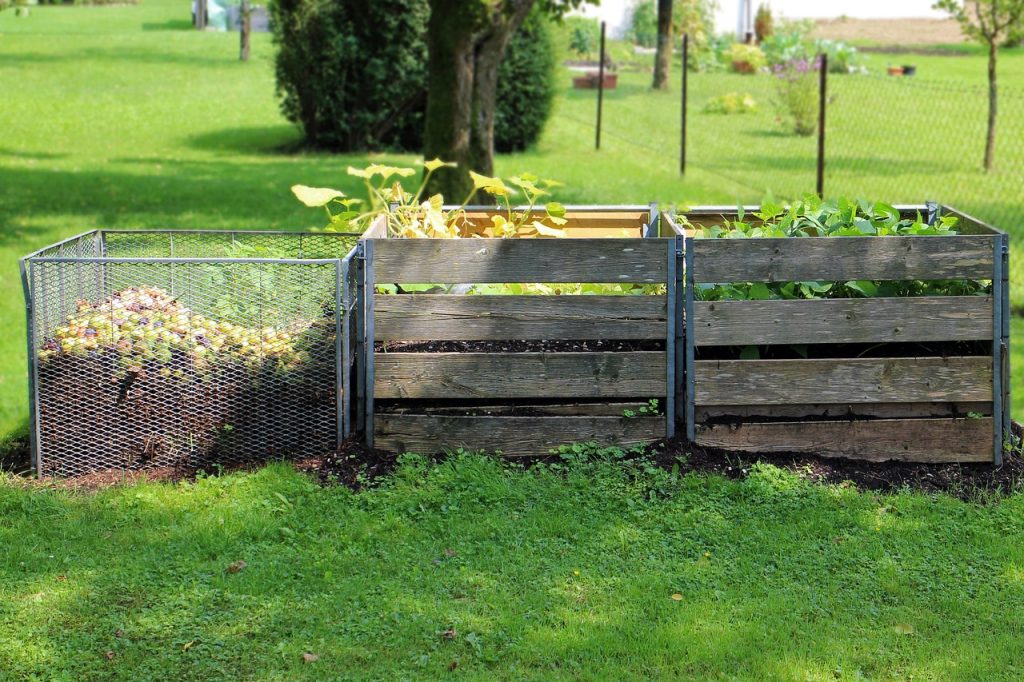
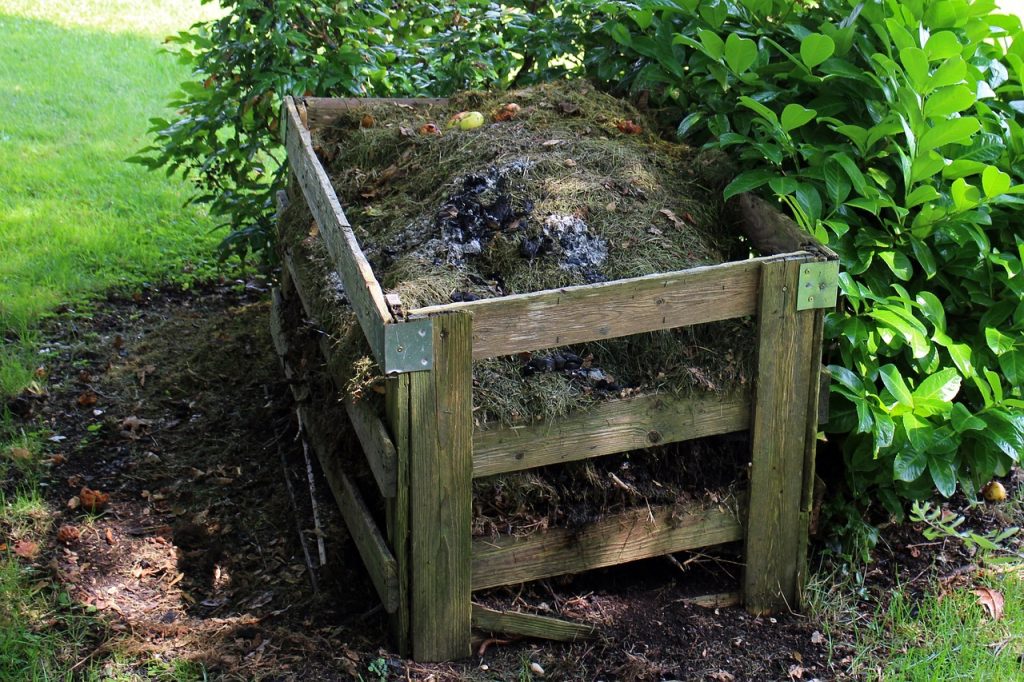
- Wood: Cedar or untreated pallet wood works best because it’s rot-resistant.
- Plastic: Repurpose large plastic bins or containers.
- Wire Mesh: Galvanized steel mesh can be shaped into a simple, breathable bin.
Make sure the materials you choose allow for airflow and moisture control, both of which are crucial for composting.
Step 2: Select the Right Location
Find an ideal spot in your yard to place your composting bin. Consider the following factors:
- Shade: Choose a location that gets partial shade to prevent the compost from drying out.
- Drainage: Make sure the area allows excess moisture to drain.
- Accessibility: Place the bin where it’s easy to add scraps and turn the pile.
- Distance: Keep it away from your house to minimize odors, but close enough for convenience.
Step 3: Determine the Bin Size
The size of your composting bin depends on how much organic waste you generate. For an average household, a bin that holds about 3x3x3 feet is ideal. This size is large enough to generate heat for decomposition while still being manageable to turn and maintain.
If you have limited space or produce less waste, you can opt for a smaller bin or a stackable design.
Step 4: Build the Frame
Now it’s time to construct the frame of your bin. Here’s how:
For a Wooden Bin:
- Cut the wood: Measure and cut four equal pieces for the sides. Cut additional slats for ventilation gaps.
- Assemble the frame: Nail or screw the slats together to form the base and walls of the bin. Leave small gaps between slats for airflow.
- Add a hinged lid: Attach a lid to the top to keep pests out and retain moisture.
For a Plastic Bin:
- Take a large plastic container with a lid.
- Drill small holes on all sides, including the lid and bottom, to ensure proper ventilation and drainage.
For a Wire Mesh Bin:
- Cut the wire mesh to the desired size.
- Roll it into a cylinder and secure the ends with zip ties or wire.
- Place the bin directly on the ground.

Step 5: Add a Base Layer
Before you start adding organic waste, create a base layer at the bottom of your bin. This layer improves airflow and drainage. Use coarse materials like:
- Twigs
- Straw
- Dry leaves
This foundation prevents the compost from becoming waterlogged and supports the breakdown process.
Step 6: Start Composting
Begin filling your bin with alternating layers of green (nitrogen-rich) and brown (carbon-rich) materials. Here’s how:
- Add a layer of green materials like fruit and vegetable scraps, grass clippings, or coffee grounds.
- Follow it with a layer of brown materials like dry leaves, cardboard, or shredded newspaper.
- Continue layering while maintaining the ratio of 1 part green to 2 parts brown.
Regularly mix the contents with a pitchfork or shovel to aerate the pile and speed up decomposition.
Step 7: Maintain and Monitor the Bin
To ensure your composting bin works efficiently, follow these maintenance tips:
- Turn the compost: Mix the pile every 2–3 weeks to introduce oxygen and speed up the process.
- Monitor moisture: The compost should feel like a damp sponge—not too wet or dry. Adjust by adding water or dry materials as needed.
- Watch the temperature: A well-functioning compost pile should feel warm. If it cools down, add more green materials and turn the pile.
- Keep pests out: Secure the bin with a lid or mesh to prevent pests like rodents or flies.
In 3–6 months, your compost will be ready. The finished product will be dark, crumbly, and have an earthy smell.
Bonus Tip: Decorating Your DIY Compost Bin
If you want to make your compost bin more visually appealing, consider painting it, adding decorative elements, or incorporating it into your garden design. This can make your composting system blend seamlessly into your outdoor space.
Conclusion
Building a DIY composting bin in 2024 is an eco-friendly and rewarding project that helps reduce waste and enrich your garden. By following these seven simple steps, you can create a customized bin that suits your space and needs. Composting not only improves soil health but also contributes to a sustainable lifestyle. Start building your compost bin today and turn your organic waste into gardening gold!

