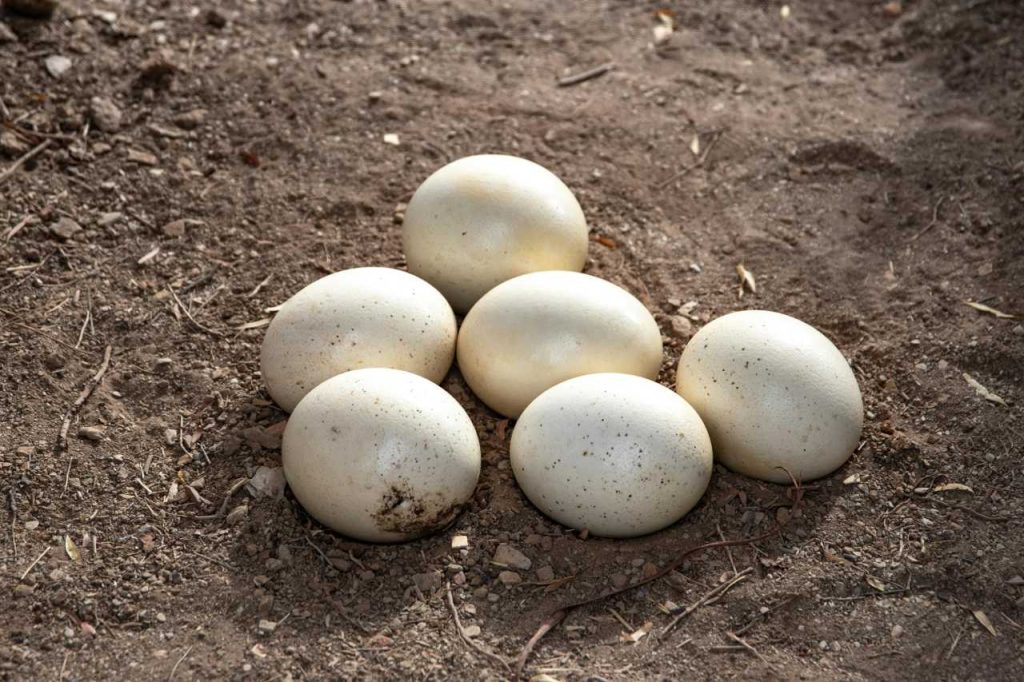
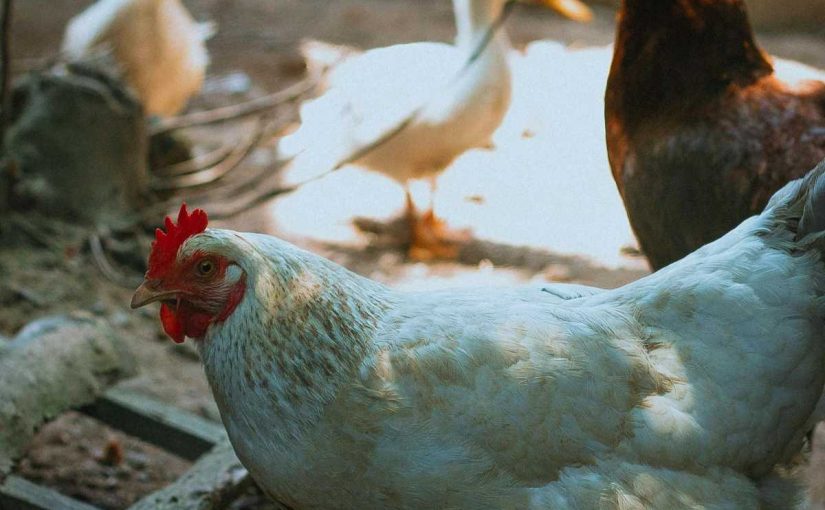
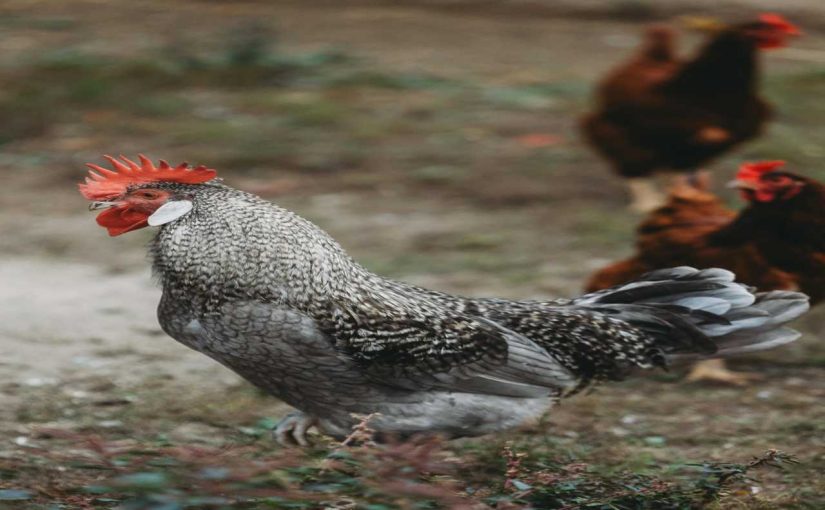
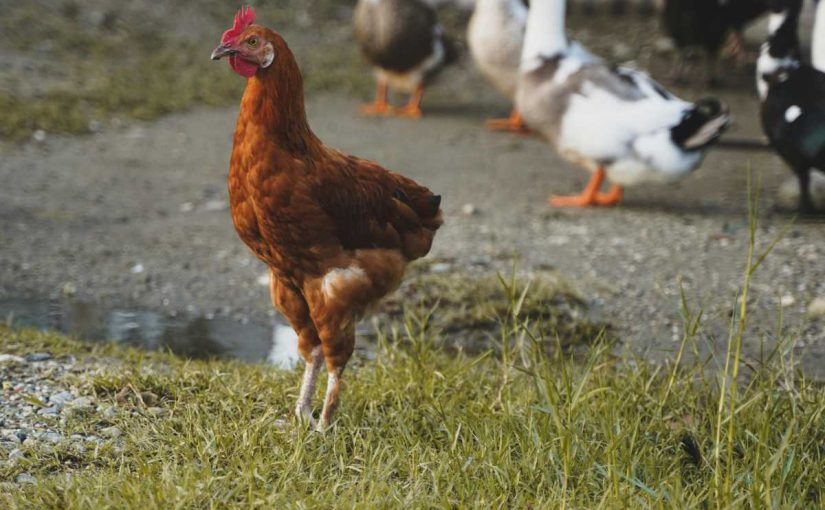
Hatching chickens can be an exciting and rewarding experience, allowing you to witness the miracle of life firsthand. Whether you’re looking to expand your flock or teach children about the life cycle, incubating eggs at home is a fascinating journey. This guide will walk you through the essential steps and techniques for successfully hatching chicken eggs, even if you’re a complete beginner.
1. Understanding the Basics of Incubation
Before diving into the incubation process, it’s essential to understand the basics. Incubation is the process of providing the right environment for fertilized eggs to develop into chicks. The key factors for successful hatching are temperature, humidity, and turning the eggs.
Egg Types
- Fertilized Eggs: Make sure you are using fertilized eggs from a reputable source. You can purchase fertilized eggs from local farms or hatcheries.
- Varieties: Different chicken breeds may have varying incubation times, typically around 21 days.
2. Gathering Supplies
To successfully hatch chickens, you’ll need the following supplies:
- Incubator: A quality incubator is essential. Look for one that allows you to control temperature and humidity, has an automatic egg turner, and provides good ventilation.
- Thermometer and Hygrometer: These tools will help you monitor temperature and humidity levels inside the incubator.
- Fertilized Eggs: Obtain fertilized eggs from a local farm, hatchery, or poultry show.
- Candle or Egg Candler: This tool helps you check the development of embryos during incubation.
- Water Source: A shallow dish or sponge to maintain humidity in the incubator.
3. Setting Up the Incubator
Setting up your incubator correctly is crucial for a successful hatch. Follow these steps:
Temperature Control
- Optimal Temperature: The ideal temperature for hatching chicken eggs is between 99.5°F and 101°F (37.5°C to 38.3°C).
- Preheat the Incubator: Before placing the eggs inside, preheat the incubator for at least 24 hours to ensure stable temperature.
Humidity Levels
- Maintain Humidity: Humidity should be around 40-50% for the first 18 days of incubation. Increase humidity to 65-70% during the last few days (lockdown period) before hatching.
- Adding Water: Use a shallow dish of water or a sponge to help maintain humidity levels. You can also use a hygrometer to monitor humidity.
Ventilation
- Airflow: Ensure that the incubator has adequate ventilation to provide fresh air for the developing embryos.
4. Incubating the Eggs
Once your incubator is set up, it’s time to place the eggs inside.
Positioning the Eggs
- Egg Orientation: Place eggs with the pointed end down in the incubator. This position allows the air cell to develop at the wide end, which is crucial for the chick’s breathing.
Turning the Eggs
- Regular Turning: Turn the eggs at least three times a day to prevent the embryo from sticking to the shell. If your incubator has an automatic turner, it will do this for you.
- Stop Turning: Stop turning the eggs three days before the expected hatch date (around day 18).
5. Monitoring Development
During incubation, regularly check temperature and humidity levels.
Candling the Eggs
- Check Progress: About a week into incubation, use an egg candler to check for embryo development. A fertile egg will show blood vessels and a dark mass as the embryo grows.
- Remove Infertile Eggs: If you notice eggs that are clear and show no signs of development, remove them from the incubator to prevent contamination.
6. Preparing for Hatch Day
As you approach the 21-day mark, prepare for the hatch.
Lockdown Period
- Increase Humidity: A few days before hatching (day 18), increase humidity to 65-70% to help soften the eggshells.
- Stop Turning Eggs: At this point, stop turning the eggs to allow the chicks to position themselves for hatching.
Setting Up the Brooder
- Brooder Setup: Prepare a brooder box where the chicks will stay after hatching. The brooder should have bedding, heat (a heat lamp), and food and water sources.
- Temperature Control: Maintain a temperature of around 95°F (35°C) for the first week and decrease it by 5°F each week until the chicks are fully feathered.
7. Hatching the Chicks
As the hatching day approaches, be patient and allow the chicks to do their work.
Signs of Hatching
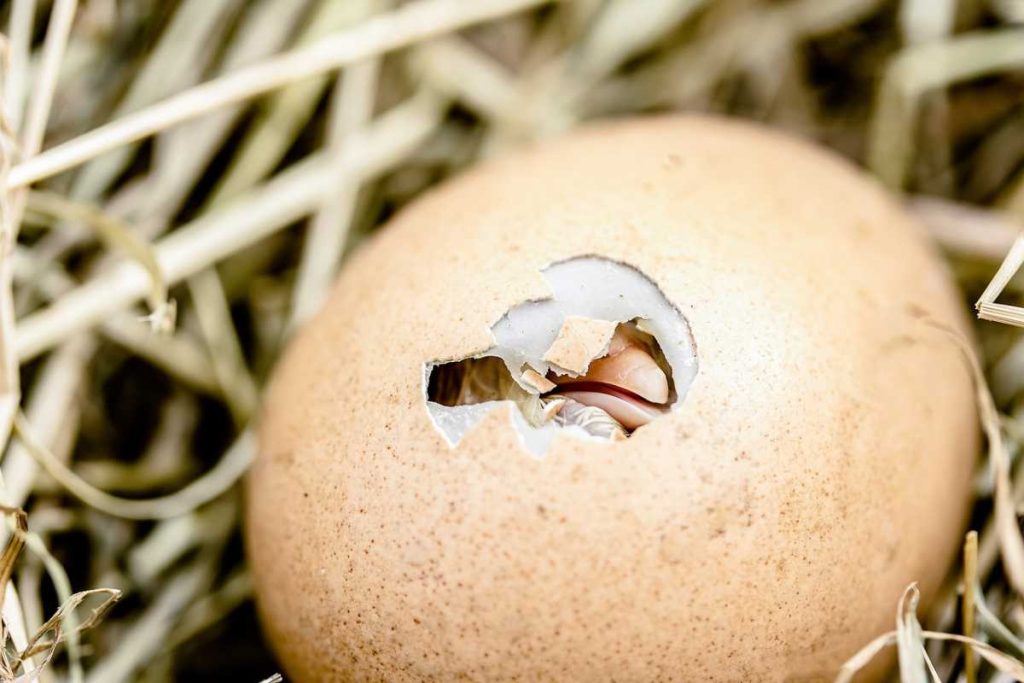
- Pipping: Chicks will start to pip, or break through the shell, typically within a few hours of hatching.
- Hatching Process: It can take up to 24 hours for a chick to fully emerge from the egg once they start pipping. Do not assist them, as they need to break the shell on their own.
8. Caring for the Chicks
Once the chicks have hatched, it’s time to provide proper care.
Initial Care
- Drying Off: Chicks will be wet when they first hatch. Allow them to dry and fluff up in the brooder.
- Feeding: Provide chick starter feed, which is specially formulated for their nutritional needs. Ensure they have access to clean, fresh water.
Monitoring Health
- Watch for Issues: Keep an eye on the chicks for any signs of distress or illness. Provide adequate space, warmth, and food to ensure they thrive.
9. Conclusion
Hatching chickens can be an incredibly fulfilling experience for beginners and seasoned poultry enthusiasts alike. By following these incubation techniques and tips, you can successfully hatch your own chicks at home. Remember to be patient and attentive throughout the process, as every step is crucial for the health and well-being of your future flock.
Whether for fresh eggs, companionship, or educational purposes, hatching your own chickens can bring joy and satisfaction to your life. Enjoy the journey, and happy hatching!

