Incubating chicken eggs at home is an exciting venture that allows you to engage in the fascinating process of bringing new life into the world. With the right tools, knowledge, and a little patience, you can successfully hatch healthy chicks. This comprehensive guide covers everything you need to know about chicken egg incubation at home, from preparation to post-hatching care.
Understanding Chicken Egg Incubation
Incubation is the process of providing controlled environmental conditions necessary for fertilized eggs to develop into chicks. This typically involves managing temperature, humidity, and ventilation over a 21-day period.
Why Incubate at Home?
- Fresh Eggs: Raising your chickens means you have access to fresh, organic eggs.
- Educational Experience: Incubation provides a hands-on learning experience for families, especially children.
- Genetic Improvement: Incubating eggs from specific breeds allows for selective breeding to enhance desirable traits.
Step-by-Step Guide to Successful Egg Incubation
1. Gather Your Equipment
Before you begin, ensure you have all necessary equipment ready:
- Incubator: The heart of the incubation process. Choose a reliable model that suits your needs. Digital incubators often offer more features, such as automatic temperature and humidity control.
- Thermometer and Hygrometer: Invest in high-quality instruments to monitor temperature and humidity accurately. Some incubators come with built-in monitors, but having a separate thermometer and hygrometer can provide peace of mind.
- Egg Candler (Optional): This handy tool allows you to shine a light through the eggs to check for embryo development at various stages of incubation. It can be especially useful for identifying non-viable eggs early.
- Egg Turner (Optional): If you’re using a manual incubator, turning the eggs at least three times a day is crucial. An automatic egg turner simplifies this task and ensures that eggs are turned consistently.
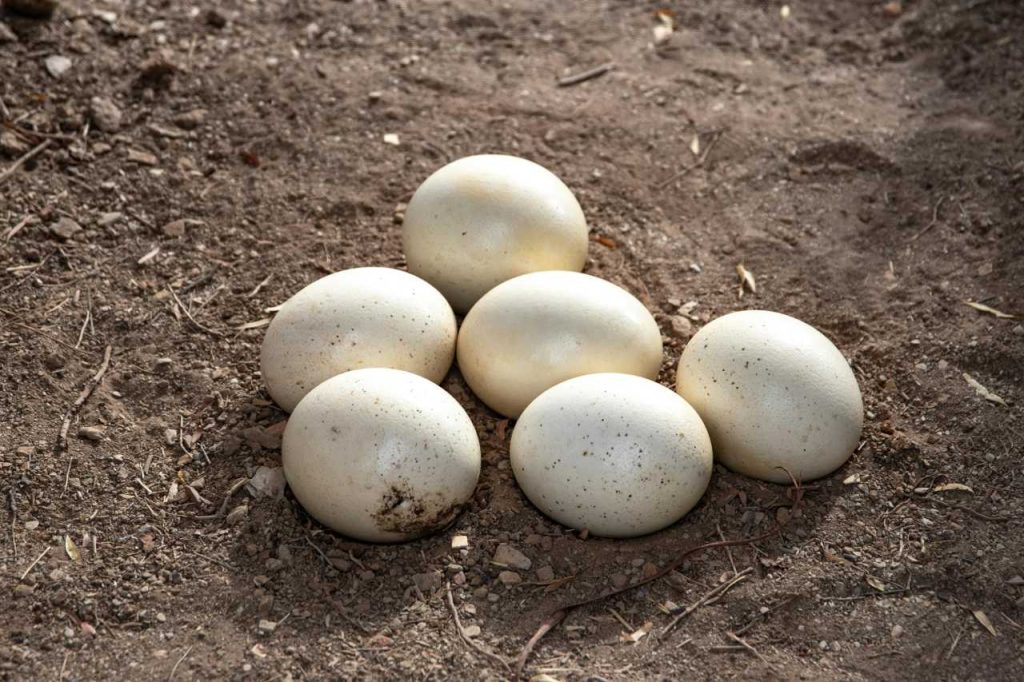
2. Select High-Quality Fertilized Eggs
Choosing the right eggs is critical for a successful hatch:
- Source: Look for fertilized eggs from reputable breeders or farms. Make sure the eggs come from healthy hens and roosters. Consider asking about the breed and the parent birds’ health history.
- Egg Condition: Inspect eggs for cracks, dirt, or abnormalities. Clean gently with a damp cloth if needed, but avoid using soap or harsh chemicals that may harm the embryo.
- Egg Age: Use eggs that are no more than 7 days old for the best hatch rates. Fresh eggs have a higher chance of containing viable embryos.
3. Prepare the Incubator
Preparation is key to creating the right environment for incubation:
- Temperature Settings: Set the incubator to maintain a stable temperature of 99.5°F (37.5°C). This is the optimal temperature for chicken egg incubation. Allow the incubator to stabilize for at least 24 hours before placing the eggs inside.
- Humidity Levels: Aim for a humidity range of 40-50% during the first 18 days. This helps the embryos develop properly and reduces the risk of drying out. Increase humidity to 65-70% during the final three days to help soften the eggshells for easier hatching.
- Ventilation: Proper airflow is essential to prevent carbon dioxide buildup. Ensure the incubator has adequate ventilation holes. Most modern incubators come with adjustable vents for controlling airflow.

4. Incubation Process
Once your incubator is prepared, you can start the incubation process:
- Positioning the Eggs: Place the eggs in the incubator with the pointy end down. This position helps the embryo orient correctly for hatching.
- Turning the Eggs: If you’re manually turning the eggs, do so at least three times a day to prevent the embryos from sticking to the shell. If using an automatic turner, ensure it’s set to turn at regular intervals. This is crucial for healthy embryo development.
- Monitoring Conditions: Regularly check the temperature and humidity levels. Adjust the settings as needed to keep them within the optimal ranges. It’s helpful to record daily readings to spot any trends or issues.
5. Candling the Eggs
Candling is an important part of the incubation process that allows you to check on the development of the embryos:
- When to Candle: The first candling can occur around day 7 and then again around day 14. This helps you monitor the health of the embryos and discard any non-viable eggs early.
- How to Candle: In a dark room, use a bright light source (like a flashlight or egg candler) and hold the egg against it. Look for signs of development, such as blood vessels and a dark shadow (the embryo). Discard any eggs that appear clear or have dark spots, which may indicate early death.
- Interpreting Results:
- Day 7: You should see a network of blood vessels. If the egg is clear, it’s likely not fertilized.
- Day 14: Look for larger, darker areas and movement. Healthy embryos will be larger and more active.
6. Lockdown Period
The lockdown period occurs from day 18 to day 21 and is critical for successful hatching:
- Increase Humidity: Raise humidity levels to 65-70%. This helps soften the eggshells and provides moisture to the chicks as they prepare to hatch.
- Stop Turning the Eggs: Discontinue turning the eggs during this period to allow the chicks to position themselves properly for hatching.
- Monitor Closely: Keep a close watch on temperature and humidity levels during the lockdown. Minor fluctuations can impact hatching success.
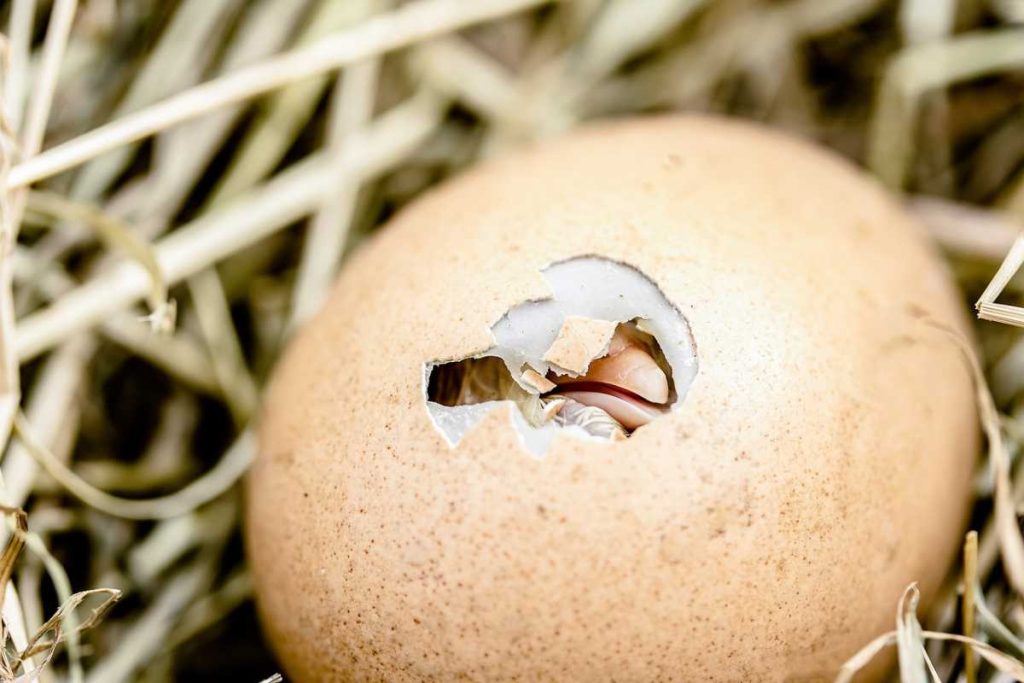
7. Hatching
As hatching day approaches, you may start to hear chirping from inside the eggs:
- Pipping: The chick will make a small hole in the shell (known as pipping) as it starts to break free. This process can take several hours. It’s important not to assist the chick unless it is clearly struggling for an extended time, as it may be detrimental to its health.
- Hatching: Once the chick has piped, it will begin to hatch fully. This can take anywhere from a few hours to an entire day. Allow the chicks to rest and dry in the incubator for at least 24 hours before moving them.
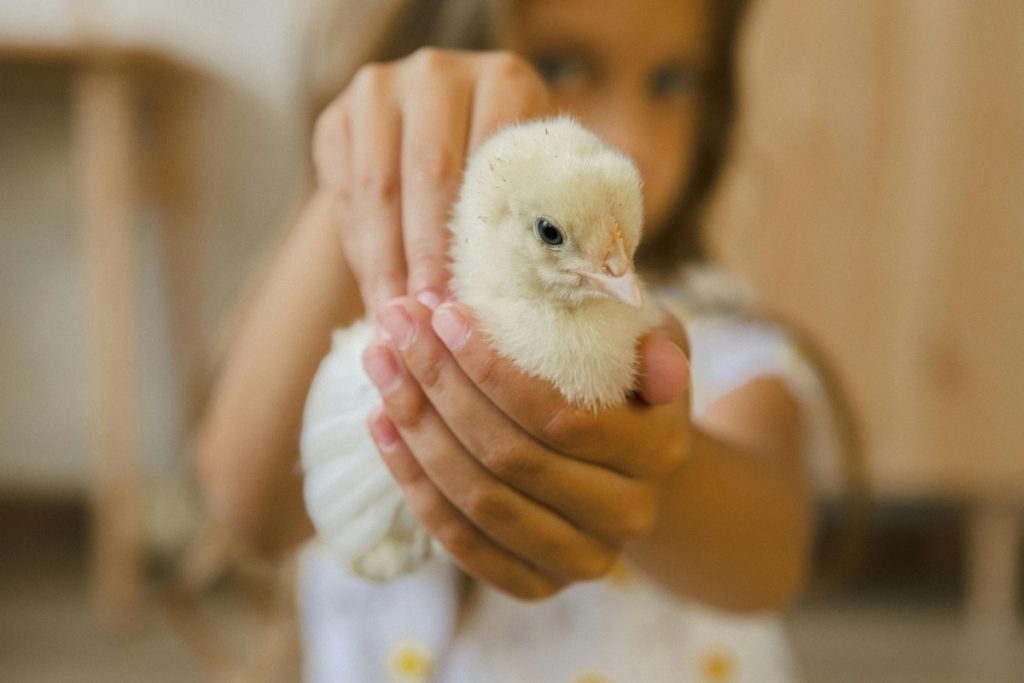
8. Post-Hatching Care
After the chicks hatch, proper care is essential for their health and well-being:
- Leave Them Alone: After hatching, let the chicks dry and gain strength inside the incubator. They will absorb the yolk sac for nourishment, providing them with essential nutrients.
- Prepare a Brooder: Create a safe, warm environment for the chicks. Use a brooder box lined with soft bedding, such as straw or wood shavings. Ensure it has adequate heat and space for the chicks to move around.
- Temperature Control: Keep the brooder at approximately 95°F (35°C) for the first week. Gradually reduce the temperature by 5°F each week until they are fully feathered and can maintain their body heat.
- Feed and Water: Provide starter feed and fresh water in shallow containers to prevent drowning. Ensure the feed is suitable for chicks, with the right balance of protein and nutrients.
Troubleshooting Common Issues
Even with careful planning, challenges can arise during incubation. Here are some common problems and their solutions:
- Low Humidity: If humidity drops, add water or damp sponges to the incubator. Monitoring and adjusting levels proactively can prevent issues later.
- Temperature Fluctuations: If you notice fluctuations in temperature, check the incubator’s calibration and ensure it’s placed in a stable environment away from drafts and direct sunlight.
- Poor Hatch Rate: If hatch rates are lower than expected, evaluate factors such as egg quality, temperature stability, humidity levels, and turning frequency. Additionally, review your candling process to ensure you’re identifying non-viable eggs early.
Conclusion
Successfully incubating chicken eggs at home is a rewarding journey that requires preparation, knowledge, and care. By following these detailed steps, you can create the optimal environment for your eggs, ensuring a high hatch rate and healthy chicks. Whether you’re a seasoned poultry keeper or a curious beginner, mastering the art of incubation will enrich your chicken-keeping experience and deepen your connection to the fascinating world of poultry.
Resources
- American Poultry Association: Provides resources and information about various poultry breeds and husbandry.
- University Extension Services: Offers educational resources on poultry care, incubation techniques, and best practices.
- Local Chicken Keeping Groups: Online communities where you can connect with experienced chicken keepers, share experiences, and ask questions.