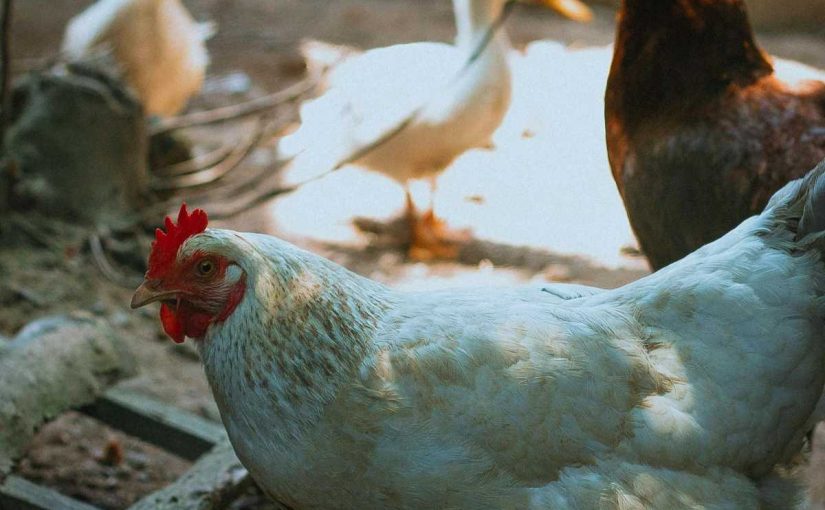
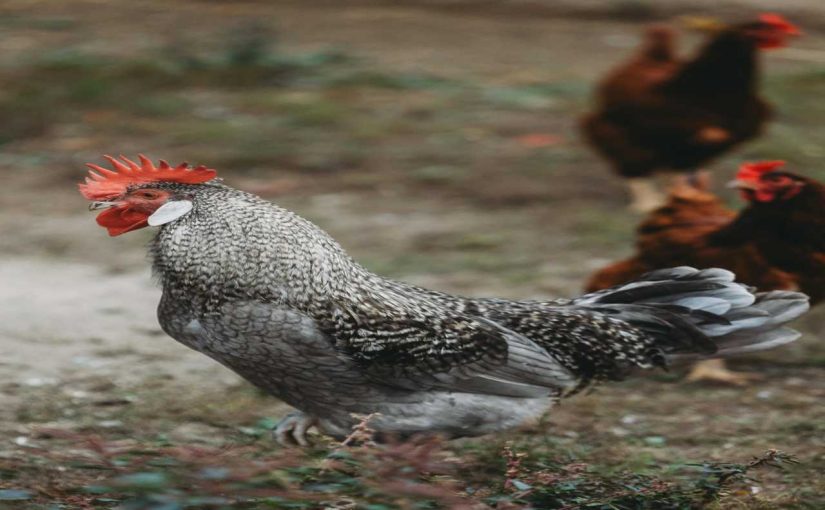
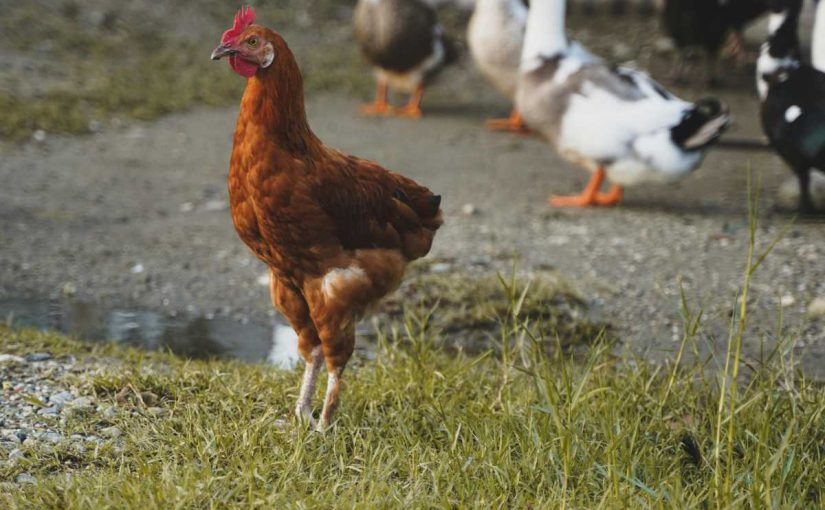
Butchering chickens at home can be a rewarding experience, allowing you to provide fresh meat for your family while being aware of the process. However, it’s essential to approach this task with care, respect, and the right techniques to ensure both safety and quality. In this guide, we will outline the step-by-step instructions for butchering chickens for meat.
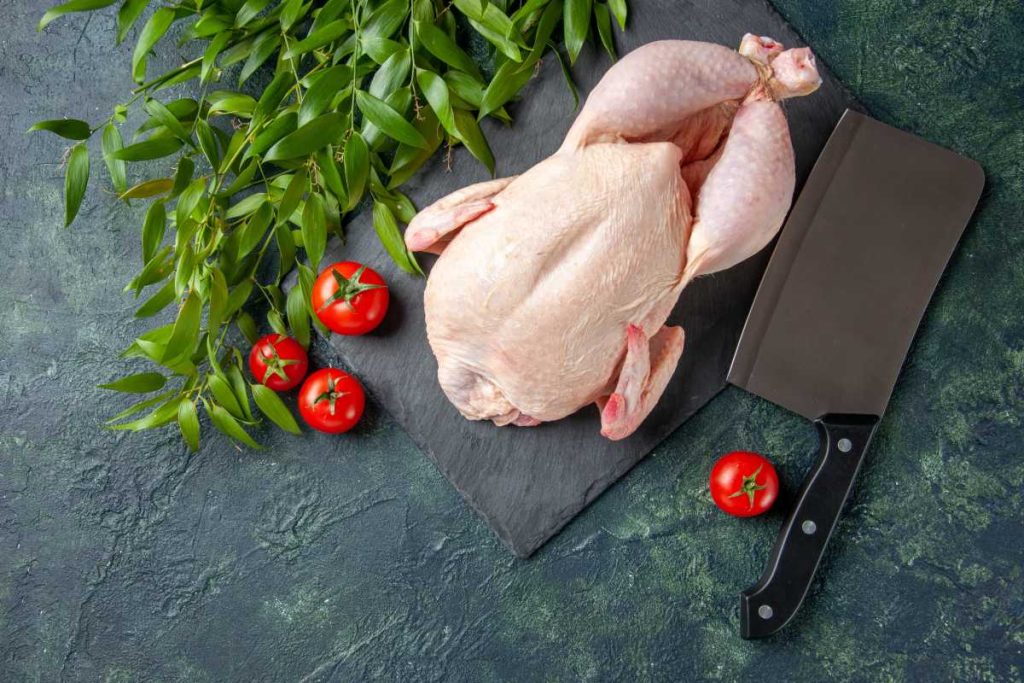
Preparation
Supplies Needed:
Before starting, gather all the necessary supplies, including a sharp knife or poultry shears, a killing cone or a sturdy bucket for humane slaughter, a large pot or kettle for scalding, an ice water bucket for cooling, a cutting board, and plastic gloves if desired.
Choosing the Right Chicken:
Select a healthy chicken that is of appropriate age and weight for butchering. Typically, broilers are around 8 to 12 weeks old. Ensure the chicken is healthy and has been fed properly.
Preparing the Area:
Set up a clean and comfortable workspace outdoors or in a garage. Ensure good drainage for blood and water, and keep the area free of distractions.
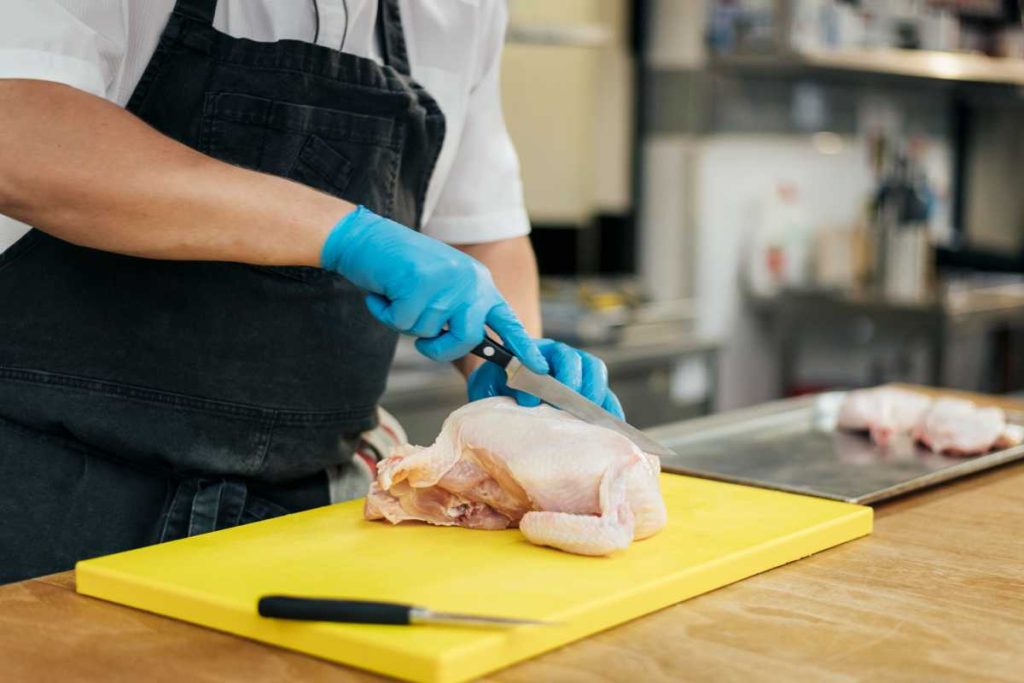
Step 1: Humanely Kill the Chicken
Using a Killing Cone:
Place the chicken head-down into the killing cone. This helps to keep the chicken calm and still. Use a sharp knife to cut the carotid arteries and jugular vein on one side of the neck. This will cause the chicken to bleed out quickly and humanely.
Alternative Method (Bucket):
If a killing cone is unavailable, you can hold the chicken by the legs, place its head on a sturdy surface, and swiftly sever the neck with a sharp knife.
Safety Note:
Make sure to wear gloves if you prefer, and handle the chicken carefully to avoid injury.
Step 2: Scald the Chicken
Heat water in a large pot or kettle to around 145°F to 160°F (63°C to 71°C). Use a thermometer to check the temperature. After the chicken has bled out, which usually takes a few minutes, submerge it in the hot water for about 30 seconds to 1 minute. This loosens the feathers and makes plucking easier. Carefully remove the chicken and place it in a bucket or on a clean surface.
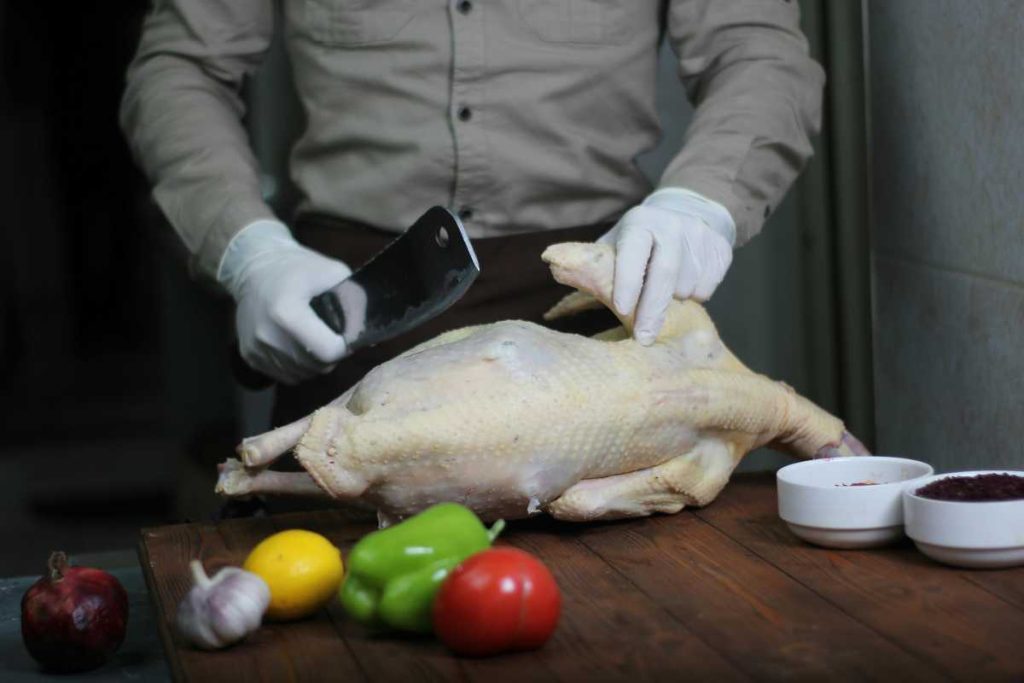
Step 3: Pluck the Feathers
Start at the tail end and work your way toward the head, pulling feathers out in small sections. This may take some time and effort. If feathers are difficult to remove, dip the chicken back into hot water for a few seconds to loosen them further. Once all the feathers are removed, rinse the chicken with cold water to remove any remaining debris or loose feathers.
Step 4: Eviscerate the Chicken
Place the chicken on the cutting board with the breast side up. Use a sharp knife to make a small cut just above the vent (anus). Be careful not to puncture the intestines. Insert your hand into the opening and carefully pull out the intestines, heart, liver, and gizzard. Keep the heart and liver for cooking if desired. Avoid puncturing the gallbladder, as it can taint the meat. If you do, clean the area thoroughly.
Step 5: Clean and Chill
Rinse the entire chicken under cold water to remove any blood or residue from the inside. Place the chicken in an ice water bath to cool it down quickly. This step is crucial for preserving the quality of the meat. Once cooled, remove the chicken from the ice water and pat it dry with clean cloths or paper towels.
Step 6: Store or Prepare the Chicken
If you prefer, you can cut the chicken into parts (breasts, thighs, drumsticks, wings) for easier storage and cooking. Wrap the chicken in freezer-safe bags or containers to prevent freezer burn if you plan to freeze it. Label the packages with the date. Store the chicken in the refrigerator if you plan to use it within a few days, or place it in the freezer for longer storage.
Conclusion
Butchering chickens at home can be a fulfilling way to connect with your food and understand the process behind raising livestock. Following these steps carefully ensures that you handle the process safely and humanely, producing high-quality meat for your meals. Always remember to respect the animal and practice good hygiene throughout the process. Happy butchering!

