Raising chickens can be a rewarding and cost-effective way to enjoy fresh eggs and organic fertilizer for your garden. However, maintaining your flock can sometimes become an expensive endeavor, particularly when it comes to feeding and watering them. One of the best ways to save money and reduce waste is to create your own DIY chicken feeders and waterers. In this blog, we’ll explore several creative and practical designs that are easy to make, environmentally friendly, and sure to meet your chickens’ needs.
Why DIY Chicken Feeders and Waterers?
Before diving into the designs, let’s discuss why you should consider making your own feeders and waterers.
1. Cost-Effective
Store-bought feeders and waterers can be pricey, especially if you have a large flock. By repurposing materials or using inexpensive supplies, you can create your own solutions for a fraction of the cost.
2. Customization
DIY projects allow you to tailor your feeders and waterers to suit your specific flock size and type. Whether you have a few backyard hens or a larger operation, you can design a system that works best for your needs.
3. Waste Reduction
Creating feeders and waterers from recycled materials helps reduce waste and promotes sustainability. You can give new life to items that might otherwise end up in the landfill.
4. Durability
Many store-bought feeders and waterers are made from flimsy materials that may not withstand the elements or the chickens’ pecking. DIY versions can be constructed with sturdier materials, ensuring longevity.
Essential Materials for DIY Feeders and Waterers
Before you start building, gather the necessary materials. Here are some common items that can be repurposed for your projects:
- Plastic containers: Old buckets, food-grade barrels, or large jugs work well for feeders and waterers.
- PVC pipes: These are versatile and can be used to create various designs.
- Wood: Scrap wood or pallets can be repurposed for sturdy feeders and stands.
- Metal containers: Old dog bowls, tin cans, or even buckets can be transformed into feeders and waterers.
- Nails and screws: Use these for assembly and securing components.
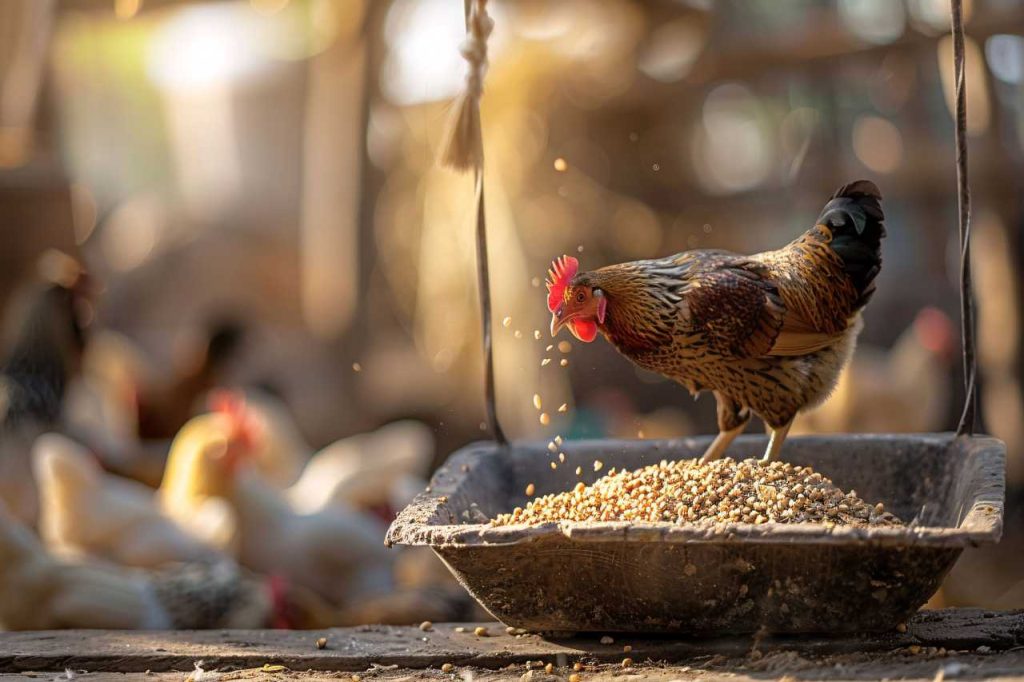
DIY Chicken Feeders
1. Hanging Feeder
Materials Needed:
- 5-gallon bucket
- Drill
- Eye bolts and hooks
- Feed
Instructions:
- Prepare the Bucket: Take a 5-gallon bucket and drill holes along the bottom. The holes should be about 1-2 inches in diameter, spaced evenly apart.
- Attach Eye Bolts: Drill two holes on opposite sides near the top of the bucket. Insert eye bolts and secure them with nuts.
- Add Hooks: Use hooks to hang the bucket from a sturdy beam or a tree branch in your coop or yard.
- Fill with Feed: Add feed to the bucket, ensuring it flows through the holes as your chickens eat. The height keeps the feeder clean and reduces waste.
2. PVC Pipe Feeder
Materials Needed:
- 4-inch PVC pipe (about 3-4 feet long)
- End caps
- Drill
- Saw
Instructions:
- Cut the Pipe: Cut the PVC pipe into sections about 3 feet long.
- Drill Holes: Drill holes along the bottom of the pipe, spaced about 6 inches apart. The holes should be about 1-2 inches in diameter.
- Attach End Caps: Seal one end of the pipe with an end cap.
- Position the Feeder: Secure the pipe horizontally or at an angle in your coop. Fill it with feed, allowing chickens to access it from the holes.
3. Wooden Trough Feeder
Materials Needed:
- Wooden planks (like old pallets)
- Nails or screws
- Saw
- Sandpaper
Instructions:
- Cut the Wood: Cut the wooden planks into a trough shape. You can make it as long as needed for your flock size.
- Assemble the Trough: Use nails or screws to attach the sides to the base, ensuring it’s sturdy.
- Sand Edges: Sand down any rough edges to prevent injuries.
- Fill with Feed: Place the trough in your coop and fill it with chicken feed.
DIY Chicken Waterers
1. Gravity-Fed Waterer
Materials Needed:
- 5-gallon bucket with lid
- Drill
- PVC elbow joint (2-inch)
- Water
Instructions:
- Prepare the Bucket: Drill a hole in the lid of the 5-gallon bucket. The hole should be large enough to fit the PVC elbow joint snugly.
- Attach PVC Joint: Insert the elbow joint into the hole, allowing it to extend down into a shallow bowl or pan placed below.
- Fill with Water: Fill the bucket with water, and as the chickens drink, the water will flow down through the elbow joint.
- Secure in Place: Ensure the bucket is elevated above the bowl so gravity can do its job.
2. Recycled Bottle Waterer
Materials Needed:
- Plastic soda bottle (1- or 2-liter)
- Shallow dish or tray
- Drill
Instructions:
- Prepare the Bottle: Drill a small hole in the bottle cap. The hole should be just large enough to let water seep out slowly.
- Inversion: Fill the bottle with water and invert it into the shallow dish or tray. The water will slowly drip out, providing a constant supply for your chickens.
- Monitor Water Levels: Check regularly to ensure the water is flowing properly and refill the bottle as needed.
3. Bucket Waterer with Poultry Nipples
Materials Needed:
- 5-gallon bucket
- Poultry nipples (available at farm supply stores)
- Drill
- Water
Instructions:
- Prepare the Bucket: Drill small holes in the side of the bucket, spaced evenly apart.
- Attach Nipples: Insert poultry nipples into the holes, making sure they’re secure and watertight.
- Fill with Water: Fill the bucket with water. Chickens will peck at the nipples to release water, minimizing spills and waste.
- Elevate the Bucket: Place the bucket on a stand or hang it to keep it elevated and clean.
Tips for Maintaining Your DIY Feeders and Waterers
- Clean Regularly: To prevent mold and bacteria, clean your feeders and waterers at least once a week. Use hot, soapy water and ensure they are completely dry before refilling.
- Monitor for Damage: Regularly inspect your DIY creations for signs of wear and tear. Repair or replace parts as needed to ensure the health and safety of your flock.
- Consider Weather Conditions: During extreme temperatures, ensure your chickens have access to unfrozen water and that feed isn’t spoiled by moisture or humidity.
- Positioning: Place your feeders and waterers in shaded areas to keep feed dry and water cool during hot weather.
Conclusion
Creating your own chicken feeders and waterers is a practical and fun way to save money and reduce waste while caring for your flock. With simple materials and a bit of creativity, you can design feeders and waterers that meet your chickens’ needs, promote sustainability, and enhance your backyard farming experience. Whether you opt for a hanging feeder, a PVC pipe design, or a gravity-fed waterer, your DIY solutions will ensure your chickens stay happy and healthy while saving you money. So gather your materials, roll up your sleeves, and get started on your chicken-keeping journey!

