Choosing the right location for your compost bin is essential for efficient composting. The right spot can help speed up the decomposition process, maintain a healthy balance of moisture and temperature, and reduce odors. Whether you’re composting in your backyard or on a small urban balcony, the location is crucial for successful composting. Here’s a guide to help you select the perfect spot for your compost bin.
1. Pick a Well-Drained Area
A key factor in selecting the best location for your compost bin is ensuring proper drainage. Compost bins need to stay moist but should never be waterlogged. Poor drainage can cause your compost pile to become too wet, slowing down the decomposition process and creating unpleasant odors.
Why It Matters:
- Compost that is too wet can become slimy and anaerobic, which will slow down decomposition and attract pests.
- If you live in a rainy area, make sure your compost bin is in a location that won’t collect standing water.
What to Do:
- Choose a location with good natural drainage, such as an area with sloped ground or soil that drains well.
- Avoid placing your compost bin directly in a low-lying area where water might accumulate.
Pro Tip: If your compost pile gets too wet, you can add dry materials like straw, leaves, or shredded newspaper to balance the moisture levels.
2. Ensure Sunlight Exposure
While compost bins don’t require direct sunlight, placing them in a spot that receives a little sunlight can help maintain the right temperature. Sunlight warms the pile, which speeds up the decomposition process. However, too much sun can dry out the pile, so a balance is key.
Why It Matters:
- A sunny location can help maintain a warm compost pile, accelerating microbial activity.
- On the other hand, if the pile gets too hot or too dry, the decomposition process can slow down.
What to Do:
- Choose a location that gets partial sunlight (a few hours per day) for the best temperature balance.
- In colder climates, more sunlight can help keep your compost pile active throughout the winter months.
Pro Tip: If your compost bin is exposed to too much sun, you can cover it with a tarp or mulch to protect it from excessive heat.
3. Avoid Windy Locations
Wind can be a double-edged sword when it comes to composting. While light breezes can help keep the pile aerated, strong winds can dry out the compost too quickly, slowing the decomposition process.
Why It Matters:
- Excessive wind can dehydrate your compost, making it less efficient and more difficult to manage.
- Dry compost can become too coarse, making it harder for microbes to break down organic matter effectively.
What to Do:
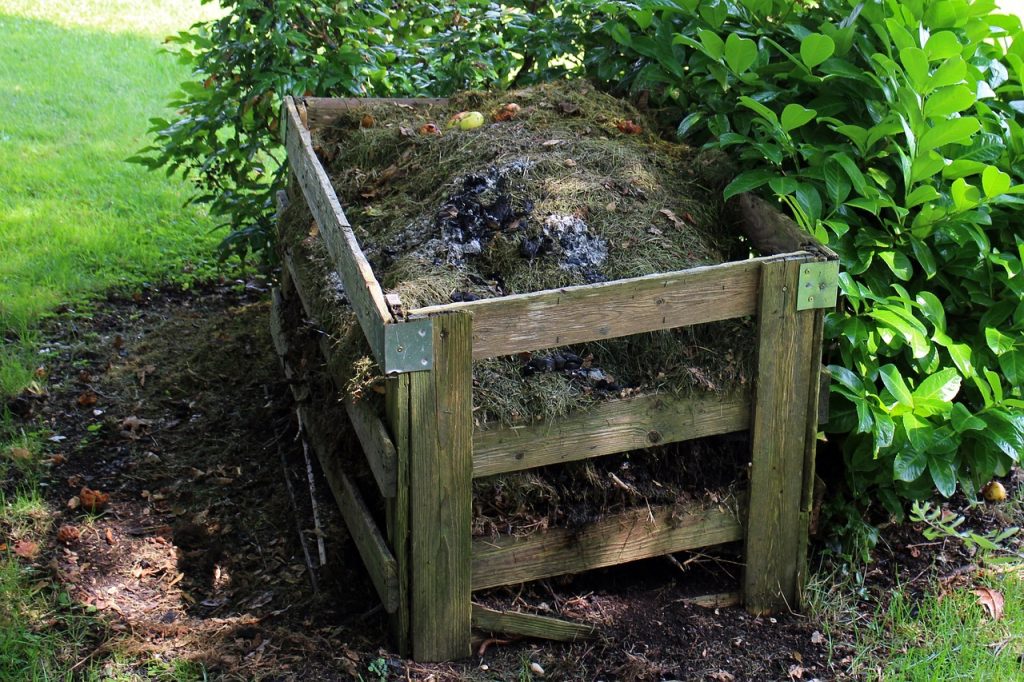
- Select a location that is somewhat shielded from strong winds, such as next to a wall, fence, or row of bushes.
- If your compost bin is in a windy area, consider adding a cover or using a more enclosed composting system to protect it.
Pro Tip: You can also create a windbreak by planting tall plants or shrubs around your compost bin.
4. Accessibility and Convenience

The location of your compost bin should be easily accessible to make it convenient for regular maintenance. You’ll need to add kitchen scraps, turn the pile, and occasionally water it, so it’s important to place your compost bin where you can easily reach it.
Why It Matters:
- A compost bin that’s out of the way or hard to access can make the composting process feel like a chore, reducing your commitment to the process.
- Easy access encourages you to continue adding waste, turning the pile, and managing the compost more effectively.
What to Do:
- Place your compost bin near your kitchen or garden so it’s easy to add food scraps or garden waste.
- Consider putting it somewhere you frequently pass by so you remember to maintain it.
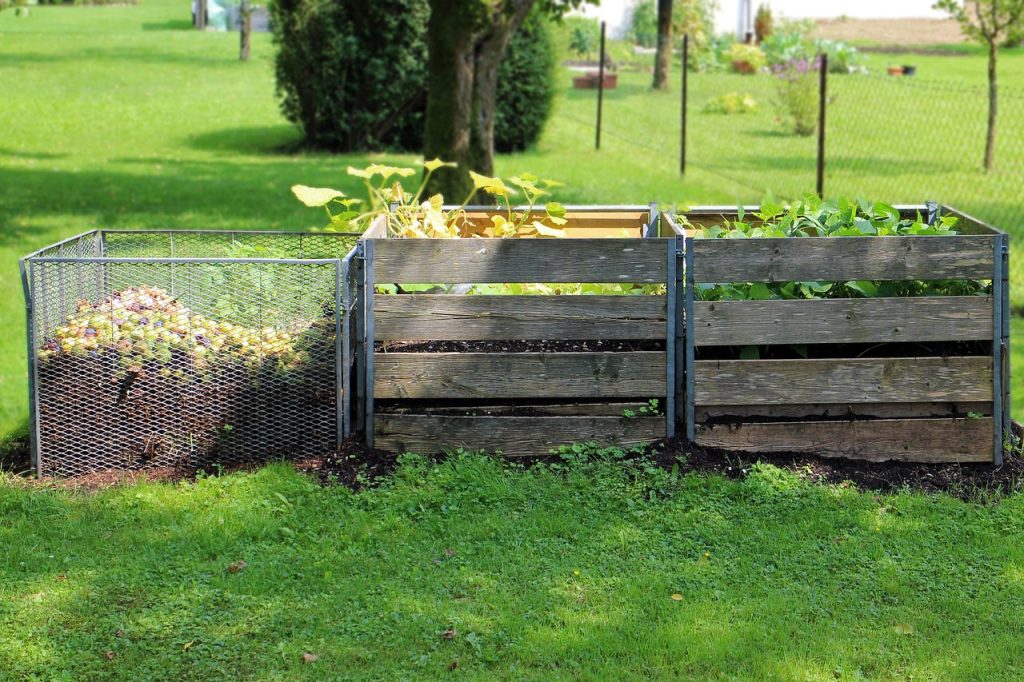
Pro Tip: If you have a small yard or garden, you can also use a compost tumbler, which makes it easy to rotate and access the compost while keeping it contained.
5. Consider Proximity to Garden or Plants
Placing your compost bin close to your garden or plants makes it easier to use the finished compost when it’s ready. Additionally, having it near the garden can reduce the effort needed to transport compost or garden waste.
Why It Matters:
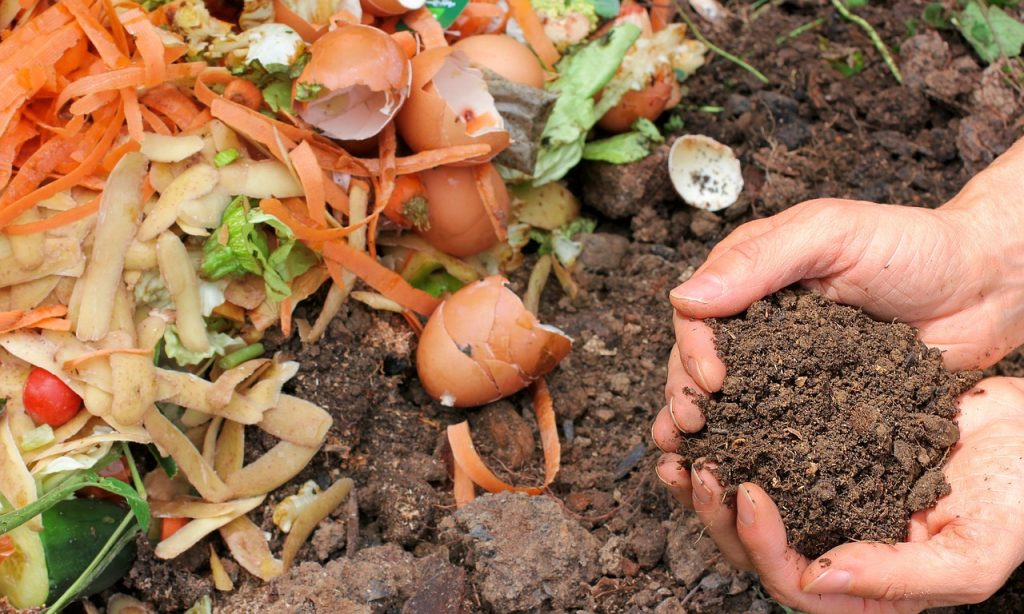
- Finished compost is a valuable soil amendment, so having the bin near your garden will allow you to easily distribute it where it’s needed.
- Reducing the distance between your compost pile and garden makes adding materials like vegetable scraps or yard waste more efficient.
What to Do:
- Place your compost bin near your garden beds or vegetable patch for easy access to compost when it’s ready to use.
- If you use a compost tumbler, position it where you can easily roll it to your garden for use.
Pro Tip: Keep your compost bin in a central location that is equally convenient for both collecting materials and using finished compost.
6. Consider Odor Control
While composting is a natural process, it can sometimes produce odors, especially if the pile is too wet or has an imbalance of materials. It’s essential to choose a location that minimizes any odors that may be unpleasant for you or your neighbors.
Why It Matters:
- A well-balanced compost pile with proper airflow and moisture levels typically doesn’t produce strong odors.
- If the compost pile is placed too close to your home or in an area with poor ventilation, the smell can become an issue.
What to Do:
- Place your compost bin in a well-ventilated area to ensure proper airflow and prevent odor buildup.
- Make sure the location is far enough from living spaces, such as windows or outdoor seating areas, to avoid exposure to any smells.
Pro Tip: If odors persist, try turning your pile more often and adding a balance of “greens” (e.g., kitchen scraps) and “browns” (e.g., dry leaves) to improve airflow and breakdown.
7. Make Sure It’s Safe from Pets and Wildlife
If you have pets or live in an area with wildlife, it’s important to place your compost bin in a location that’s not easily accessible to animals. Dogs, raccoons, and other creatures can be attracted to compost bins, especially if food scraps are exposed.
Why It Matters:
- Animals might dig through your compost or scatter the contents, which can create a mess and potentially expose them to harmful substances.
- Wildlife can introduce pests or diseases into the compost, impacting its effectiveness.
What to Do:
- Choose a location that is secure and difficult for pets or wildlife to access, such as near a fence or a sheltered corner of your garden.
- Use a compost bin with a tight-fitting lid or an enclosed system to keep animals out.
Pro Tip: If you have issues with pests, consider using a compost tumbler or a rodent-proof compost bin to keep animals away from your compost pile.
Conclusion
Choosing the right location for your compost bin is crucial for creating healthy, nutrient-rich compost. By considering factors like drainage, sunlight, accessibility, and odor control, you can create an environment that promotes efficient decomposition. The ideal composting location will make it easier to maintain your bin, keep it functional, and reduce the effort needed to create high-quality compost for your garden.
With the right spot, composting can become a seamless part of your gardening routine, enhancing soil fertility, reducing waste, and contributing to a more sustainable environment.