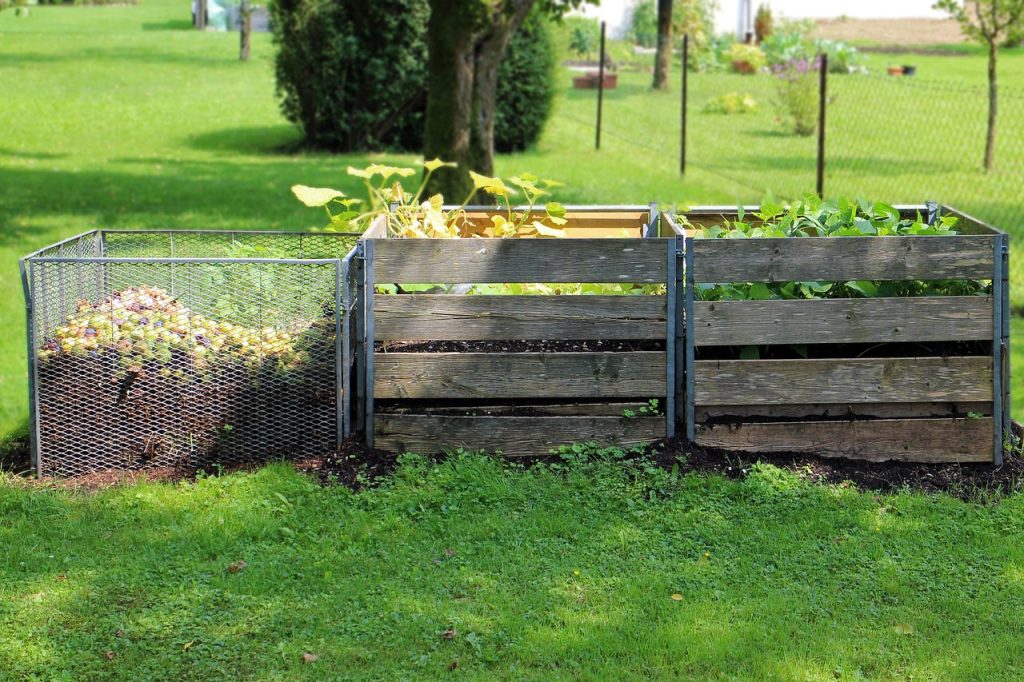
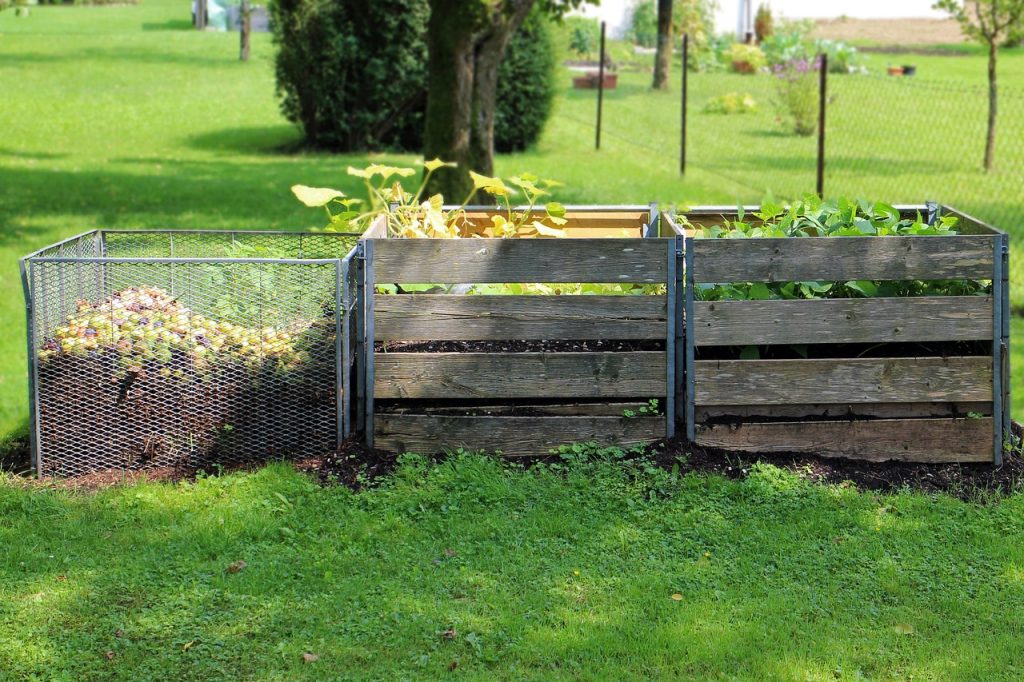
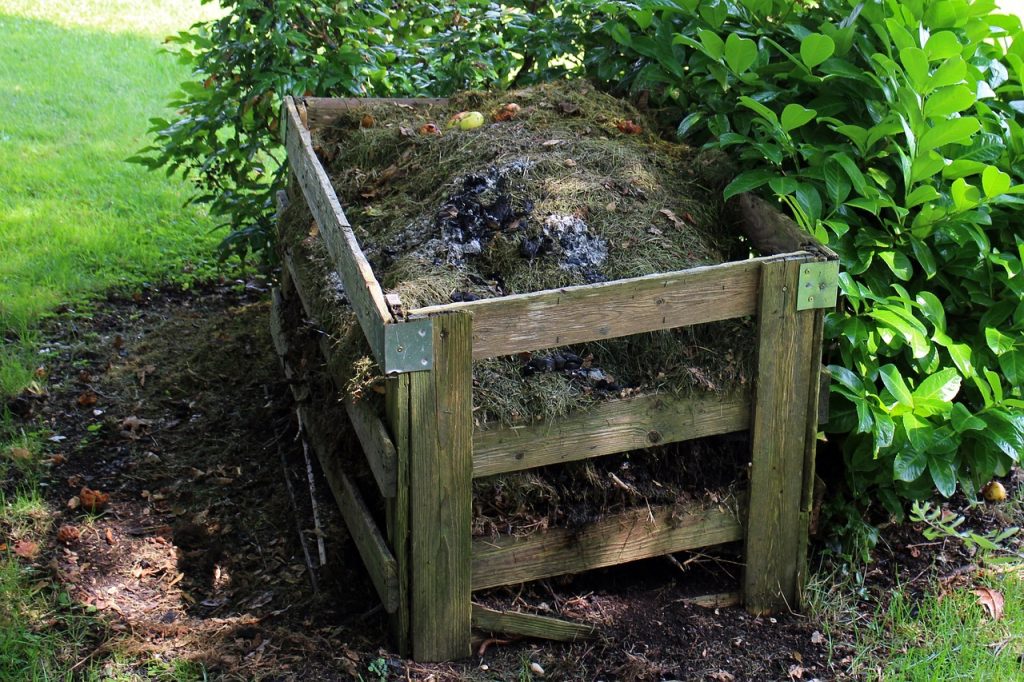
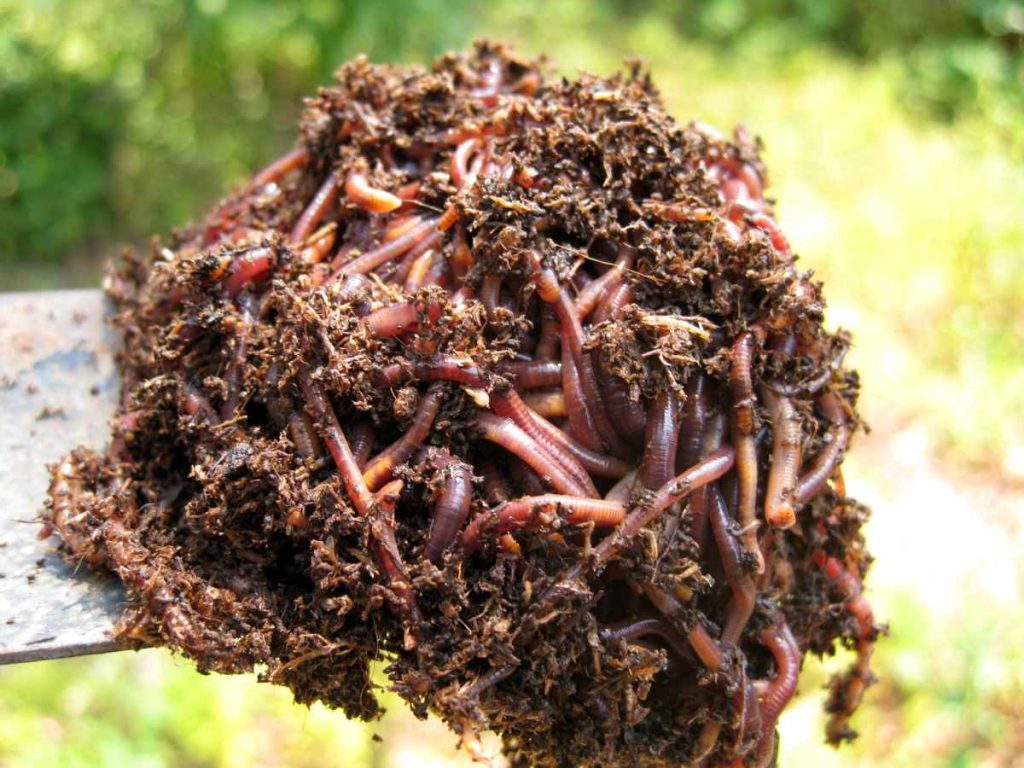
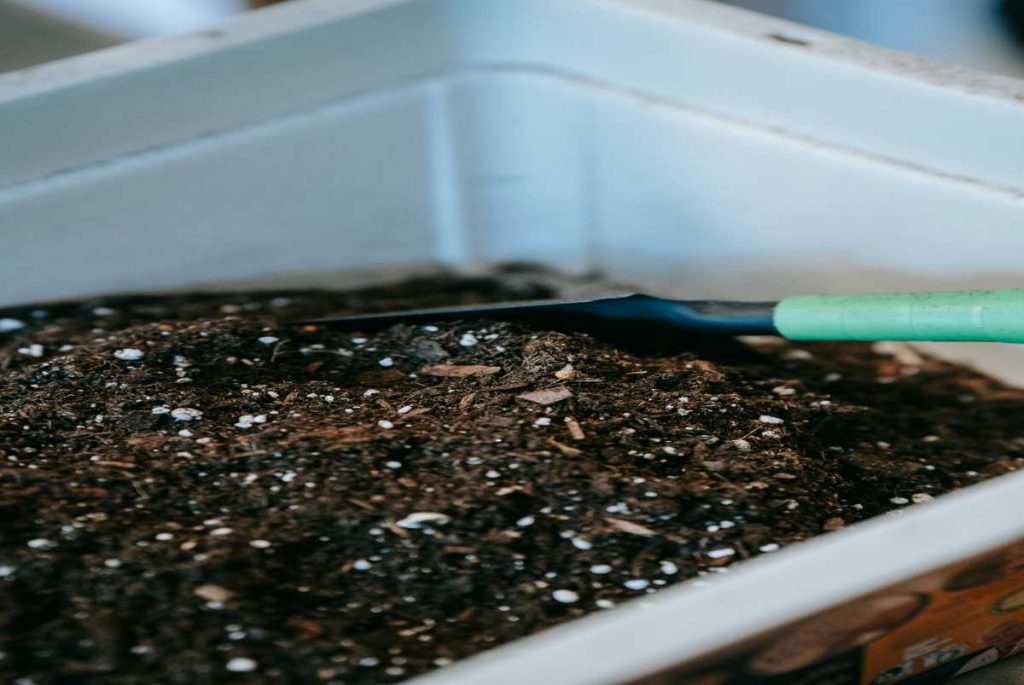
The moisture level in your compost pile is crucial for efficient decomposition and a healthy balance of microbes. Too much water can lead to a smelly, anaerobic pile, while too little can dry out the microbes and slow down decomposition. This guide outlines how to assess and maintain the optimal moisture level in your compost pile for successful composting.
Why Moisture is Important in Composting
- Microbial Activity: Microbes that break down organic material require a moist environment to thrive.
- Decomposition Speed: The right amount of moisture helps organic material break down faster.
- Preventing Odors: Proper moisture prevents anaerobic conditions that cause foul smells.
Ideal Moisture Level for Compost
- Compost should feel like a damp sponge: moist but not dripping.
- The moisture content should be around 40–60%.
How to Assess Moisture in Your Compost
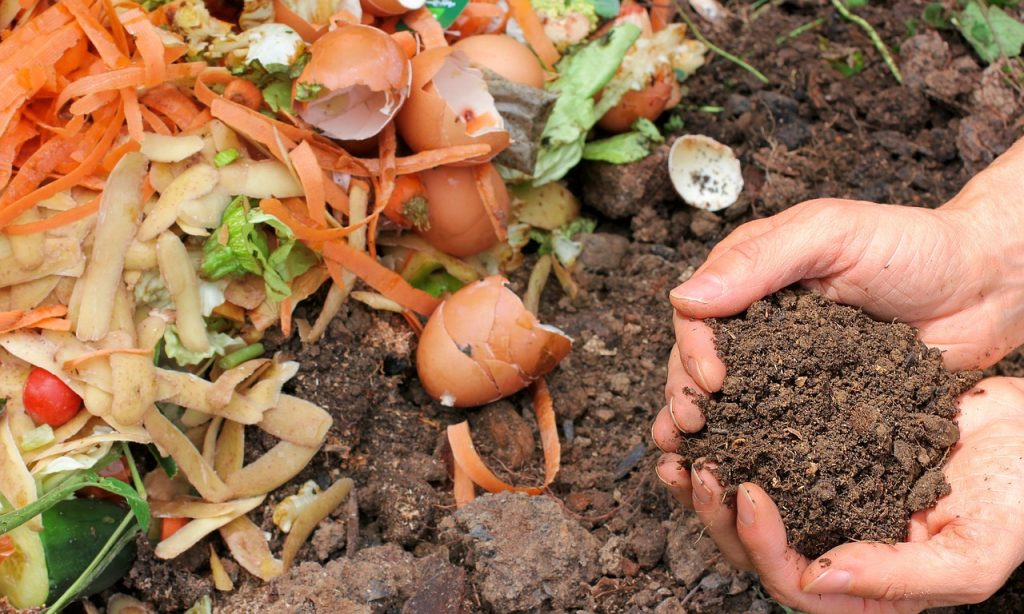
1. The Hand Squeeze Test
- Take a handful of compost from the pile.
- Squeeze it tightly:
- Ideal: A few drops of water come out, and it feels damp but not soggy.
- Too Wet: Water streams out when squeezed.
- Too Dry: Crumbles in your hand with no moisture.
2. Use a Moisture Meter
- Insert a compost moisture meter into various parts of the pile for an accurate reading.
Signs of Improper Moisture Levels
Too Wet
- Strong, unpleasant odors (rotten or sour smell).
- Compost feels slimy or muddy.
- Pile is compacted, preventing airflow.
Too Dry
- Compost is crumbly and fails to heat up.
- Materials break down very slowly.
- Presence of ants or other dry-environment pests.
Tips to Maintain the Right Moisture Level
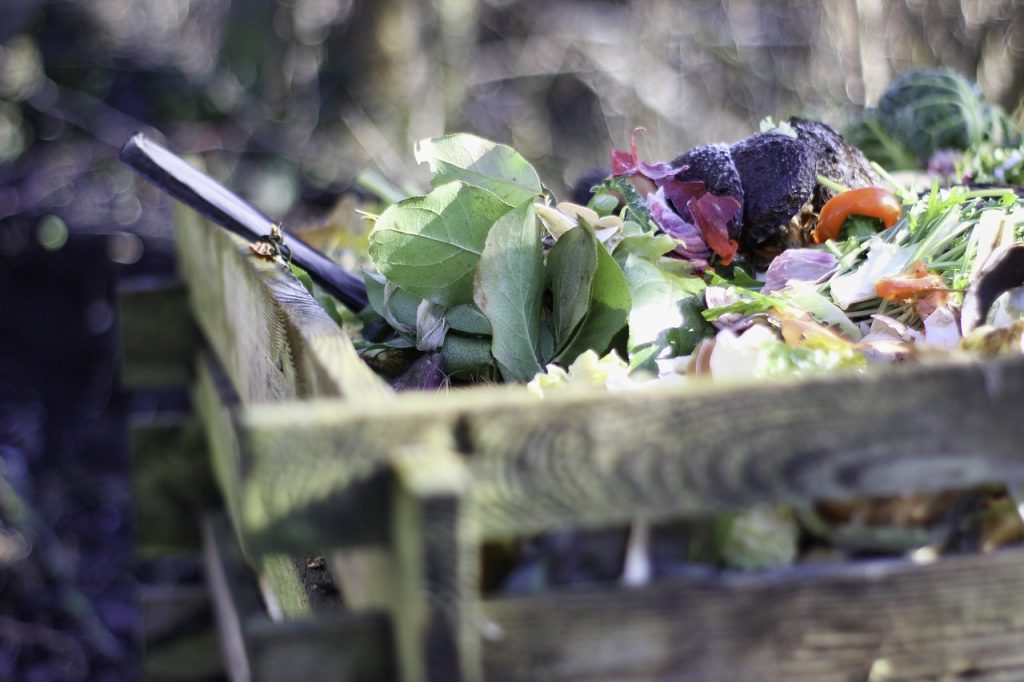
1. For Too Wet Compost
- Turn the Pile: Mix it to aerate and allow excess moisture to evaporate.
- Add Dry Browns: Mix in dry materials like shredded paper, straw, or dried leaves.
- Protect from Rain: Cover the pile with a tarp or move it to a covered area.
- Check Drainage: Ensure outdoor piles have good drainage to prevent waterlogging.
2. For Too Dry Compost
- Water the Pile: Sprinkle water over the pile while turning it to distribute moisture evenly.
- Add Moist Greens: Include wet materials like fruit scraps or coffee grounds.
- Cover the Pile: Use a tarp to retain moisture, especially in hot or windy conditions.
Best Practices for Maintaining Moisture
1. Balance Greens and Browns
- Greens (wet, nitrogen-rich materials) provide moisture.
- Browns (dry, carbon-rich materials) absorb excess water.
- Aim for a 2:1 ratio of browns to greens for a balanced pile.
2. Layer Your Compost
- Alternate layers of greens and browns.
- Add a thin layer of soil or finished compost to improve moisture distribution.
3. Turn the Pile Regularly
- Turning ensures even moisture distribution and prevents soggy or dry spots.
4. Monitor Seasonal Changes
- In Wet Weather: Cover the pile and mix in more browns.
- In Dry Weather: Add water or greens and avoid leaving the pile exposed to the sun.
FAQs
1. How often should I check my compost’s moisture?
- Check weekly or whenever adding new materials.
2. Can I use a hose to water my compost?
- Yes, but spray lightly and avoid soaking the pile. Use a watering can for better control.
3. Is it possible to over-water while adding greens?
- Yes, some greens (e.g., watermelon rinds) are very wet, so balance them with dry browns.
Conclusion
Maintaining the right moisture level in your compost is essential for efficient decomposition and preventing issues like odors or slow breakdown. Regular monitoring, balancing greens and browns, and adjusting based on weather conditions can help you achieve a thriving compost pile.

