Composting is an eco-friendly and cost-effective way to recycle organic waste, but buying a compost bin can be expensive. Luckily, with a few free wooden pallets, you can build a functional and sturdy compost bin that will help you create nutrient-rich soil for your garden. Not only is this a budget-friendly solution, but it’s also an easy project that can be completed in a day or less!
In this guide, we’ll walk you through the steps of building your very own pallet compost bin using free materials. Plus, we’ll share some helpful tips for making sure your compost bin works efficiently.
Materials Needed:
- 4 Wooden Pallets: Try to find pallets that are in good condition, ideally the standard 40″ x 48″ size.
- Nails or Screws: To assemble the pallets together. Screws tend to be more secure and durable, but nails can work as well.
- Hammer or Drill: For fastening the pallets together.
- Optional: Wire or bungee cords (to secure the bin if you don’t want to permanently fasten the pallets together).
Step-by-Step Guide to Building Your Pallet Compost Bin
Step 1: Find and Prepare Your Pallets
Look for pallets that are free or easy to find. You can often find them behind grocery stores, hardware stores, or from people who are getting rid of old furniture. Be sure to pick pallets that are sturdy and not broken or splintered.
Once you’ve gathered your pallets, you may want to remove any nails or staples that could be sticking out to avoid injury when handling the wood.
Step 2: Choose the Right Location
Select a location for your compost bin that:
- Is in a sunny spot to help speed up the composting process.
- Has good drainage, ideally a spot on bare soil so worms and microorganisms can access the pile.
- Is convenient for adding materials and turning the compost.
Step 3: Position the Pallets
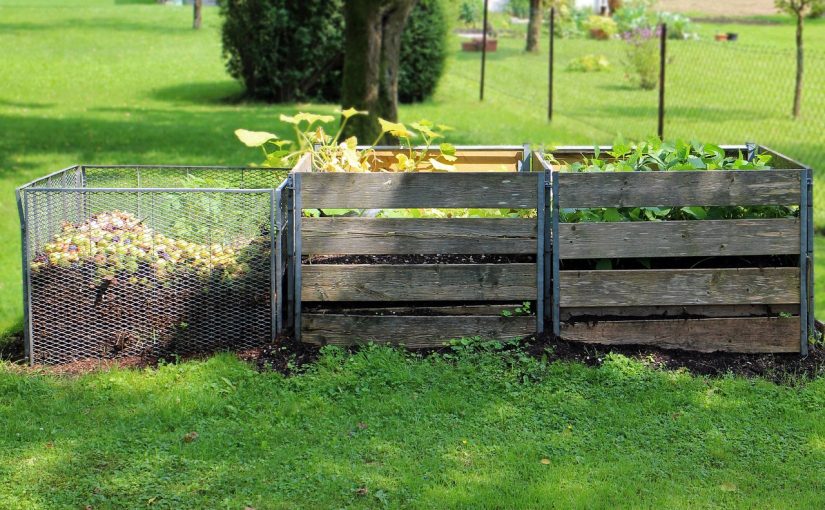
Place three of the pallets vertically in a U-shape. These three pallets will form the sides of your compost bin. Lay one pallet on each of the back, left, and right sides, leaving the front open. The open front will make it easy to access the compost and turn it when needed.
For the front side, you have a few options:
- Option 1: Free-standing front – You can leave the front open entirely, which will make it easier to access your compost.
- Option 2: Hinged or removable front – If you want a more secure front, you can attach one of the pallets to the others using hinges, so you can open it like a door.
- Option 3: Wire or bungee cords – If you don’t want to permanently attach the pallets, you can use wire or bungee cords to keep the pallets together.
Step 4: Secure the Pallets Together
To keep the pallets in place and form a stable structure, fasten them together:
- Use nails or screws to attach the corners where the pallets meet.
- If you’re using wire or bungee cords, wrap them around the edges of the pallets to secure them together.
If you have a fourth pallet, you can use it to create a lid for the compost bin to help keep it insulated. This isn’t necessary, but it can help retain heat, especially in cooler climates.
Step 5: Fill the Bin with Organic Waste
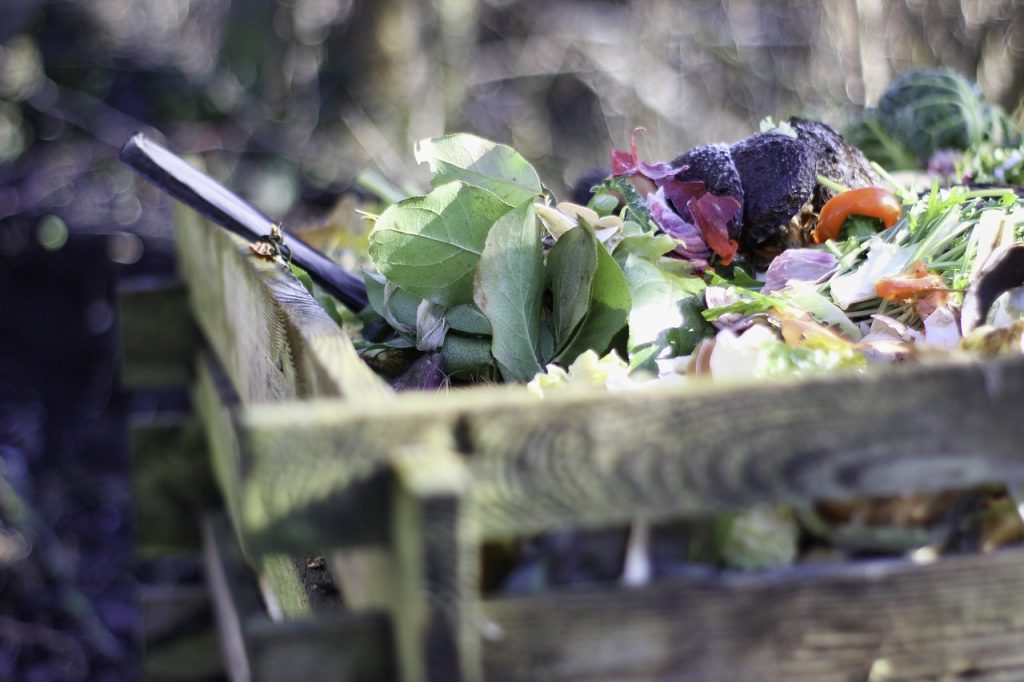
Once your bin is assembled, you can begin adding your compost materials. Start by adding a layer of coarse materials (like small branches or twigs) to the bottom to help with drainage. Then, layer in your kitchen scraps (vegetable peelings, coffee grounds, etc.), grass clippings, and yard waste (leaves, weeds, etc.).
Be sure to alternate between nitrogen-rich “green” materials (like food scraps and grass clippings) and carbon-rich “brown” materials (like dried leaves, straw, and cardboard). This balance helps the pile decompose more efficiently.
Step 6: Maintain the Compost Bin
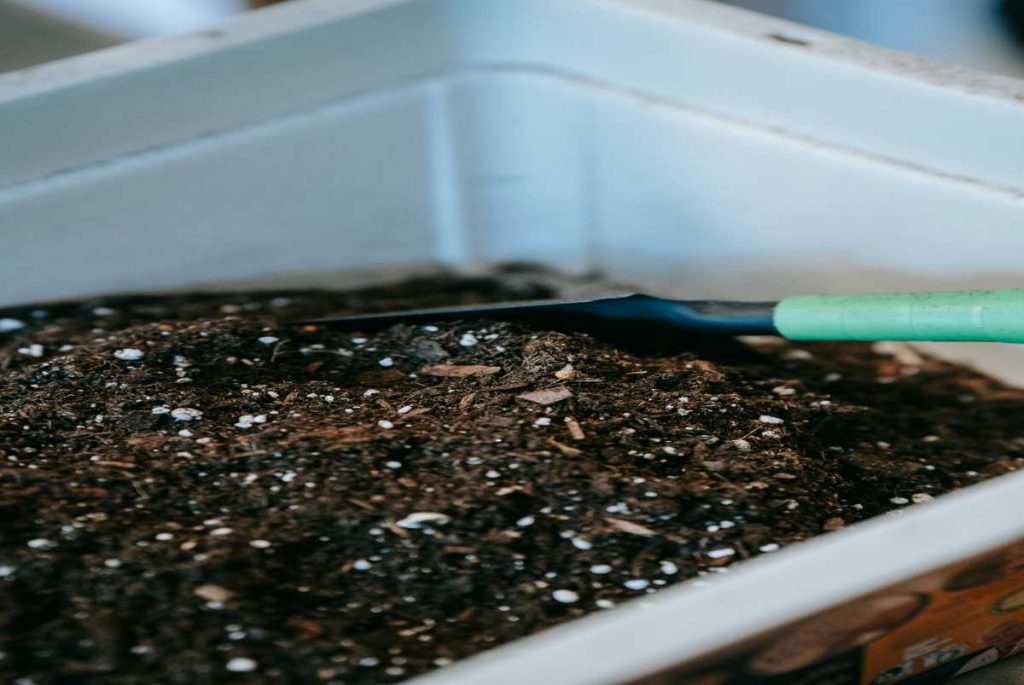
- Turn the Pile Regularly: To speed up decomposition, you should turn your compost every couple of weeks. Use a pitchfork or compost aerator to mix the compost pile, which helps introduce air and keep it aerobic.
- Monitor Moisture: Keep your compost pile moist, like a damp sponge. If it gets too dry, add water, and if it’s too wet, add more brown materials like leaves or cardboard.
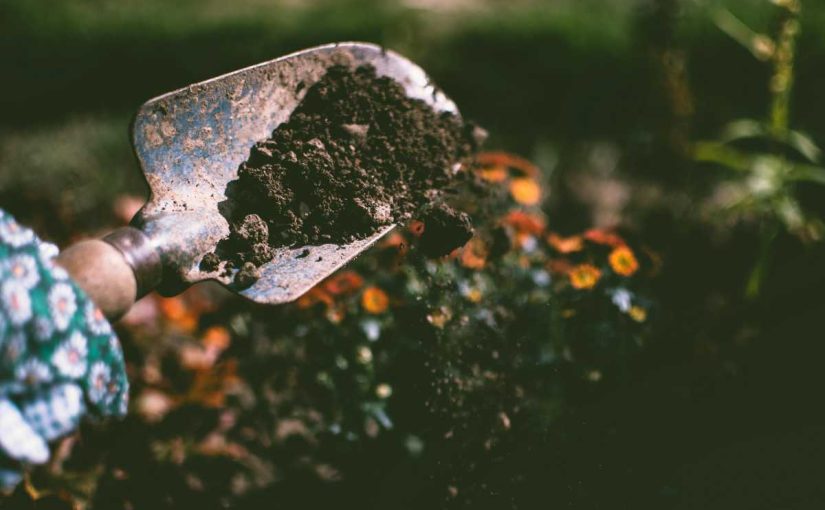
- Harvest the Compost: After a few months, you should have rich, dark, crumbly compost at the bottom of the bin. You can use it to enrich your garden beds.
Benefits of a Pallet Compost Bin
- Free and Sustainable: Using wooden pallets is a free and eco-friendly way to build your compost bin, making it an affordable and sustainable solution.
- Durable and Sturdy: Pallets are designed to carry heavy loads, making them strong enough to withstand the elements and last for years.
- Easy to Build: With minimal materials and tools, you can easily build a functional compost bin in just a few hours.
- Good Airflow: The slatted sides of the pallet bin allow for plenty of airflow, which is essential for the aerobic decomposition process.
Tips for Success
- Make the Pile High: The higher the compost pile, the hotter it will get, speeding up decomposition. Aim for a pile that’s at least 3 feet tall.
- Avoid Adding Animal Products: Avoid putting meat, dairy, and oily foods in your compost bin as they can attract pests and cause odors.
- Use a Compost Thermometer: If you’re serious about composting, a compost thermometer can help you monitor the temperature of your pile. The ideal temperature is between 130°F and 160°F (54°C to 71°C) for optimal decomposition.
- Keep It Covered (Optional): If you’re composting in a wetter climate, consider adding a tarp or plastic covering to keep the pile from getting too soggy.
Conclusion
Building a compost bin from pallets is a simple, free, and effective way to start composting at home. Not only will you be reducing your waste and enriching your garden soil, but you’ll also be creating a sustainable solution using materials that would otherwise go to waste. With just a few free pallets and some basic tools, you can create a compost bin that works efficiently and stands the test of time.
Happy composting!

