Composting is a cornerstone of sustainable gardening, and it can be a fantastic way for community gardens to reduce waste, improve soil health, and promote environmental responsibility. Setting up a composting system in a community garden provides numerous benefits: it helps recycle organic waste, creates rich, fertile soil, and builds a sense of collective responsibility. Here’s a step-by-step guide to help you set up a successful composting system for your community garden.
1. Get the Community on Board
Before you begin, it’s essential to ensure that everyone involved in the garden is on the same page. Composting is a team effort, and community participation will make the process smoother and more rewarding.
What to Do:
- Organize a meeting with community garden members to discuss the importance of composting and how it can benefit the garden.
- Create a composting plan that includes who will manage the pile, how materials will be collected, and where the compost bin will be placed.
- Provide clear guidelines for what can and cannot go into the compost pile to avoid contamination.
Pro Tip: Encourage community members to get involved in the process by taking turns turning the compost pile or adding materials. This will foster a sense of ownership and responsibility.
2. Select the Right Composting Method
There are various composting methods you can use in a community garden, depending on space, resources, and the size of the garden. Common methods include traditional compost bins, compost tumblers, and windrows (large piles).
What to Do:
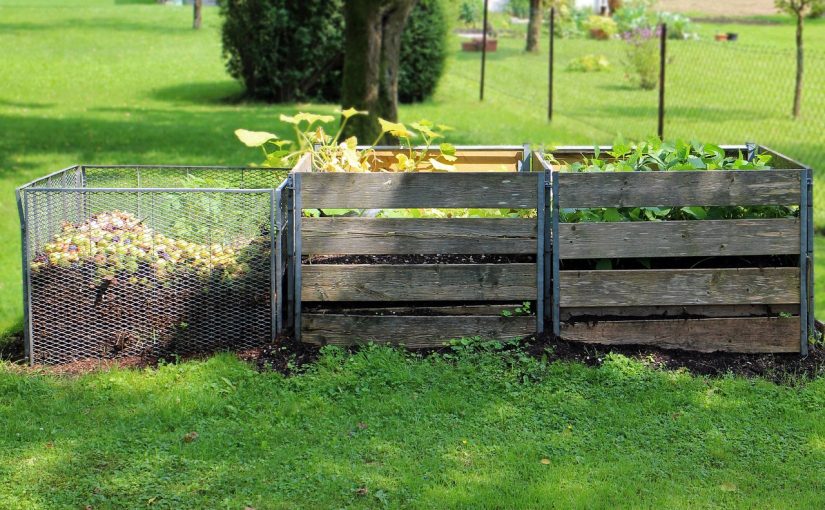
- Traditional Compost Bin: If space is limited, a compost bin is a great choice. You can purchase a pre-made compost bin or build one using pallets or wire fencing.
- Compost Tumbler: If you need a more enclosed system, consider using a compost tumbler. It’s easy to rotate the contents, which speeds up decomposition.
- Windrow: If your community garden has ample space, you may want to set up a windrow. This method involves making long piles of compost that are turned regularly.
Pro Tip: Start with a simple compost bin and scale up as the garden grows. Make sure your chosen method is accessible for all members of the community.
3. Choose the Best Location for Your Compost Bin
Location is key to successful composting. You’ll need to choose a spot that has good airflow, is easily accessible, and gets some sunlight to help maintain the right temperature. However, it should also be far enough away from garden areas where odor or pests might be an issue.
What to Do:
- Choose a well-drained area with some shade or partial sunlight. Avoid placing your compost bin directly on grass or concrete, as this can hinder drainage.
- Make sure the compost bin is near the areas where organic waste is generated so it’s easy for gardeners to add materials.
- Keep the compost pile at least 10 feet from any water source to prevent contamination.
Pro Tip: Make sure the location is easily accessible by all garden members, but not too close to seating areas or garden beds to avoid odors.
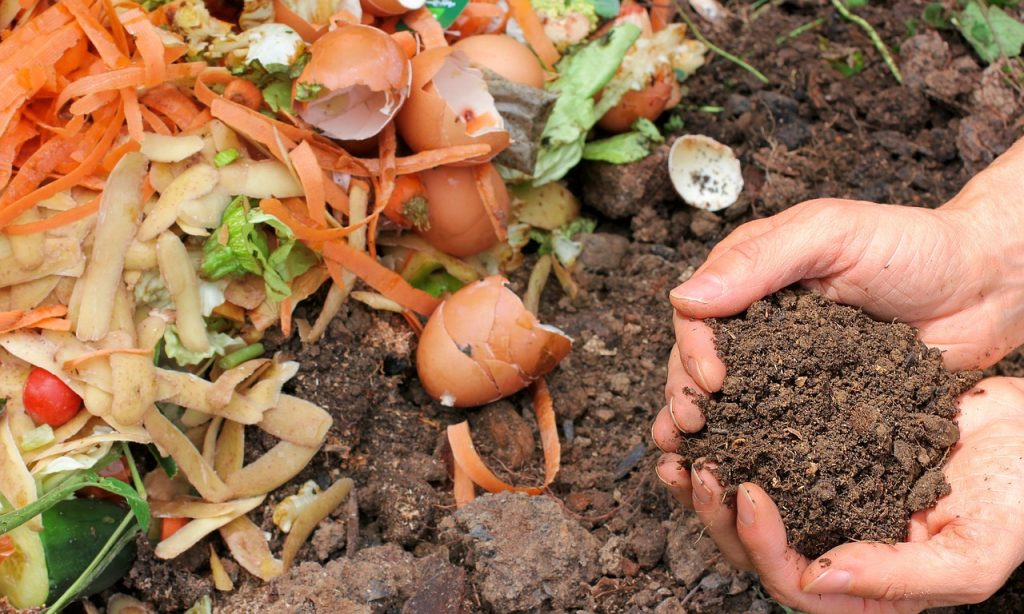
4. Collecting Materials for Your Compost Pile
The success of your compost pile depends on the materials you add. Composting requires a balance of green materials (nitrogen-rich) and brown materials (carbon-rich). A proper balance ensures efficient decomposition.
What to Do:
- Green Materials (Nitrogen-rich): These include fresh grass clippings, fruit and vegetable scraps, coffee grounds, and green plant trimmings.
- Brown Materials (Carbon-rich): These include dried leaves, straw, shredded paper, sawdust, and cardboard.
- Water: Moisture is essential to keep the compost pile active and decomposing. Aim for a moist but not soggy compost pile.
Pro Tip: Place compost collection bins throughout the garden to make it easy for gardeners to collect green and brown materials. Encourage members to collect materials from home and bring them to the garden.
5. Start Building the Pile
Now it’s time to start building your compost pile. A successful pile has layers of both green and brown materials, which creates the right conditions for microorganisms to break down organic matter.
What to Do:
- Begin with a layer of coarse brown materials (like straw or small branches) to allow for airflow.
- Add layers of green materials on top, followed by more brown materials. Aim for roughly 2 parts brown to 1 part green.
- Repeat layers until the compost pile is about 3 feet high. Make sure the pile is compact but not too dense to ensure proper airflow.
Pro Tip: The pile should be turned regularly to keep oxygen flowing. If you’re using a compost bin or tumbler, rotate it once every few weeks. For larger piles, use a pitchfork or shovel to turn the compost and prevent it from becoming too compacted.
6. Maintain the Pile
Maintaining the compost pile is crucial to ensure the organic matter breaks down efficiently. A well-maintained pile will decompose faster and produce high-quality compost.
What to Do:
- Turning the Pile: Turn the compost regularly to keep it aerated. Aim to turn it every 2-3 weeks, or more frequently if the pile isn’t breaking down as quickly.
- Monitor Moisture Levels: The pile should be moist, like a wrung-out sponge. If it’s too dry, add water or more green materials. If it’s too wet, add more brown materials like leaves or cardboard to absorb excess moisture.
- Check for Odors: A properly maintained compost pile should have a pleasant earthy smell. If it starts to smell sour or foul, it’s likely too wet or lacking in brown materials.
Pro Tip: Keep a compost “recipe” handy for new members, so they know how to balance green and brown materials, how often to turn the pile, and what to do if there are odor issues.
7. Harvest the Finished Compost
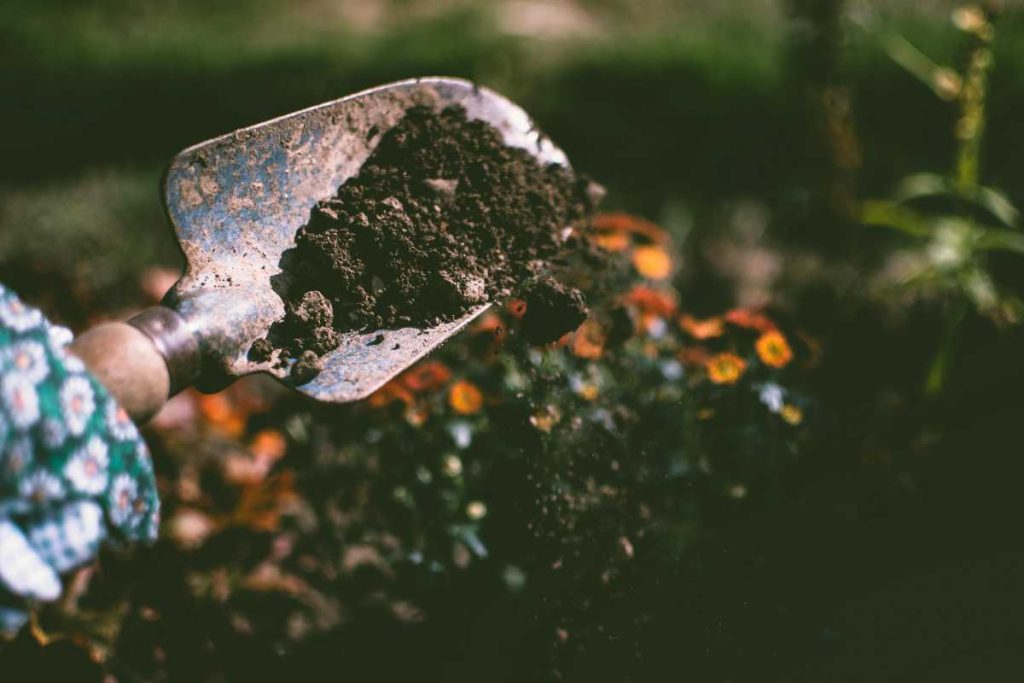
Composting is a slow process that requires patience, but eventually, the pile will turn into dark, crumbly compost that smells earthy and rich. This finished compost is the perfect addition to garden beds, enriching the soil and promoting healthy plant growth.
What to Do:
- After a few months (depending on weather and materials), your compost should be ready. The pile will shrink and turn dark brown or black with a crumbly texture.
- Sift through the pile and remove any larger pieces that haven’t fully decomposed. These can be added back to the compost pile for further breakdown.
- Use the finished compost in garden beds, as a mulch, or to improve the soil around plants.
Pro Tip: If you have a large garden, create a dedicated compost area where members can access the finished compost for their individual garden plots.
8. Educate the Community and Keep it Sustainable
The success of community garden composting relies on education and ongoing participation. Regularly educating members on best composting practices will ensure that the system runs smoothly and benefits everyone.
What to Do:
- Host workshops or informational sessions on composting to keep everyone informed about what to compost, how to manage the pile, and the importance of composting for sustainability.
- Create a simple composting guide for new members, which includes what materials are allowed, the best practices for maintaining the pile, and when to harvest the compost.
- Encourage everyone to take ownership of the compost pile and continue to bring in organic waste to keep the composting process going.
Pro Tip: Organize periodic community clean-ups or “compost parties” where everyone can gather to add materials, turn the pile, and check on its progress. This can help build camaraderie and enthusiasm for composting.
Conclusion
Composting in a community garden is a powerful way to reduce waste, improve soil quality, and foster a sense of collaboration among garden members. By following these simple steps—gaining community support, choosing the right method and location, collecting materials, maintaining the pile, and educating others—you can create a sustainable composting system that benefits everyone involved.
With patience and care, your community garden’s compost pile will soon transform into rich, fertile soil, ready to nourish plants and contribute to a healthier, greener world.

