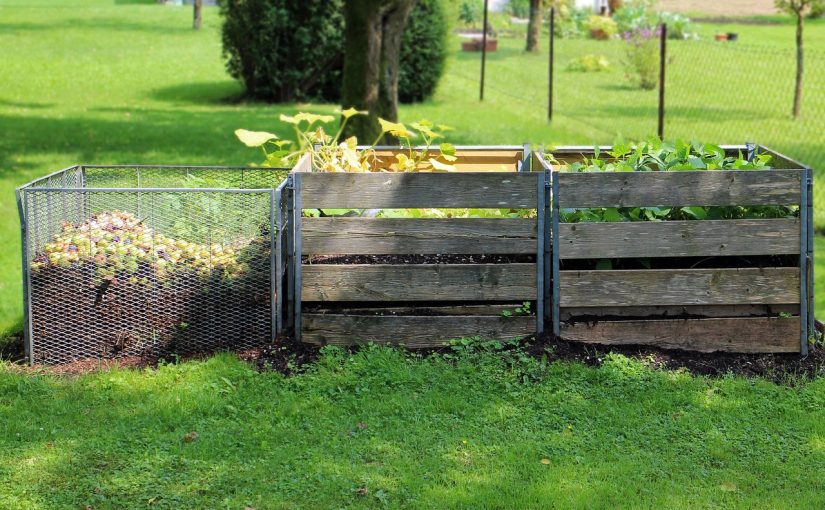
Composting is an excellent way to reduce waste, enrich your soil, and create a nutrient-dense environment for your plants. After weeks or months of decomposition, it’s time to harvest your compost. However, the process can be tricky if you don’t know the right steps. Harvesting compost at the right time and in the right way ensures that you get the best results and avoid contamination.
This guide walks you through the essential steps to harvest compost like a pro, so you can use it to enhance your garden or farm’s health and productivity.
Step 1: Know When Your Compost Is Ready
Before you can harvest compost, it’s essential to know when it’s fully decomposed. Inadequate compost can harm your plants, while fully matured compost will work wonders for soil enrichment.
Signs Your Compost is Ready:
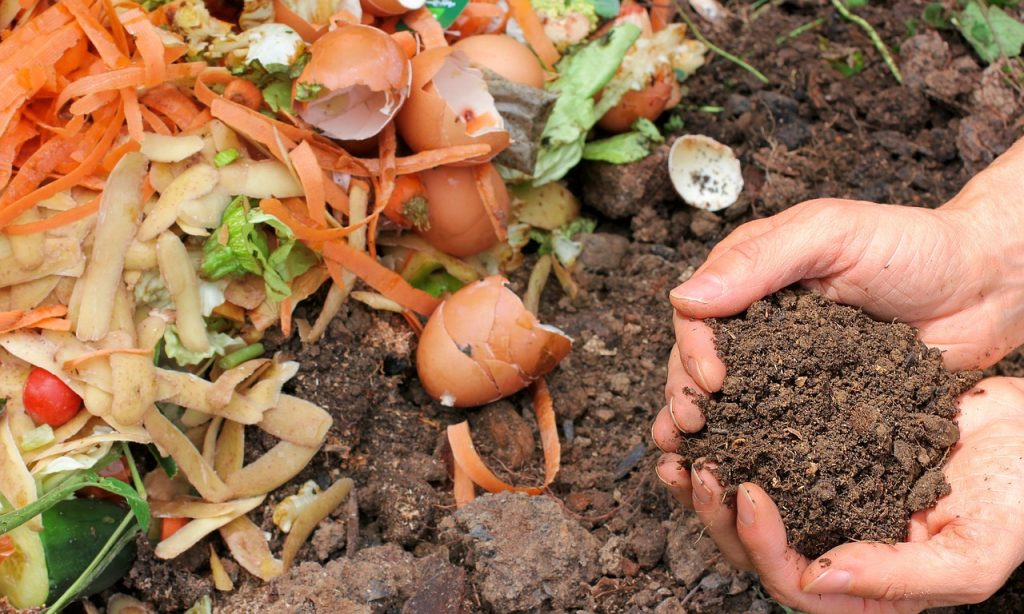
- Dark, crumbly texture: The compost should have a dark brown or black color with a crumbly texture. It should resemble rich, fertile soil rather than recognizable food scraps.
- Smell: A properly composted pile has an earthy, pleasant smell. If it smells sour or like rotten garbage, it’s not ready.
- Heat: The pile should no longer be warm to the touch. A finished compost pile cools down after the thermophilic stage of decomposition is complete.
- No large material chunks: There should be no large pieces of plant material or food scraps left. Everything should be broken down into fine particles.
Timing Tip: On average, compost takes 3-6 months to fully mature, but it can take longer depending on the materials and conditions. A well-maintained compost pile will decompose more quickly.
Step 2: Prepare Your Tools and Area
Before you begin harvesting your compost, make sure you have the proper tools and a clean, dry space to work in.
Tools You’ll Need:
- Garden fork or shovel: To loosen the compost and remove it from the pile.
- Sifter or compost screen: To sift out large chunks or undecomposed materials.
- Wheelbarrow or large container: For transporting the finished compost.
- Gloves: To protect your hands from any contaminants or sharp objects.
Work Area:
Choose a dry, flat area to sift and store your compost. A tarp or a clean surface will help keep things tidy and prevent cross-contamination.
Step 3: Turn and Loosen the Compost Pile
Before harvesting, use a garden fork or shovel to turn and loosen the compost pile. This step helps break up clumps and ensures that the compost has finished breaking down evenly.
How to Do It:
- Loosen the outer layers by gently digging into the compost with your garden fork.
- Mix it thoroughly, ensuring that any remaining large chunks are broken apart.
- Check the temperature: If the compost is still warm, it might need more time to mature. Let it sit for another few weeks before harvesting.
Step 4: Sift the Compost
Sifting is a crucial step to ensure that only the finest, most decomposed compost makes it into your garden or onto your plants. Sifting removes large pieces of unbroken-down material that can hinder plant growth.
How to Sift Compost:
- Place a compost screen or sift over a wheelbarrow or large container. You can purchase a compost screen, or make your own using hardware mesh or wire.
- Shovel the compost onto the screen in small amounts, then shake it to allow the fine compost to fall through.
- Discard large chunks of material that don’t pass through the screen. These can be added back to the compost pile for further decomposition.
Pro Tip: Sifting ensures a uniform texture and makes the compost easier to spread.
Step 5: Store Your Harvested Compost
Once the compost is sifted and ready, it’s time to store it properly until you’re ready to use it. Proper storage helps maintain the compost’s nutrients and prevents it from becoming compacted or contaminated.
How to Store Compost:
- Choose a dry, covered area: Store your finished compost in a dry, sheltered location to prevent it from getting wet or contaminated. A compost bin or tarp can help protect it.
- Keep it aerated: Avoid sealing the compost in a completely airtight container. It needs some airflow to maintain its quality.
- Use within 6 months: While compost can last longer, it’s best to use it within 6 months for the best results.
Step 6: Apply Your Compost to the Garden
Now that you’ve harvested your compost, it’s time to use it! There are several ways to apply compost to your garden, each offering specific benefits depending on your needs.
Ways to Apply Compost:
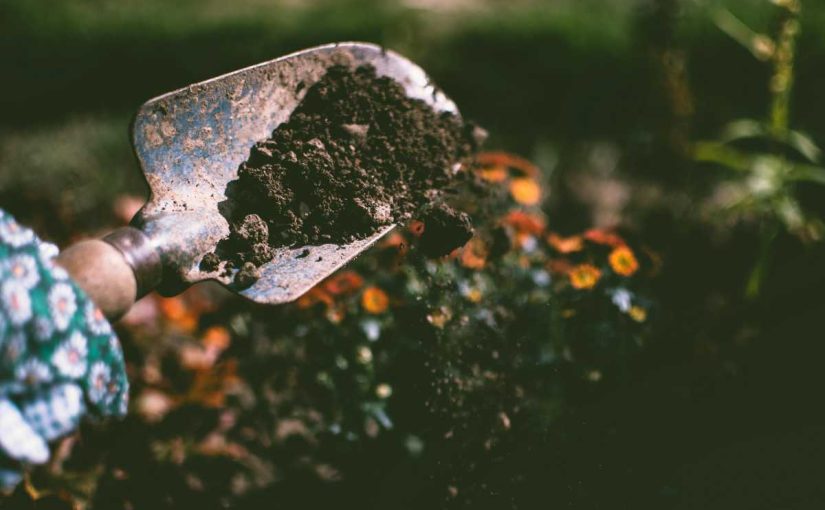
- Top dressing: Spread a thin layer of compost on top of your garden beds, around the base of plants, or in flower beds. This helps improve soil health and provides nutrients over time.
- Soil amendment: Incorporate compost into the soil by digging or tilling it into the top few inches. This enriches the soil with nutrients and improves its structure.
- Mulching: Use compost as mulch to conserve moisture, suppress weeds, and protect plant roots from extreme temperatures.
Step 7: Recycle and Maintain the Compost System
As you harvest your compost, it’s important to recycle and keep the composting system running smoothly for future batches.
What to Do:
- Add fresh materials to your compost pile after harvesting the old batch. Continue adding food scraps, yard waste, and other organic materials.
- Turn the pile regularly to speed up the decomposition process and ensure air circulation.
- Monitor moisture levels to keep the compost pile hydrated but not too wet.
Conclusion
Harvesting compost doesn’t have to be complicated, but it does require attention to detail. By following these steps—knowing when it’s ready, preparing your tools, sifting the compost, storing it properly, and applying it wisely—you can make the most of your composting efforts. Not only will your plants thrive, but you’ll also contribute to a more sustainable way of managing organic waste.
With practice, harvesting compost will become an easy and rewarding task that benefits both your garden and the environment. Happy composting!
