Incubating chicken eggs can be a rewarding and exciting experience, whether you’re a seasoned poultry keeper or a first-time hatchery enthusiast. Successfully hatching eggs requires careful attention to detail and an understanding of the incubation process. Here are nine expert tips to help you achieve a successful hatch.

1. Choose the Right Eggs
What to Look For:
Selecting high-quality, fertilized eggs is the first step in a successful incubation process. Ensure that the eggs are:
- Fresh: Use eggs that are no more than seven days old for optimal hatch rates.
- Clean: Only incubate eggs that are clean and free from cracks. Dirty or cracked eggs can harbor bacteria and reduce hatchability.
Where to Get Eggs:
Consider sourcing eggs from reputable breeders or local farms. This ensures that you receive eggs from healthy birds with a strong breeding history.
2. Maintain Proper Temperature
Ideal Conditions:
The ideal incubation temperature for chicken eggs is between 99.5°F and 100°F (37.5°C to 37.8°C).
Temperature Control:
- Use a Reliable Incubator: Invest in a high-quality incubator with a reliable thermostat to maintain consistent temperatures.
- Monitor Regularly: Use a digital thermometer and hygrometer to check temperature and humidity levels. Adjust the incubator settings as needed.
3. Ensure Adequate Humidity
Why It Matters:
Humidity plays a crucial role in the hatching process. Too much or too little humidity can lead to poor hatching results.
Optimal Levels:
- Maintain humidity levels around 40-50% during the first 18 days of incubation.
- Increase humidity to 65-75% during the last few days (the hatch period) to help chicks break through their shells.
How to Control Humidity:
- Water Reservoirs: Most incubators come with water trays. Ensure these are filled appropriately, and add sponges or towels soaked in water if necessary.
- Ventilation: Good airflow helps regulate humidity levels. Make sure your incubator is ventilated properly.
4. Turn the Eggs Regularly
Importance of Turning:
Turning the eggs is crucial for proper embryo development. It helps prevent the yolk from sticking to the shell and ensures even heat distribution.
Turning Schedule:
- Frequency: Turn the eggs at least 3-5 times per day.
- Automatic Turners: Consider using an automatic egg turner to simplify this process and maintain consistent turning.
5. Monitor Egg Development
Candling Eggs:
Candling is a process that allows you to observe the development of embryos inside the eggs.
When to Candle:
- First Candling: About 7 days into the incubation process.
- Second Candling: Again at around 14 days.
What to Look For:
- Fertility Signs: Look for signs of development, such as visible veins and movement within the egg. If an egg appears clear with no signs of development, it may be infertile.
6. Maintain Cleanliness
Hygiene Practices:
Keeping the incubator and eggs clean is essential for preventing bacteria growth and ensuring a healthy environment for the developing chicks.
How to Keep Things Clean:
- Wash Your Hands: Always wash your hands before handling eggs.
- Disinfect Equipment: Regularly clean and disinfect incubators, trays, and any tools used during the incubation process.
- Avoid Overcrowding: Do not overcrowd eggs in the incubator to allow for adequate airflow and easy access for turning.
7. Provide Adequate Ventilation
Importance of Airflow:
Chick embryos need oxygen for development. Ensuring proper ventilation in the incubator is crucial.
How to Ensure Ventilation:
- Open Vents: Make sure the incubator vents are open and unobstructed to allow fresh air exchange.
- Monitor Air Quality: Regularly check for airflow and adjust if needed. Some incubators may require adjustment of vents based on the developmental stage of the embryos.
8. Be Patient and Observant
Understanding the Timeline:
The incubation period for chicken eggs typically lasts about 21 days.
Observing Changes:
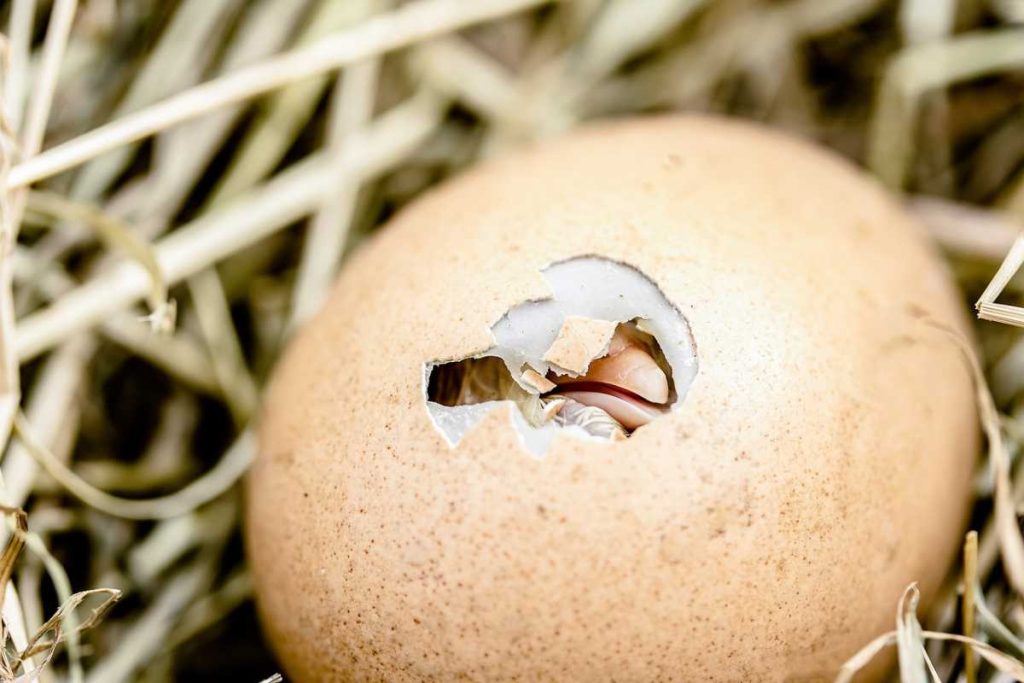
- Watch for Behavior Changes: As hatching day approaches, you may see chicks beginning to move inside the eggs or hear peeping noises.
- Do Not Disturb: Once the chicks start hatching, minimize interference. Allow them to break out of their shells naturally.
9. Provide Post-Hatch Care
What to Do After Hatching:
Once the chicks have hatched, they need proper care to ensure their health and growth.
Essential Steps:
- Drying: Allow chicks to dry off completely in the incubator before transferring them to a brooder.
- Brooder Setup: Prepare a brooder with heat, food, and water. Maintain a temperature of 90°F to 95°F (32°C to 35°C) for the first week, decreasing gradually each week.
Conclusion
Successfully incubating chicken eggs requires careful attention to detail and a nurturing environment. By following these expert tips, you can increase your chances of a successful hatch and ensure healthy chicks. Remember that each incubation cycle may present unique challenges, so stay observant and adaptable. Happy hatching!

