Building your own compost bin is a practical and eco-friendly way to recycle organic waste and enrich your garden soil. Whether you have a large backyard or a small space, a DIY compost bin can be tailored to your needs. In this guide, we’ll walk you through the 8 essential steps to create your own compost bin and start turning organic waste into nutrient-rich compost for your plants.
1. Choose the Right Location for Your Compost Bin
Why It’s Important:
The location of your compost bin will significantly impact the speed of decomposition and the ease of use. Choosing the right spot ensures your compost pile stays moist, receives adequate airflow, and is easy to maintain.
Things to Consider:
- Accessibility: Place your compost bin in a spot that is easily accessible for adding materials and turning the pile.
- Sunlight: Choose a location that gets partial sunlight. Too much direct sun can dry out the compost, while too little sun may slow down the decomposition process.
- Draining: Ensure that the area has good drainage to avoid waterlogging.
2. Gather Materials for Your DIY Compost Bin
What You’ll Need:
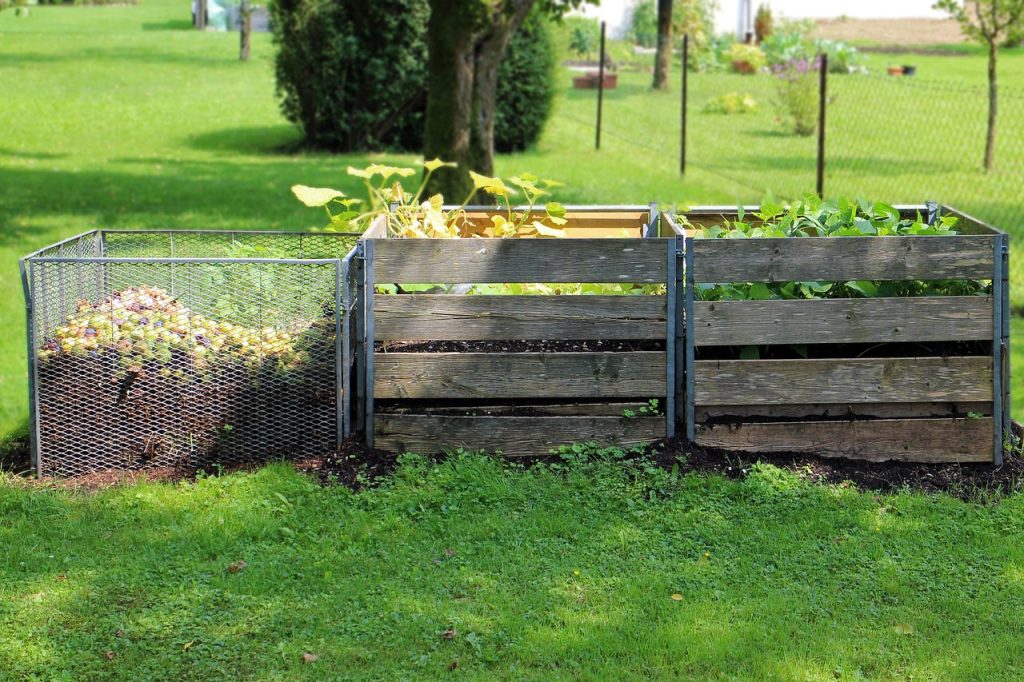
To build your compost bin, you’ll need some basic materials. Depending on the design you prefer, here are some common options:
- Wooden Pallets: Often used for compost bins because they’re easy to find and work with.
- Wire Mesh or Chicken Wire: An inexpensive material for creating an open compost bin.
- Cedar or Pine Boards: Durable wood that resists rot and can be used to build a more enclosed, wooden compost bin.
- Screws or Nails: For assembling the structure of the bin.
- Hinges (optional): If you’re building a lid or door for easy access to your compost.
Pro Tip: Recycle old materials like wooden crates or pallets to reduce costs and reuse waste.
3. Decide on the Bin Size and Shape
Why It’s Important:
The size and shape of your compost bin will depend on your space, composting needs, and available materials. Compost bins come in different sizes, but a typical bin is around 3 feet (1 meter) square, which provides enough space for efficient decomposition while being manageable.
Considerations:
- Small to Medium-Sized Bin: Ideal for those with limited space.
- Large Bin: Perfect for large gardens or if you produce a lot of organic waste.
- Shape: A square or rectangular bin is easiest to build, but circular or cylindrical designs can also work well.
4. Build the Sides of the Bin
How to Do It:
Now that you have your materials and decided on the size and shape, it’s time to start assembling the sides of your bin. Follow these steps based on the materials you’ve chosen:
- Wooden Pallets: If using wooden pallets, position three or four of them vertically and attach them together with screws or nails. Ensure there’s enough space between each pallet to allow air circulation.
- Wire Mesh: For a simple wire mesh bin, cut the mesh to the desired height and width, then form a circle or square. Secure the ends of the mesh using wire or zip ties.
- Wooden Boards: If you’re using wooden boards, cut them to size and nail or screw them into place. You can build a frame with horizontal slats for air circulation or use solid boards for a more enclosed design.
5. Create a Door or Lid for Easy Access
Why It’s Important:
Having access to your compost bin is essential for turning the compost and checking its progress. A simple door or lid can make it much easier to manage your compost pile.
How to Do It:
- Door: Attach a hinged door to the front or side of the bin. Use a simple wooden board or piece of mesh to create a door that can be easily opened and closed.
- Lid: If you prefer a lid to keep your compost protected, attach a hinged lid to the top of the bin. This can help keep the compost pile moist and prevent it from drying out too quickly.
Pro Tip: If you build a lid, ensure it’s not too heavy. Lightweight materials, like wood or plywood, work well.
6. Add a Base for Better Drainage
Why It’s Important:
Having a proper base will prevent the compost from sitting in stagnant water and help maintain good airflow. A solid base allows liquids to drain out and encourages aerobic decomposition, which is essential for fast composting.
How to Do It:
- Wooden Base: You can create a slatted wooden base or use wire mesh to allow drainage while still providing structure.
- Gravel: Place a layer of small rocks or gravel at the bottom of the bin for better drainage.
- No Base: If your compost bin is placed directly on soil, you may not need a base, as the soil will naturally absorb excess moisture.
7. Fill Your Compost Bin with Materials
What to Add:
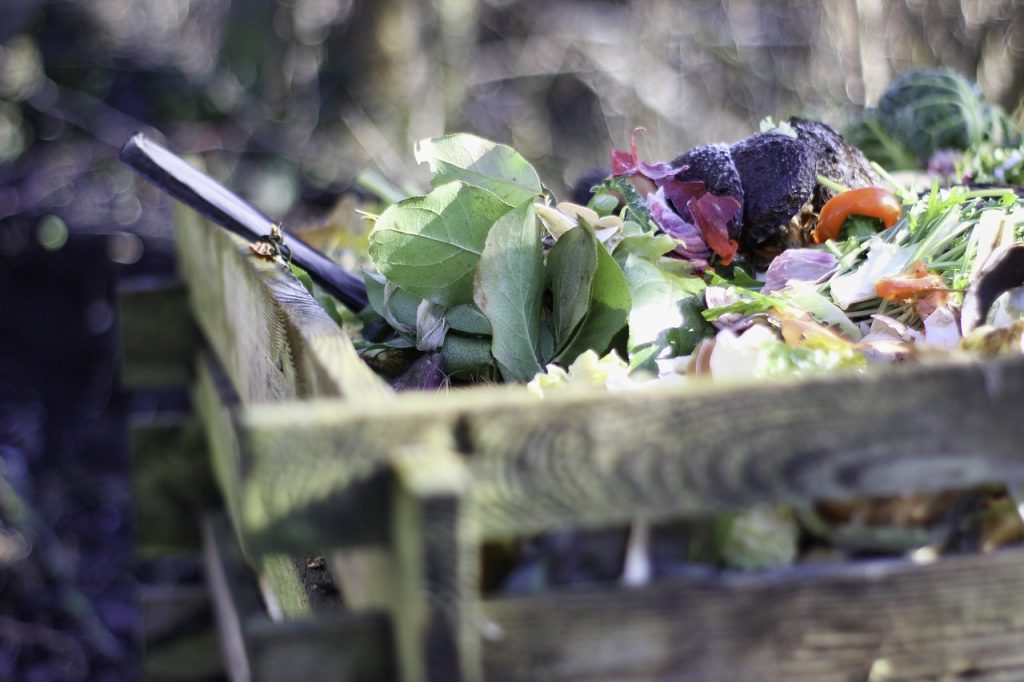
Now that your bin is set up, it’s time to start filling it with compostable materials. A healthy compost pile requires a balance of “greens” (nitrogen-rich materials) and “browns” (carbon-rich materials).
Common Greens to Add:
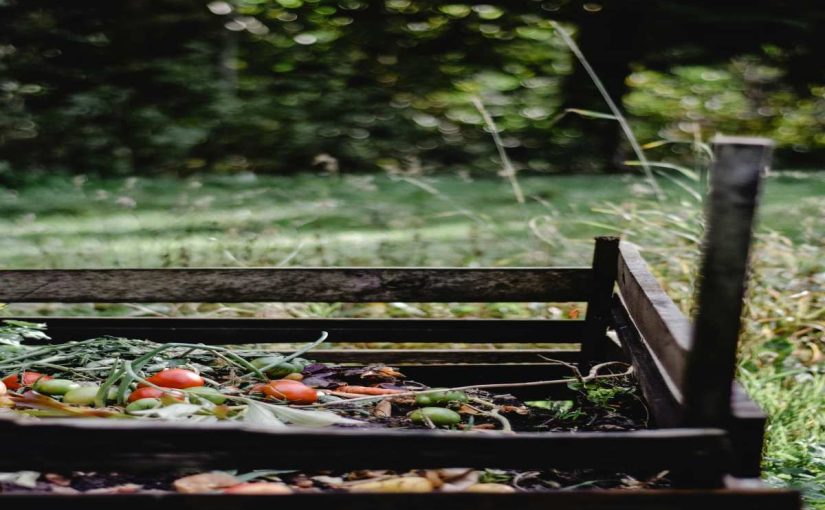
- Fruit and vegetable scraps
- Grass clippings
- Coffee grounds
- Manure from herbivores
Common Browns to Add:
- Leaves
- Shredded paper or cardboard
- Straw or hay
- Small twigs and wood chips
Pro Tip: Layer your materials, starting with browns at the bottom to help with drainage, followed by greens. Aim for a ratio of 3:1 (browns to greens) for optimal decomposition.
8. Maintain Your Compost Bin
Why It’s Important:
To ensure your compost is breaking down properly, you’ll need to maintain the pile by regularly turning it, adding water when necessary, and monitoring the temperature.
How to Maintain:
- Turn the Pile: Use a pitchfork or compost aerator to turn the compost every few weeks to introduce oxygen and speed up decomposition.
- Moisture: Keep the compost moist but not too wet. If it’s too dry, add water; if it’s too wet, add more browns like shredded leaves or paper.
- Monitor Temperature: Compost piles should heat up to 130°F to 160°F (54°C to 71°C) for efficient breakdown. If it’s not heating up, turn the pile and add more nitrogen-rich materials.
Conclusion
Building your own DIY compost bin is a fun and rewarding project that helps reduce waste while improving your garden soil. With just a few basic materials and tools, you can create a compost bin that suits your space and composting needs. By following these 8 steps, you’ll be well on your way to creating nutrient-rich compost and enjoying a greener, more sustainable garden. Happy composting!

