Composting kitchen scraps is one of the easiest and most impactful ways to reduce waste and help the environment. By turning your food waste into nutrient-rich compost, you can enrich your soil, promote healthy plant growth, and minimize the amount of waste sent to landfills. Whether you have a small apartment or a spacious garden, starting a kitchen scrap composting system is simple and rewarding. Here are 7 easy steps to get you started on your composting journey.
1. Gather Your Kitchen Scraps
The first step to composting kitchen scraps is collecting the right materials. A wide variety of organic waste from your kitchen can be composted, including fruit and vegetable scraps, coffee grounds, tea bags, and eggshells. The key is to avoid adding non-compostable materials such as meat, dairy, or oily foods.
What to Do:
- Start by setting up a container in your kitchen where you can collect scraps like fruit peels, carrot tops, coffee grounds, and egg shells.
- Keep a small compost bin with a lid to store these scraps until you’re ready to take them outside to your compost pile or bin.
- Consider a countertop compost bin or a container with a charcoal filter to reduce odors.
Pro Tip: To avoid odors and pests, empty your kitchen scrap container regularly and keep it covered.
2. Choose Your Composting Method
The next step is choosing the right composting method for your living situation. If you have a backyard garden, traditional compost bins or compost piles work well. For smaller spaces, you might opt for a compost tumbler or indoor methods like vermicomposting (using worms).
What to Do:
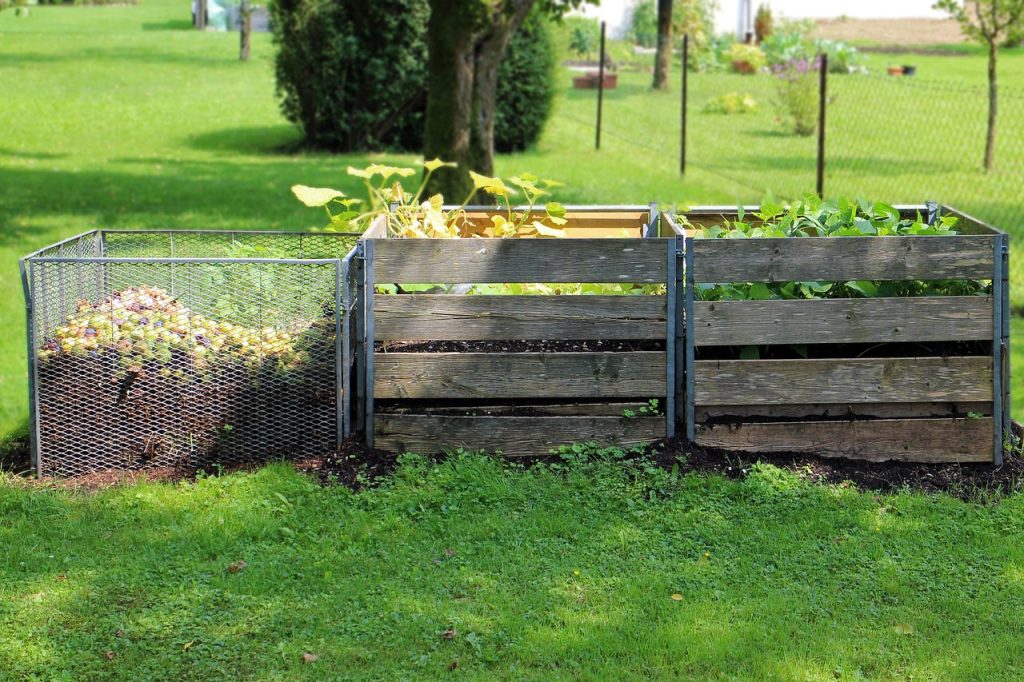
- Traditional Compost Bin: Ideal for larger spaces, you can buy or build a compost bin from wood, wire, or plastic.
- Compost Tumbler: A compost tumbler is a rotating drum that speeds up the composting process and is great for small spaces.
- Vermicomposting: If you live in an apartment, consider worm composting, which involves keeping a bin of worms that eat your kitchen scraps.
Pro Tip: Choose the composting method that fits your space, time, and how much waste you generate.
3. Start a Balanced Pile
A successful compost pile requires a balance of green materials (rich in nitrogen) and brown materials (rich in carbon). Kitchen scraps like fruit and vegetable scraps, coffee grounds, and eggshells are considered green materials. Brown materials include dried leaves, cardboard, and shredded newspaper.
What to Do:
- Add a layer of brown materials at the bottom of your compost bin or pile to help with drainage and aeration.
- Alternate layers of green and brown materials. For every 2 parts of green materials, add about 3 parts brown materials.
- Be mindful of the moisture levels—your compost should be moist, but not too wet.
Pro Tip: Keep a stash of brown materials like dry leaves, shredded paper, or straw, which are easily found around your yard or garden.
4. Chop or Shred Larger Scraps
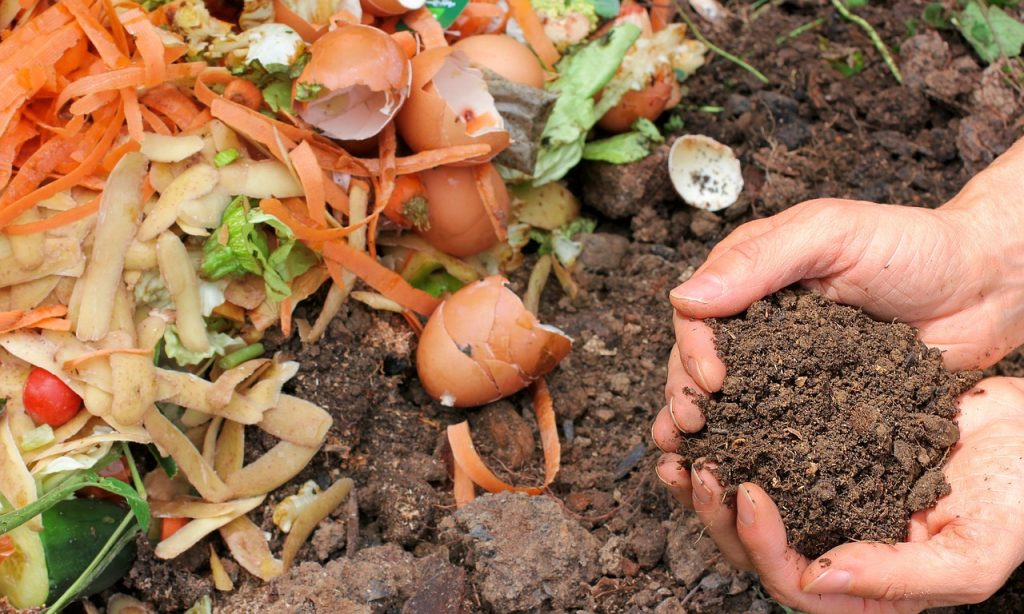
Larger pieces of kitchen scraps like fruit peels, onion skins, or stems can take longer to break down. To speed up the composting process, it’s helpful to chop, shred, or break down the scraps before adding them to the compost pile.
What to Do:
- Use a knife or food processor to chop up larger scraps.
- Break down hard materials like corn cobs, watermelon rinds, or pumpkin skins into smaller pieces.
- For better results, cut or shred any large, woody items like stems or tree branches before adding them to the pile.
Pro Tip: The smaller the material, the quicker it will decompose. So, take the extra step to chop or shred when possible.
5. Turn Your Pile Regularly
Turning your compost pile is essential for maintaining the right conditions for decomposition. Turning introduces oxygen, which is necessary for aerobic microbes to break down the organic material. Regular turning helps speed up the process and prevents the pile from becoming too compacted or smelly.
What to Do:
- If using a compost bin, turn the contents every 1-2 weeks with a garden fork, shovel, or a compost tumbler.
- For a larger compost pile, turn it with a pitchfork or shovel to ensure that air reaches all parts of the pile.
- Check that the compost is moist, and if it’s too dry, add water or green materials. If it’s too wet, add more brown materials to absorb the moisture.
Pro Tip: Turning your pile regularly helps create a well-aerated environment that speeds up decomposition.
6. Be Patient and Monitor the Process
Composting takes time—usually between 2 to 6 months, depending on the method and conditions. During this time, it’s important to keep an eye on the progress and make adjustments as needed. The compost should heat up, break down, and transform into a dark, crumbly material over time.
What to Do:
- Monitor the temperature of the pile, which should stay between 130-160°F (54-71°C) for optimal decomposition.
- Check the pile regularly to ensure it’s moist, well-aerated, and has a pleasant, earthy smell. If the pile becomes too dry or too wet, make adjustments.
- Keep the pile covered with a tarp or lid to maintain warmth and moisture, especially during colder months.
Pro Tip: If your pile is not heating up, it may lack nitrogen (green materials). Add more kitchen scraps, grass clippings, or manure to get the pile cooking again.
7. Harvest Your Compost
When your compost is ready, it should look dark and crumbly, with an earthy smell. At this point, the compost can be used to enrich garden soil, improve plant health, and boost soil fertility. You’ll know your compost is finished when it no longer resembles the original scraps and has decomposed into nutrient-rich humus.
What to Do:
- Sift through the compost to remove any large, undecomposed materials and add them back to the pile for further breakdown.
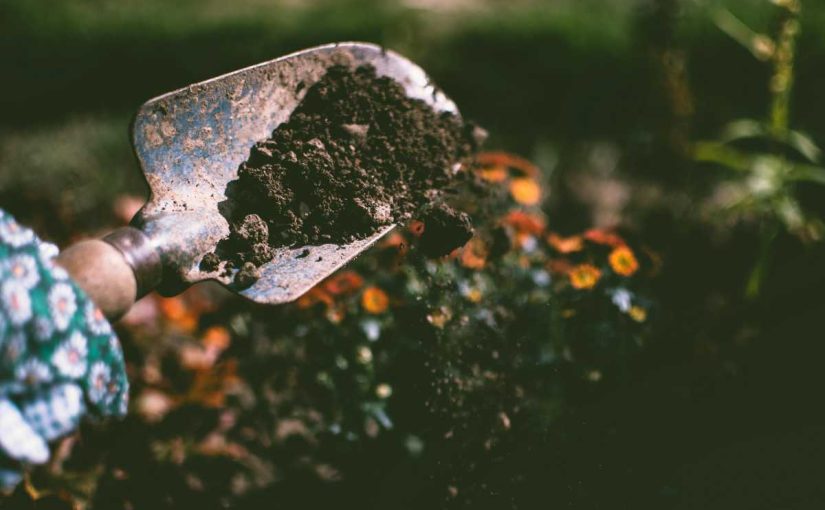
- Spread the finished compost over garden beds or mix it into the soil to enhance plant growth.
- Store any extra compost in a cool, dry place to use later.
Pro Tip: Use your compost to boost soil health, improve water retention, and provide a natural, chemical-free fertilizer for your plants.
Conclusion
Starting to compost kitchen scraps is a simple yet powerful way to reduce waste, enhance soil health, and contribute to environmental sustainability. By following these 7 easy steps—gathering scraps, choosing your composting method, balancing materials, turning the pile, monitoring the process, and harvesting the compost—you’ll be well on your way to creating nutrient-rich compost for your garden.
Not only will you reduce the amount of organic waste you send to landfills, but you’ll also enrich your soil and promote healthy plant growth. Happy composting!

