Yard waste is an inevitable byproduct of gardening, landscaping, and maintaining your outdoor space. Instead of throwing it away or sending it to the landfill, why not turn it into nutrient-rich compost that can enhance the health of your garden? Composting yard waste is not only environmentally friendly, but it also creates “black gold” — rich, fertile soil that will nourish your plants and improve soil structure. Here’s a simple, step-by-step guide to turning your yard waste into valuable compost.
1. Collect and Sort Your Yard Waste
The first step in composting yard waste is gathering and sorting your materials. Yard waste includes things like grass clippings, leaves, twigs, small branches, and garden trimmings. However, not all yard waste is ideal for composting, so it’s important to separate the compostable items from those that should be discarded or recycled.
What to Do:
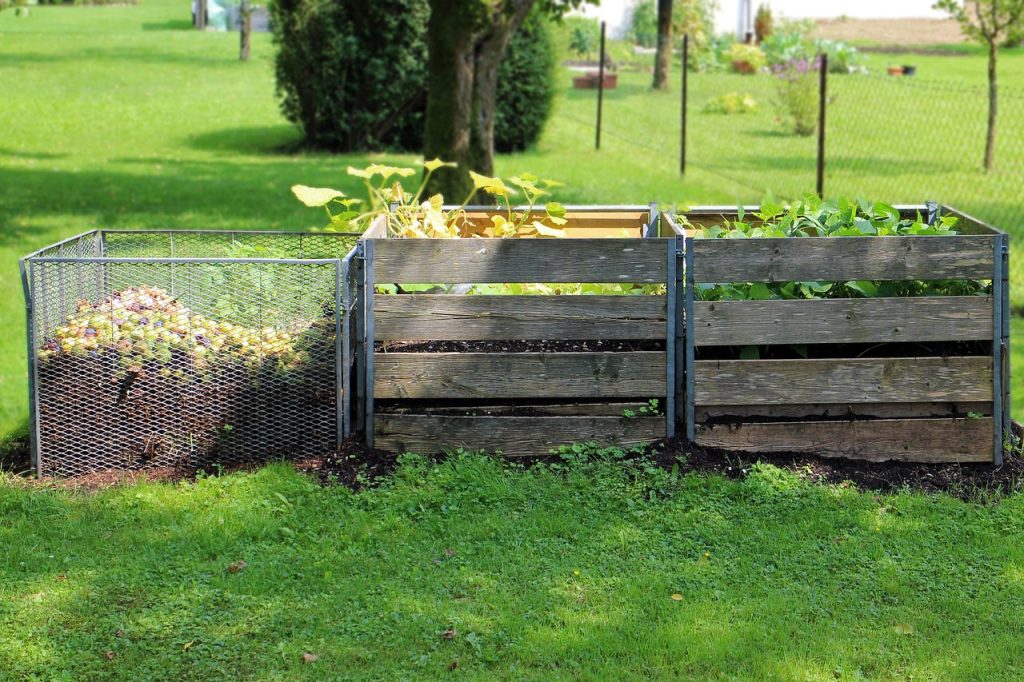
- Collect items like grass clippings, leaves, plant trimmings, and garden waste in a compostable pile or bin.
- Avoid adding materials like large branches, weeds that have gone to seed, or diseased plant matter, as they can introduce unwanted pests or diseases into your compost.
- Make sure the yard waste is free from chemicals like pesticides, herbicides, or fertilizers, as these can contaminate the compost and harm plants.
Pro Tip: Use a composting bin or pile with proper ventilation to help with airflow, which will speed up the decomposition process.
2. Balance Greens and Browns
A successful compost pile requires a balanced mix of green (nitrogen-rich) and brown (carbon-rich) materials. Greens include grass clippings, food scraps, and fresh plant trimmings, while browns include dried leaves, straw, sawdust, and cardboard. Achieving the right balance between greens and browns is crucial for creating healthy, fast-decomposing compost.
What to Do:
- For every 2-3 parts of brown materials (like dry leaves and straw), add 1 part of green materials (such as fresh grass clippings and green leaves).
- Brown materials help provide structure and air to the compost pile, while green materials are high in nitrogen, which fuels the decomposition process.
- Shredding or chopping up the larger pieces, such as leaves and branches, will help accelerate the decomposition process.
Pro Tip: A good rule of thumb is to keep your compost pile roughly 3 feet wide by 3 feet tall for optimal heat and moisture retention.
3. Keep Your Compost Pile Moist and Aerated
Moisture and air are essential for a healthy compost pile. Without the right balance of moisture, composting will slow down, and if the pile is too wet, it can become smelly and anaerobic. Aeration helps the microbes that break down organic matter access oxygen, speeding up the composting process and producing high-quality compost.
What to Do:
- Keep your compost pile moist, but not soaking wet—like a damp sponge. If it’s too dry, it won’t break down; if it’s too wet, it could become slimy.
- Turn the pile regularly (about once a week) to introduce oxygen and keep it aerated. This will also help break up any clumps and ensure uniform decomposition.
- If the pile starts to smell bad, it could be a sign that it’s too wet or lacking air. Add more dry, brown materials and turn it to restore proper conditions.
Pro Tip: If you’re composting in a dry climate, cover your pile with a tarp to retain moisture, especially during hot months.
4. Turn the Pile Regularly
Turning the compost pile regularly is crucial to promote decomposition. By turning the pile, you mix the materials and introduce more oxygen into the center of the pile, which is essential for aerobic microbes to break down the organic matter efficiently.
What to Do:
- Use a shovel, pitchfork, or compost aerator to turn the pile every 1-2 weeks. This helps keep the compost aerated and evenly mixed.
- When turning, try to move the outer layers of the compost to the center of the pile to speed up decomposition. The center of the pile will typically be the hottest, where most of the action occurs.
- Make sure the compost maintains its moisture level; if it appears dry after turning, sprinkle it with some water.
Pro Tip: If you use a compost tumbler, turning it every few days can also help speed up decomposition without much effort.
5. Harvest Your Finished Compost
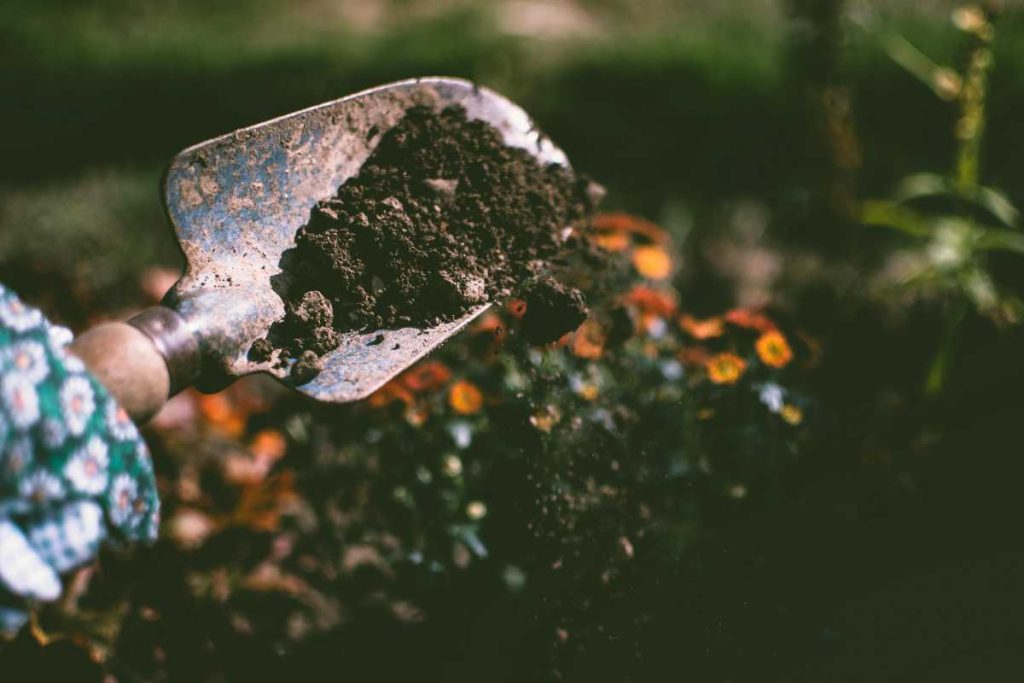
The final step is harvesting the finished compost. After 2 to 6 months, depending on the size of the pile, the compost should be dark, crumbly, and have an earthy smell. This is when your compost is ready to be used to enrich the soil in your garden, improve plant health, and boost soil fertility.
What to Do:
- When the compost is ready, it will look like dark, rich soil, and you’ll no longer be able to identify the original materials that went into the pile.
- Sift through the compost to remove any large, undecomposed chunks, and return them to the pile for further decomposition.
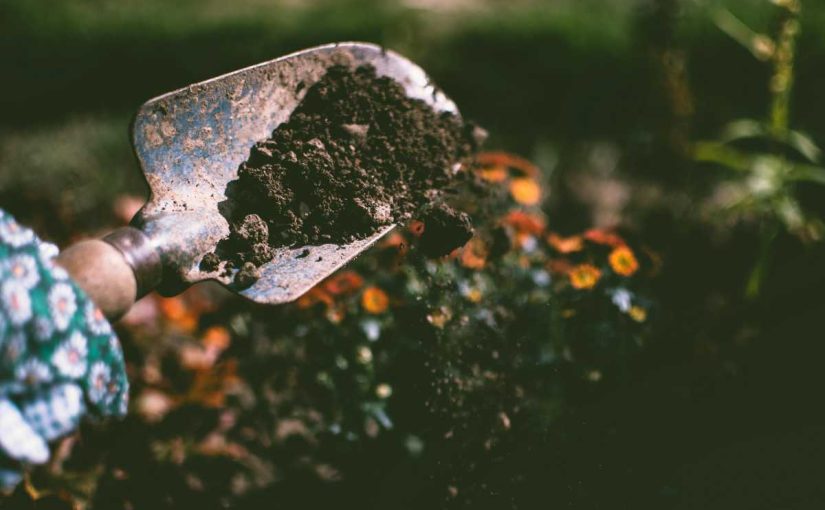
- Use your finished compost to fertilize garden beds, mix into the soil, or spread it over the top of your garden as a mulch.
Pro Tip: If your compost isn’t ready yet, give it more time to break down or add additional green or brown materials as needed.
Conclusion
Turning your yard waste into rich compost is an easy and sustainable way to recycle organic material and improve the health of your garden. By following these 5 simple steps—collecting and sorting yard waste, balancing green and brown materials, maintaining moisture and aeration, regularly turning the pile, and harvesting finished compost—you can transform your yard waste into valuable “compost gold” that will nourish your plants and enrich your soil for years to come.
Not only will you be helping the environment by reducing waste and avoiding chemical fertilizers, but you’ll also be creating healthier, more fertile soil for a thriving garden. Happy composting!

